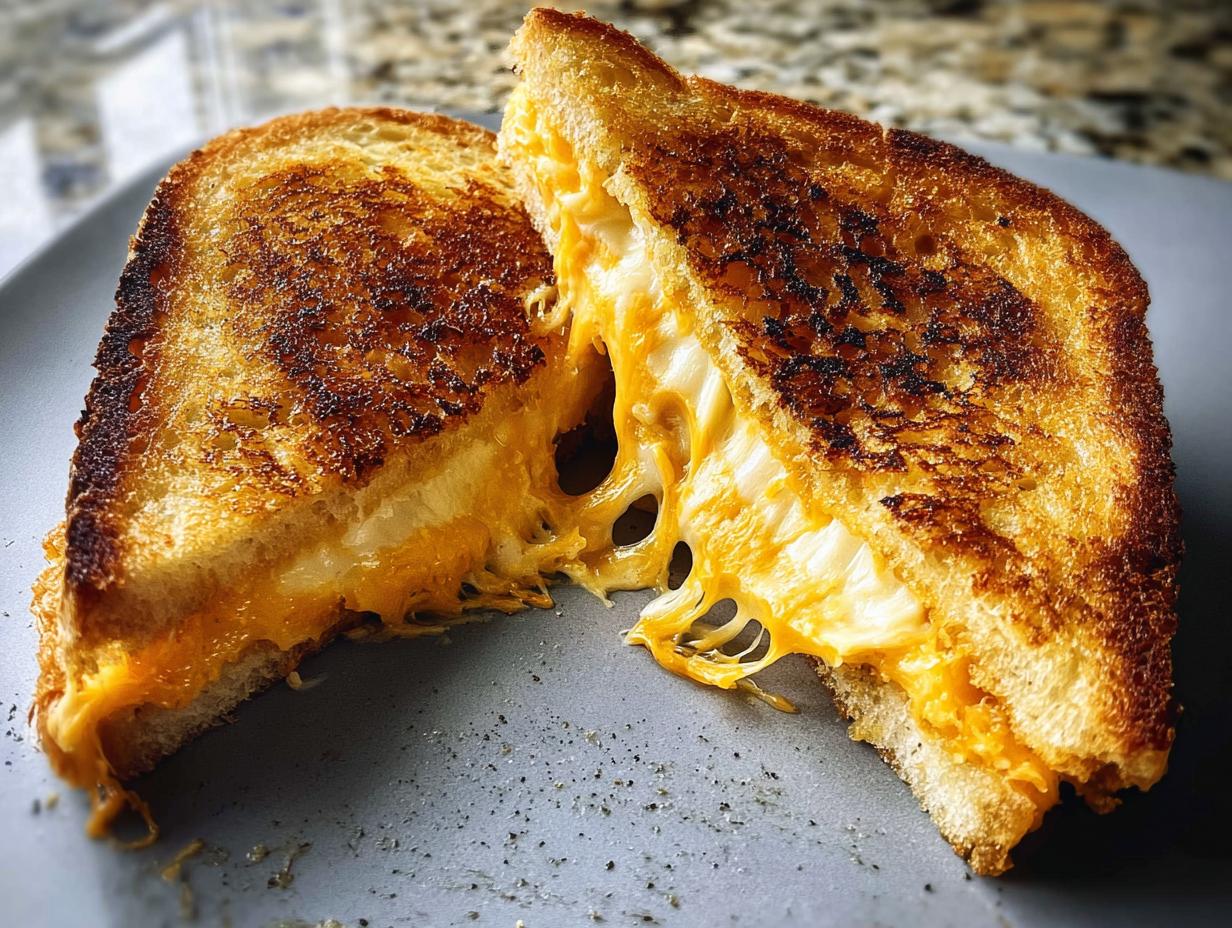
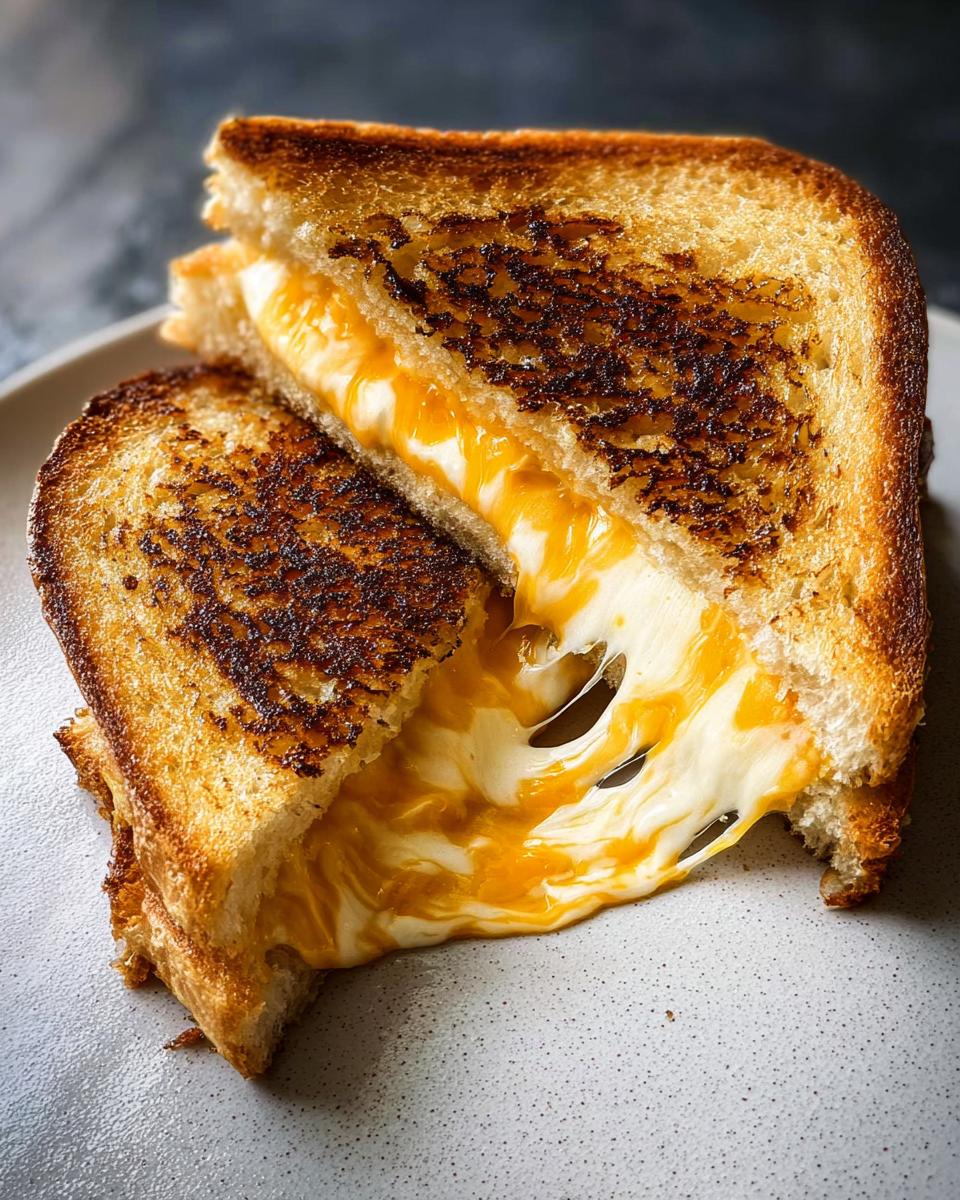
Oh, grilled cheese! Just thinking about it makes me want to curl up on the couch, doesn’t it? There’s something so incredibly comforting about that perfectly toasted bread hugging gooey, melty cheese. Seriously, it’s the ultimate comfort food with hardly any fuss. I remember making these late at night in college when I was absolutely starving and needed something quick and satisfying. This recipe isn’t just any grilled cheese; it’s got that magic touch that makes it perfectly melty and ridiculously easy, and trust me, you’ll want to know why everyone loves this grilled cheese recipe (+ make-ahead tips)!
Why Everyone Loves This Grilled Cheese Recipes
There’s a reason why the humble grilled cheese sandwich is a household staple, isn’t there? It’s pure, unadulterated comfort food that just hits the spot every single time. Whether you’re a kid needing a quick lunch or an adult craving that nostalgic hug in food form, a perfectly made grilled cheese is just *chef’s kiss*. What I adore about this particular recipe is how it takes simple ingredients and turns them into something truly magical. It’s the ultimate quick fix when hunger strikes, and let me tell you, getting that super melty cheese pull is SO satisfying. Honestly, it never fails to make me happy, and I think that’s the real secret to why everyone keeps coming back to a good old grilled cheese.
The Perfect Melty Grilled Cheese Ingredients
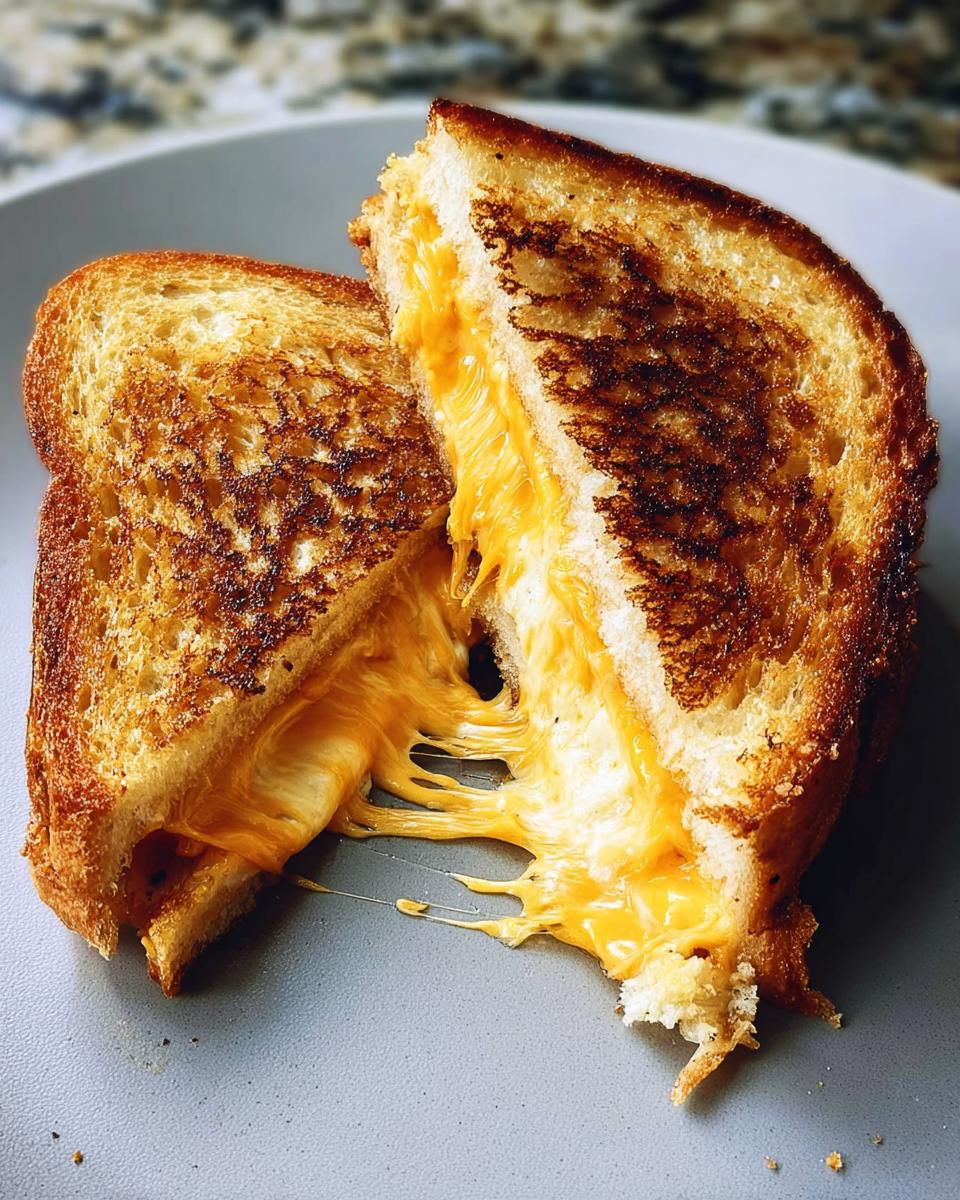
Alright, let’s talk about what makes this grilled cheese so darn good. It’s all about using the right stuff, and honestly, you don’t need much! For our classic, you’ll want two slices of sturdy sourdough bread – it holds up beautifully and gets wonderfully crisp. Instead of butter on the outside, I love slathering a thin layer of mayonnaise on one side of each slice. Trust me on this, it gives the most amazing golden-brown crust! Inside, we’re going with a combo that’s pure cheesy magic: sharp cheddar and Gruyère (or sometimes raclette cheese if I’m feeling fancy). Grating them yourself is key for that ultimate melty pull. You’ll need about 1 to 2 ounces of each, depending on how cheesy you like it. A little swipe of Dijon mustard inside adds a lovely zing, too!
How to Make This Quick Grilled Cheese Recipe
Okay, making this grilled cheese is honestly a breeze! It’s so quick, you’ll wonder why you ever settled for less. First things first, grab your cutting board. Take your two slices of sourdough and spread the top side of each with that thin layer of mayonnaise we talked about – this is your secret weapon for a super golden crust! Then, flip one slice over and spread the other side with a little Dijon mustard. This is where the magic starts to happen!
Preparation Steps for Your Grilled Cheese
Now for the best part of the assembly! Pile on your grated cheddar and Gruyère (or whatever cheesy goodness you chose!) onto the mustard-covered side of one bread slice. Make sure it’s nice and even, but don’t go crazy – you don’t want it all oozing out before it even gets to the pan! Then, just pop the other slice of bread on top, mayo-side up, to complete your sandwich masterpiece. Easy peasy!
Cooking Your Melty Grilled Cheese
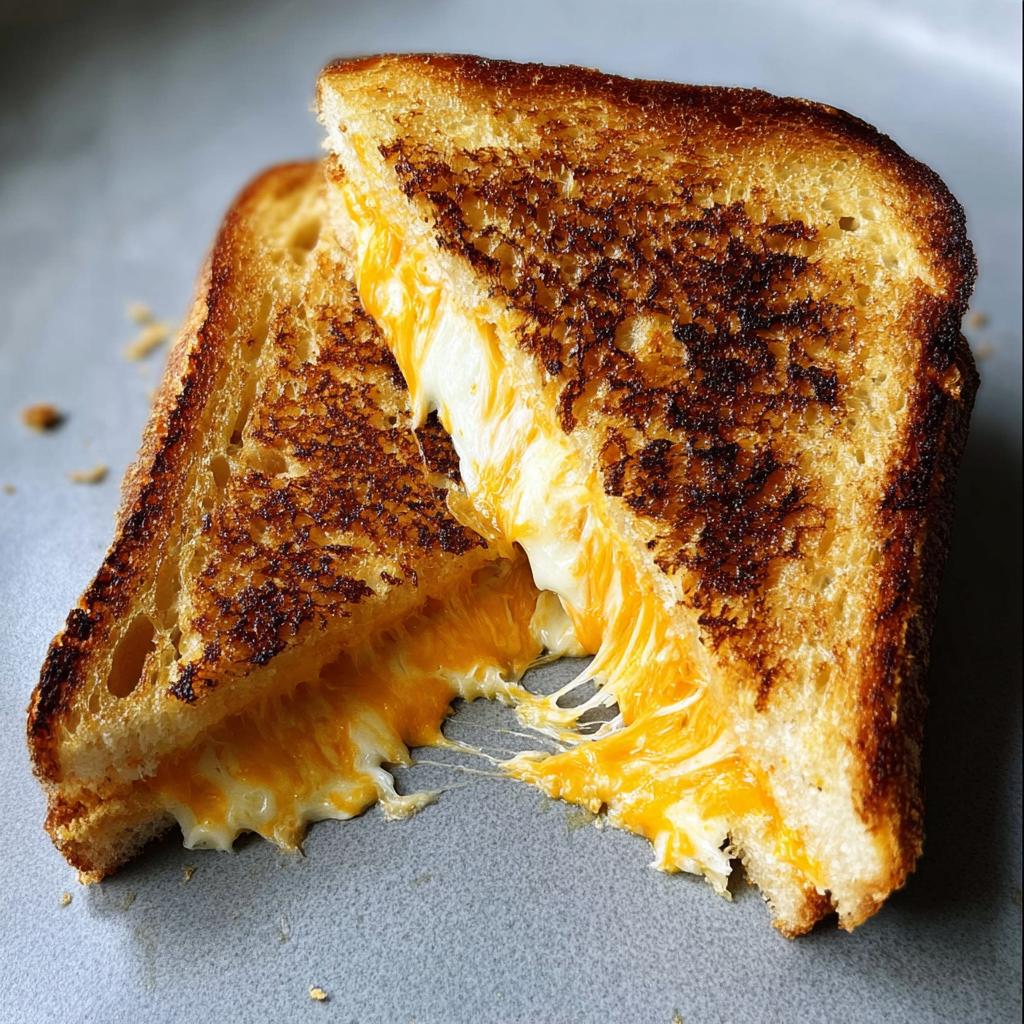
Time to get cooking! Heat up a nonstick or cast-iron skillet over medium-low heat. You want it nice and warm, but not scorching hot, otherwise your bread will burn before the cheese melts. Add just enough butter to coat the bottom of the pan – remember, we already have mayo on the bread! Carefully place your sandwich in the pan. Cover it with a lid (this traps the heat and helps melt the cheese) and let it cook for about 2 to 3 minutes. You’re looking for that bottom slice to be perfectly golden brown and seriously crispy. Then, give it a confident flip! Replace the lid and cook the other side until it’s just as golden and, most importantly, until that cheese is gloriously melted and gooey. If the bread starts browning too fast, just turn the heat down a touch. Once it’s ready, slide it onto a cutting board, slice it in half, and prepare for pure bliss!
Make-Ahead Tips for Your Grilled Cheese
You know, one of the best things about this grilled cheese is that it’s actually pretty forgiving if you want to get a head start. So yes, you absolutely *can* prep these ahead of time! It’s a total lifesaver for busy weeknights or even just for having a cheesy lunch ready to go. The key is how you assemble it. Lay out your bread slices, mayo side up on one, Dijon side up on the other, but *don’t* put the cheese on just yet. Instead, you’ll want to wrap each slice of bread individually in plastic wrap, mayo/mustard side facing outwards. Then, you can store them in your fridge for about a day. When you’re ready to cook, just pull out a slice, pile on your cheese, top with the other slice, and toss it straight into a buttered, preheated skillet. It might take a minute or two longer to cook since it’s cold, but trust me, (why everyone loves this grilled cheese recipes (+ make-ahead tips) is no joke – this is such a game-changer for getting that perfect, melty goodness without spending extra time when you’re already hungry! It’s all about making life a little easier, just like those clever quick keto hacks that save you time in the kitchen.
Tips for the Best Grilled Cheese
Okay, so you’ve got the basics down, but want to make your grilled cheese truly *epic*? I’ve picked up a few tricks over the years that really make a difference. First off, the bread is everything! While sourdough is my go-to for its tang and great texture, a hearty challah or even a good quality brioche can be amazing. Just make sure it’s not too thick, or the cheese might not get perfectly melty before the outside burns. And cheese combos? Oh, get creative! A sharp cheddar is classic, but mixing in something nutty like Gruyère, or something that just oozes like Fontina or Monterey Jack, is a game-changer. Don’t be afraid to experiment! Lastly, remember that medium-low heat is your best friend. Patience is key for that gorgeous golden crust and all that gooey, melted cheese goodness inside. Don’t rush it!
Frequently Asked Questions About This Grilled Cheese Recipe
Can I use different types of bread for this grilled cheese?
Absolutely! While sourdough is my favorite for its fantastic tang and crispiness, you can totally use other breads. A nice challah, brioche, or even a country white bread works wonderfully. Just make sure it’s not too thick, so the cheese has a chance to get perfectly melty before the bread gets too dark.
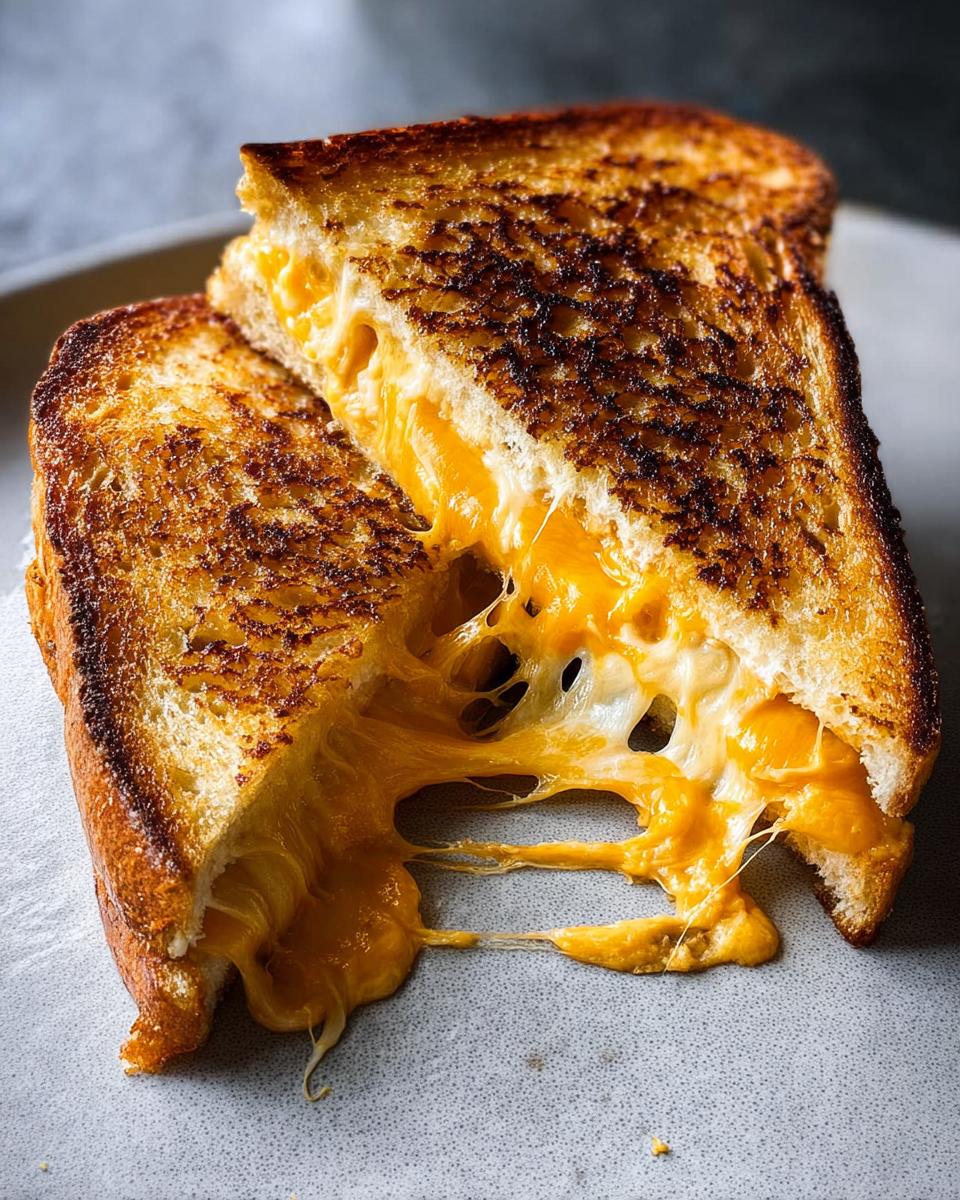
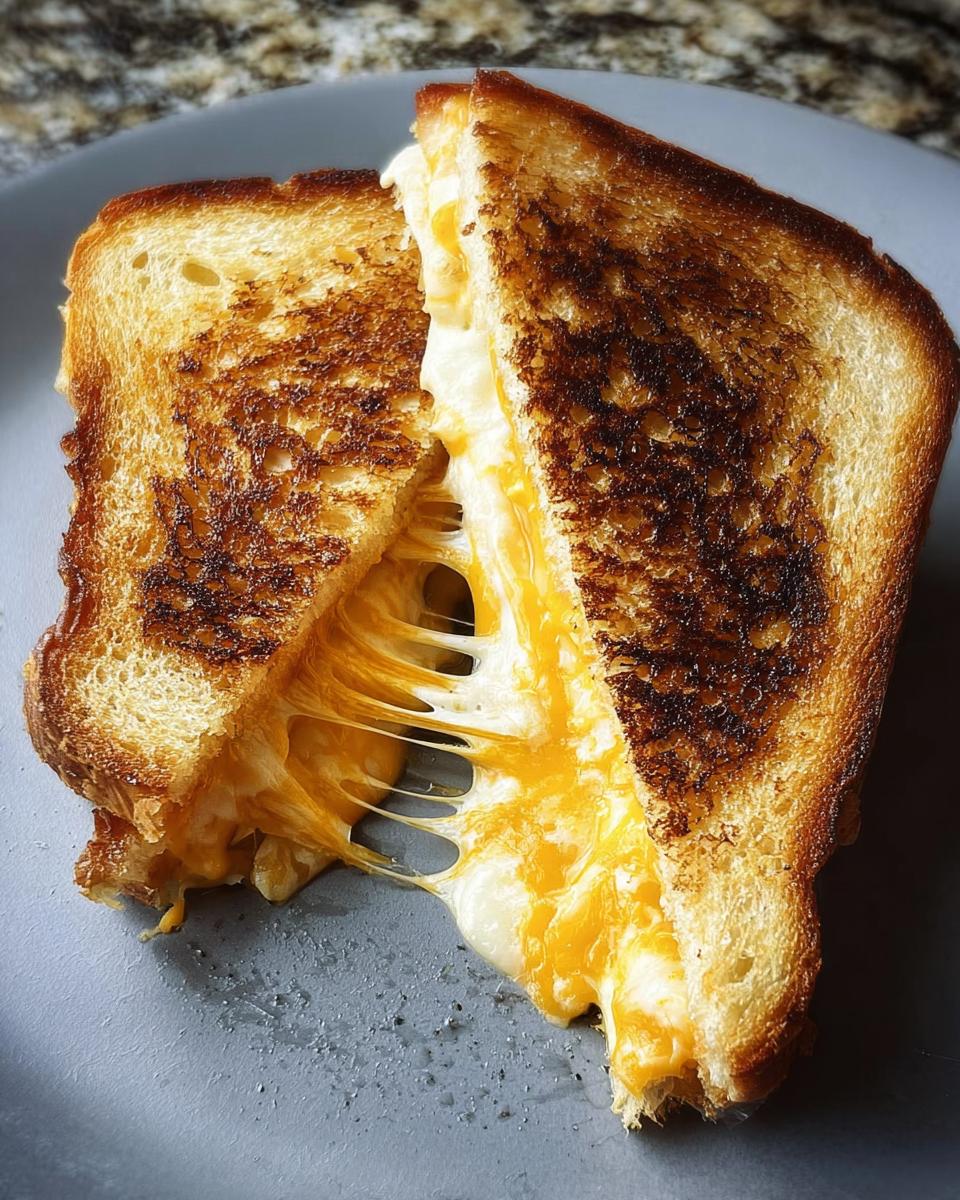
What’s the best way to get a super melty cheese pull?
The secret is a combination of things! First, grate your cheese yourself – pre-shredded stuff has anti-caking agents that can make melting harder. Then, using a mix of cheeses helps; sharp cheddar gives great flavor, while a cheese like Gruyère, Fontina, or even just good old American cheese will give you that amazing gooey stretch. And don’t forget medium-low heat and covering the pan for a bit – that steam really helps melt everything beautifully!
How long can I store assembled grilled cheese sandwiches?
You can totally assemble them ahead of time for a quick meal later! I’d recommend storing them in the fridge for up to 24 hours. Just wrap them well in plastic wrap after assembling but before adding the cheese. When you’re ready to cook, add the cheese, and then cook them in your buttered skillet as usual – they might just take a tiny bit longer since they’re starting from cold.
Can I add other ingredients to my grilled cheese?
Oh, 100%! That’s the beauty of a good grilled cheese – it’s a blank canvas! Think thin slices of ham, some crispy bacon, caramelized onions, a little bit of pesto, maybe even some sautéed mushrooms. Just make sure whatever you add is cooked or thin enough not to mess with the cooking time too much.
Serving Suggestions for Your Grilled Cheese
Honestly, a perfect grilled cheese is amazing all on its own, but it’s even better with a little something on the side! The absolute classic, and for good reason, is a steaming bowl of tomato soup – the creamy, savory soup with that crispy, cheesy sandwich? *Divine*. If you’re looking for something lighter, a simple side salad with a bright vinaigrette cuts through the richness beautifully. You could even do some crispy potato chips or some pickles for a bit of crunch and tang!
Storage and Reheating Instructions
So, you have a glorious leftover grilled cheese? Lucky you! For storage, let it cool completely, then wrap it tightly in plastic wrap or foil. It’s best to keep it in the fridge for no more than a day, as the bread can get a bit soggy over time. To reheat, I find the best way is to pop it back into a skillet over medium-low heat. It might not be quite as perfectly crisp as fresh, but give it a few minutes on each side, and you’ll have a warm, gooey sandwich again!
Nutritional Information
Just a heads-up, the nutritional info for this amazing grilled cheese can change depending on the exact bread and cheese you use. But, for a classic sandwich made with sourdough, cheddar, and Gruyère, you’re generally looking at around 400-450 calories, with about 25-30g of fat, 15-20g of protein, and 25-30g of carbohydrates. It’s a hearty and satisfying meal!
Share Your Grilled Cheese Creations!
Alright, now that you know all my secrets for the most amazing, melty grilled cheese, I *have* to know about yours! Did you try this recipe? Did you add your own twist? Let me know in the comments below – I’d absolutely love to hear about your experience and any yummy variations you came up with. Seriously, tell me everything! You can also reach out to me through my contact page if you have any questions.
Classic Grilled Cheese Sandwich
Ingredients
Equipment
Method
- Place the bread slices on a cutting board. Spread the top side of each slice with a thin layer of mayonnaise. Flip one slice of bread and spread its other side with Dijon mustard.
- Layer the cheddar and Gruyère or Raclette cheeses on top of the mustard. Place the other slice of bread on top of the cheese, mayonnaise side out.
- Heat a nonstick or cast-iron skillet over medium-low heat. Melt enough butter in the pan to coat the bottom.
- Place the sandwich in the pan, cover, and cook for 2 to 3 minutes, or until the bottom slice of bread is golden brown and crisp.
- Flip the sandwich, replace the lid, and cook until the other slice of bread is golden brown and the cheese is melted, 1 to 3 minutes. Reduce the heat to low if the bread is browning too quickly before the cheese is fully melted.
- Slice and serve.
Notes
Tried this recipe?
Let us know how it was!
James Richardson – Certified Budget Nutrition Economist
My expertise in affordable low-carb eating was born from necessity during graduate school, when ramen noodles threatened to derail both my metabolism and my economics dissertation. Later, feeding a family of five on a teacher’s salary while my wife completed nursing school taught me that eating well doesn’t require a trust fund.
With my MBA in consumer behavior analytics, I treat grocery budgets like investment portfolios. My breakthrough “Dollar-Per-Day Keto” challenge proved sustainable low-carb eating could be achieved for under $30 weekly per person through strategic bulk purchasing and what I call “ingredient arbitrage” – buying versatile basics when they’re cheapest.
I’ve developed over 200 budget-optimized recipes with real-time pricing calculations that adjust based on regional grocery data. Unlike lifestyle bloggers who assume unlimited budgets, my meal plans work with food stamp restrictions, dollar store ingredients, and the reality that consistent access to “right” foods often determines dietary success.
My background as a budget coordinator for a regional food bank taught me how economic constraints intersect with nutritional needs. When I’m not playing competitive chess or collecting vintage calculators, I’m proving that nutrition becomes a luxury only when you approach it backwards – optimize for value instead of convenience, and eating well becomes the most economical choice.