
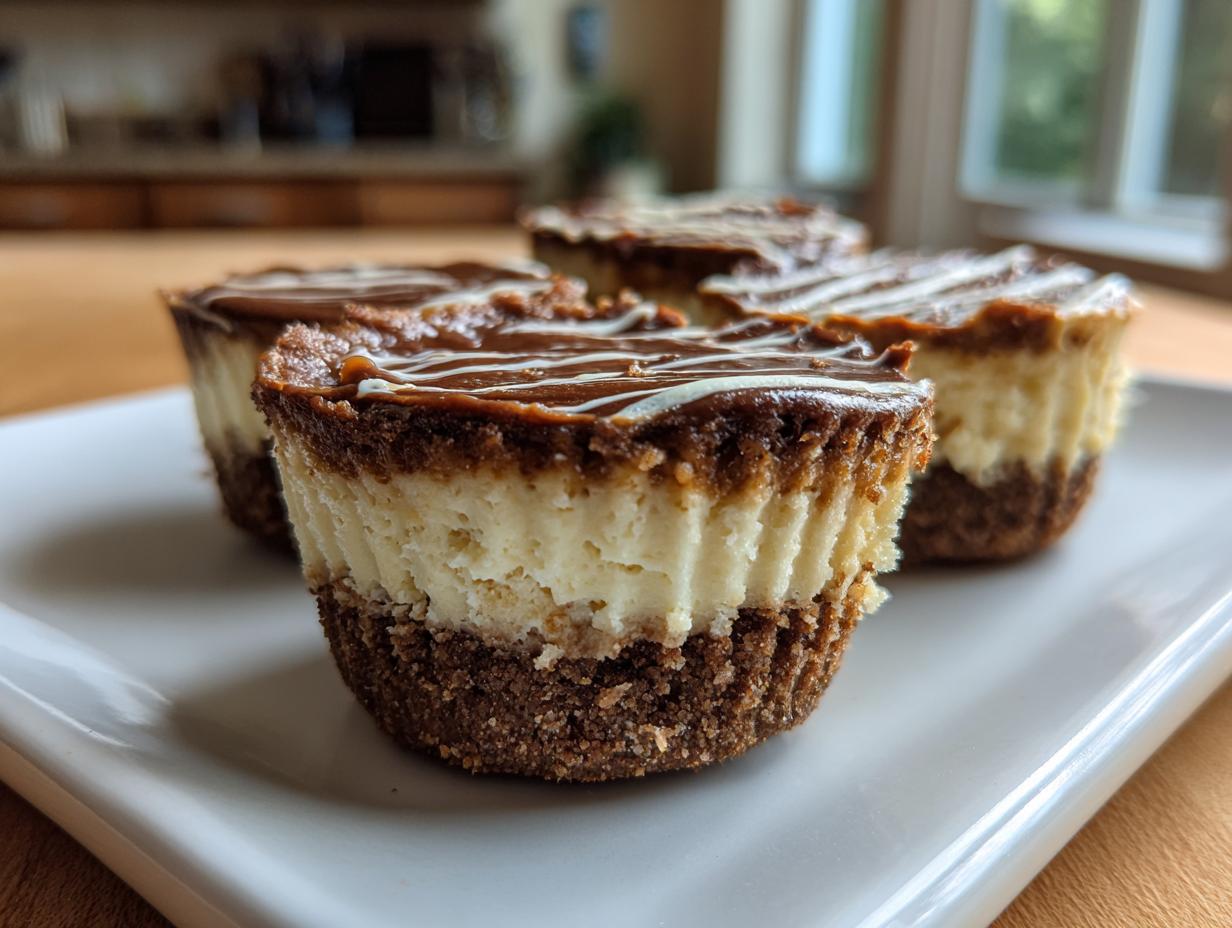
Oh, the Fourth of July! That glorious time for barbecues, fireworks, and… being stuck in a hot kitchen? No way, not if I have anything to say about it! Seriously, who wants to be sweating over a hot oven when you could be out enjoying the sunshine? That’s exactly why I’m obsessed with these Fourth of July desserts with no bake cheesecake cups. They’re my absolute go-to when I need something festive and delicious without the fuss. I remember throwing a backyard bash last year, and these little cups were such a hit! Everyone kept asking for the recipe, and I just smiled because, honestly, they’re ridiculously easy. For more inspiration on avoiding the oven, check out these other no-bake dessert ideas. Trust me, these are about to become your new favorite party trick!
Why These Fourth of July Desserts With No Bake Cheesecake Cups Are a Party Must-Have
Okay, so why do I rave about these Fourth of July desserts with no bake cheesecake cups? It’s simple, really! First off, the name says it all – no baking required! This is a lifesaver when it’s blazing hot outside and your oven is already working overtime with burgers and corn. Plus, they’re individually portioned, making them super easy to grab and enjoy while you’re mingling or watching fireworks. No slicing, no serving dishes needed! Honestly, who doesn’t love a creamy, dreamy cheesecake bite? They’re universally loved, and the fact that you can whip them up so quickly means less stress for you and more deliciousness for everyone else. They’re just the perfect, fuss-free addition to any Fourth of July spread!
Gather Your Ingredients for Fourth of July Desserts With No Bake Cheesecake Cups
Alright, let’s get down to business! To make these amazing Fourth of July desserts with no bake cheesecake cups, you’ll want to snag a few things. Trust me, using good quality ingredients really makes a difference here – you can totally taste it! It’s all about that smooth, rich flavor that just melts in your mouth. Having everything ready to go is the key to making this recipe a breeze. Don’t worry if you don’t have everything perfectly measured out just yet; we’ll get there!
For the Graham Cracker Crust
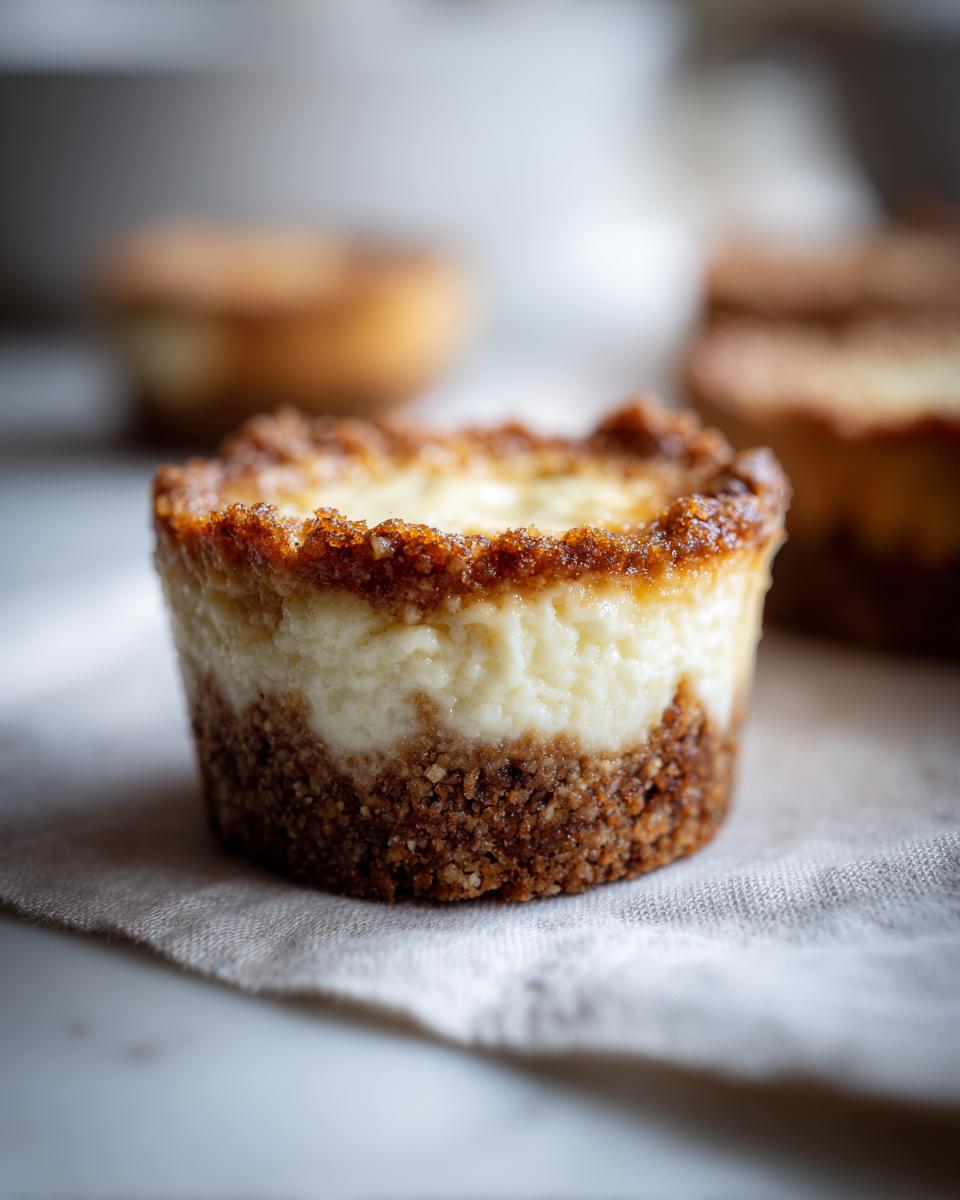
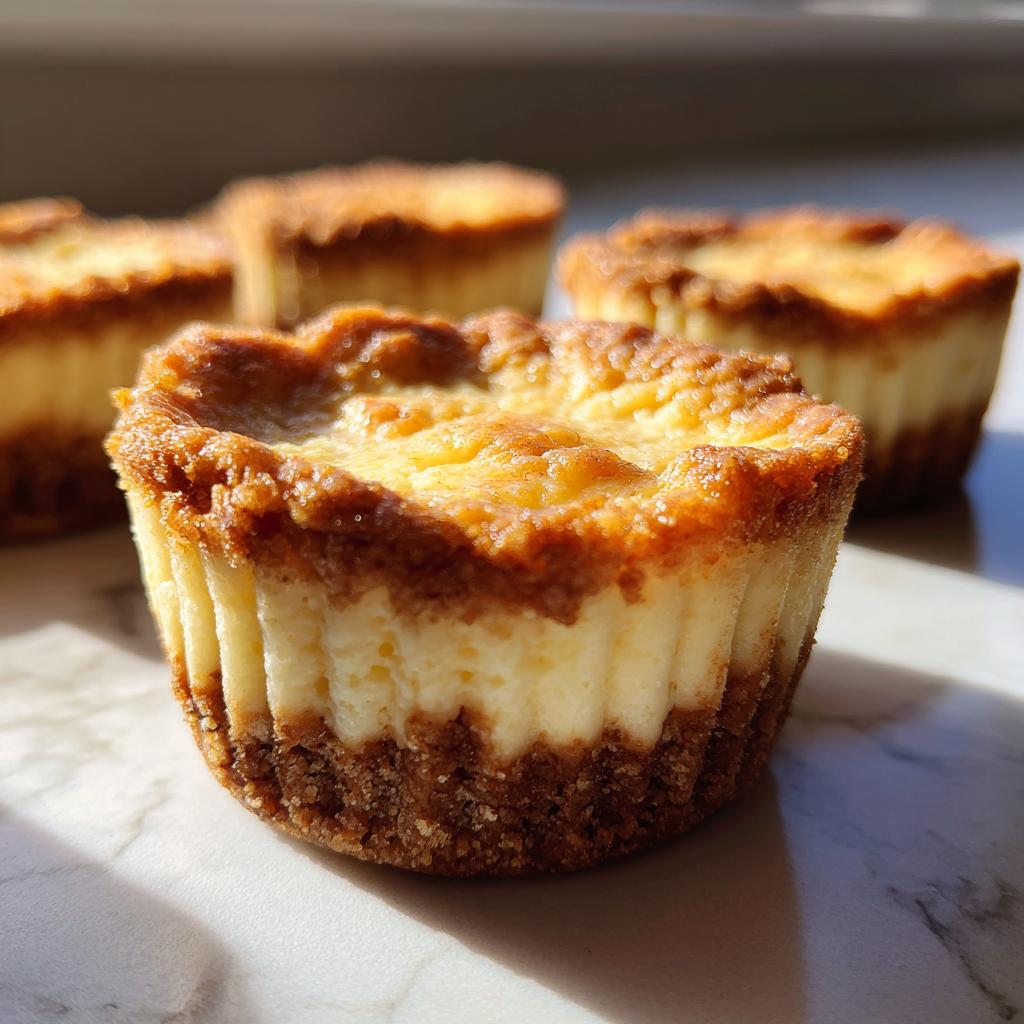
We’re starting with the crunchy base, and it’s super simple. You’ll need about 1 and a half cups of graham cracker crumbs – I usually just crush up about 10-12 full graham crackers myself, but store-bought works too! Then, we’ll add a quarter cup of granulated sugar for a little sweetness and six tablespoons of unsalted butter, all melted and ready to make it all stick together. That’s it for the crust – easy peasy!
For the Creamy Cheesecake Filling
Now for the star of the show! You’ll need two 8-ounce packages of cream cheese – make sure it’s softened to room temperature; this is super important for a smooth filling, no lumps allowed! Then, grab one cup of powdered sugar for that classic sweet cheesecake flavor and one teaspoon of vanilla extract. The magic happens with one cup of *cold* heavy cream. Keeping it cold is crucial for getting those lovely stiff peaks when we whip it up!
Step-by-Step Guide to Making Fourth of July Desserts With No Bake Cheesecake Cups
Alright, let’s put this all together! Making these Fourth of July desserts with no bake cheesecake cups is like a fun little assembly line, and honestly, it’s the best part. Just follow along, and you’ll have a dessert that looks super fancy but is secretly a breeze. Remember to have fun with it – that’s what cooking is all about!
Preparing the Muffin Tin and Crust
First things first, grab your 12-cup muffin tin. You’ll want to line each cup with paper or foil liners. This makes cleanup SO much easier, trust me! Now, let’s make that yummy crust. In a medium bowl, toss your graham cracker crumbs and granulated sugar together. Pour in that melted butter and stir it all up with a fork until it looks like wet sand. Take about a tablespoon of this mixture and press it down firmly into the bottom of each liner. You want a nice, even layer for that perfect crunchy base.
Creating the Smooth Cheesecake Filling
Time for the creamy goodness! Grab a big bowl and your electric mixer. Make sure your cream cheese is truly softened – I usually leave it on the counter for at least an hour. Beat it on medium speed until it’s super smooth and creamy, with no lumps in sight. This is where the magic starts! Gradually beat in the powdered sugar until it’s all combined and looks fluffy. Then, add in your vanilla extract and give it another quick mix. Easy, right?
Whipping the Cream and Combining
Now, for the lightness! In a *separate* bowl (it’s important they’re clean and dry for this!), whip your cold heavy cream until you get nice, stiff peaks. You know, when you lift the whisk, the cream stands straight up? That’s what you’re looking for! Now, gently fold this whipped cream into your cream cheese mixture using a spatula. Be gentle here – you want to keep all those lovely air bubbles intact. Just fold until it’s *just* combined. Don’t go crazy overmixing it!
Assembling and Chilling Your Cheesecake Cups
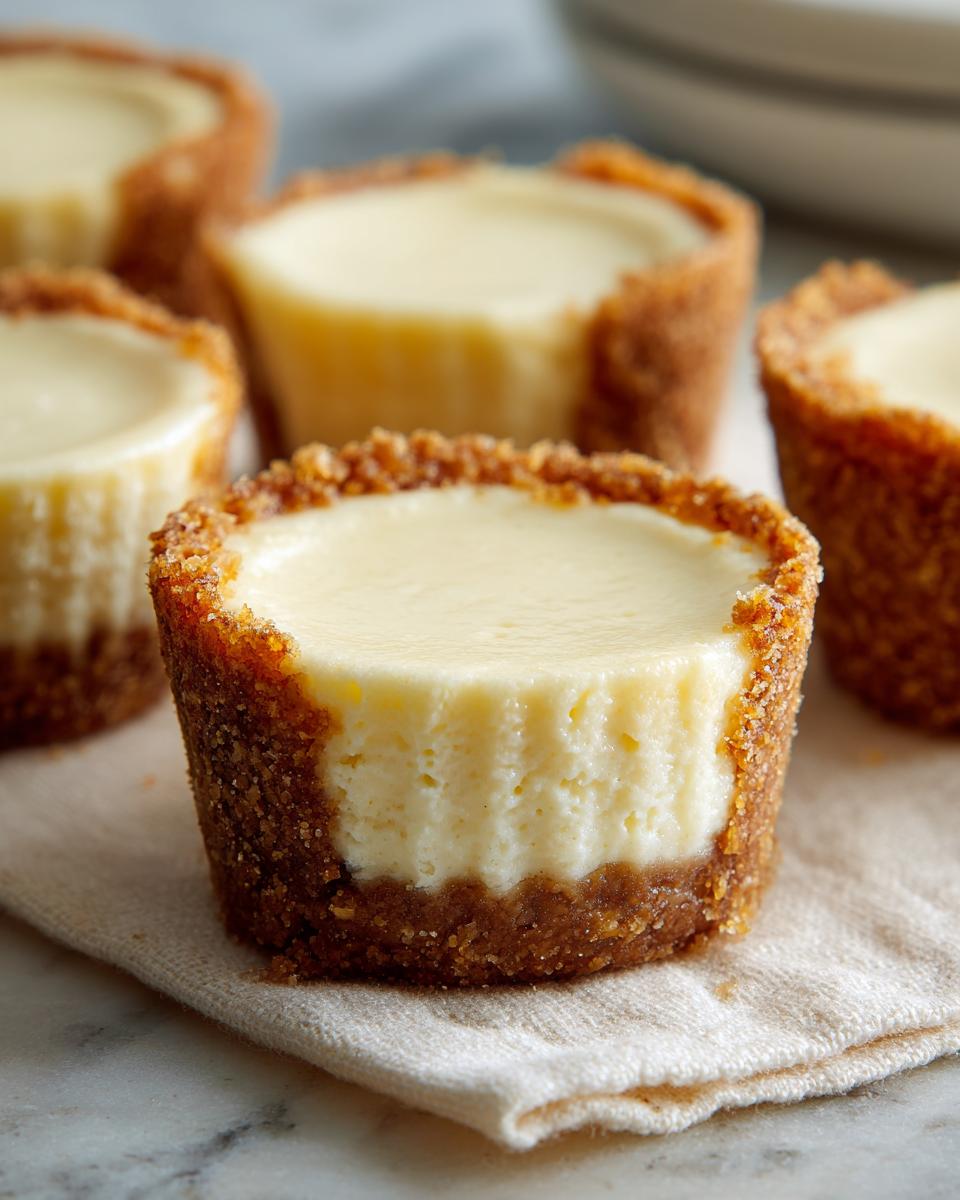
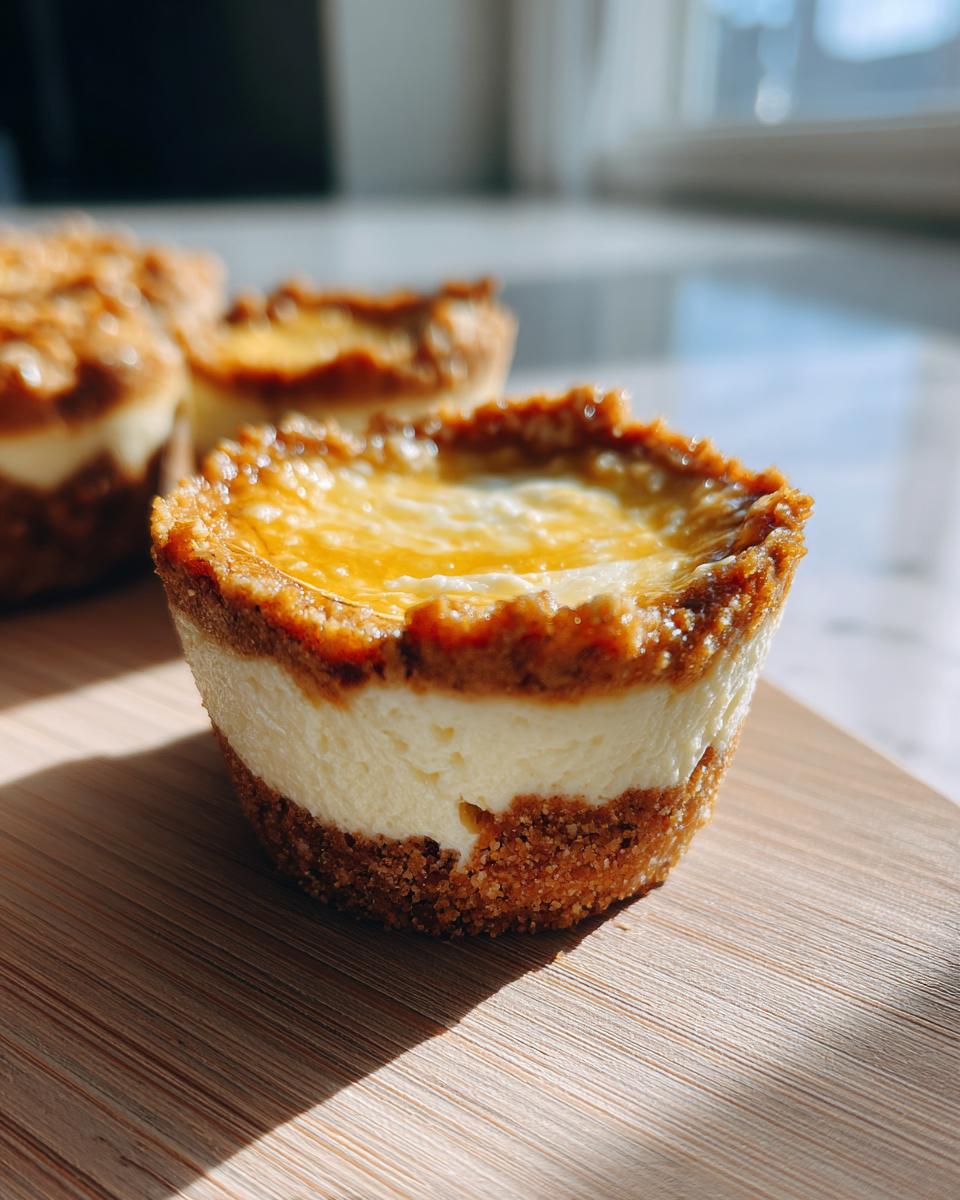
We’re almost there! Spoon or pipe that glorious cheesecake filling right over the crusts in your muffin liners. Fill them up nicely, but don’t overflow. Pop the whole tin into the refrigerator. Now, you wait. At least 30 minutes is best, but an hour is even better. This chilling time is crucial so they firm up and hold their shape. You want them to be perfectly set before you dig in!
Tips for Perfect No-Bake Cheesecake Cups Every Time
You know, even though these Fourth of July desserts with no bake cheesecake cups are super easy, there are just a few little tricks that really elevate them from good to *wow*. It’s all about paying attention to the details. First off, make sure your cream cheese is truly softened! I can’t stress this enough. Cold cream cheese means lumpy cheesecake, and nobody wants that. Leave it on the counter for a good hour or so before you start. Also, don’t overmix the filling once you’ve folded in the whipped cream. You want it light and airy, not dense and tough. Gentle folding is key!
To get that perfectly smooth texture, really take your time beating the cream cheese until it’s lump-free before adding anything else. And when it comes to presentation, don’t be afraid to get creative! A little swirl of whipped cream on top or some fresh berries can make these little cups look like they came from a fancy bakery. For even more great ideas on no-bake treats, definitely check out The Kitchn – they’ve got tons of inspiration!
Creative Variations for Your Fourth of July Desserts
Okay, so these Fourth of July desserts with no bake cheesecake cups are fantastic as is, but you know me, I love to play around! Sometimes I like to switch up the crust. Instead of graham crackers, try crushed Oreos for a chocolatey kick, or even some buttery shortbread cookies. For the Fourth of July, I sometimes add a little red or blue food coloring to the whipped cream before folding it in, just for that festive pop! Or, you could even swirl in some berry puree right before filling the cups. It adds a gorgeous color and a lovely fruity layer. If you’re feeling super adventurous, try a no-bake Oreo cheesecake bite and see what sparks your inspiration!
Serving and Storage for Your Party-Ready Cheesecake Cups
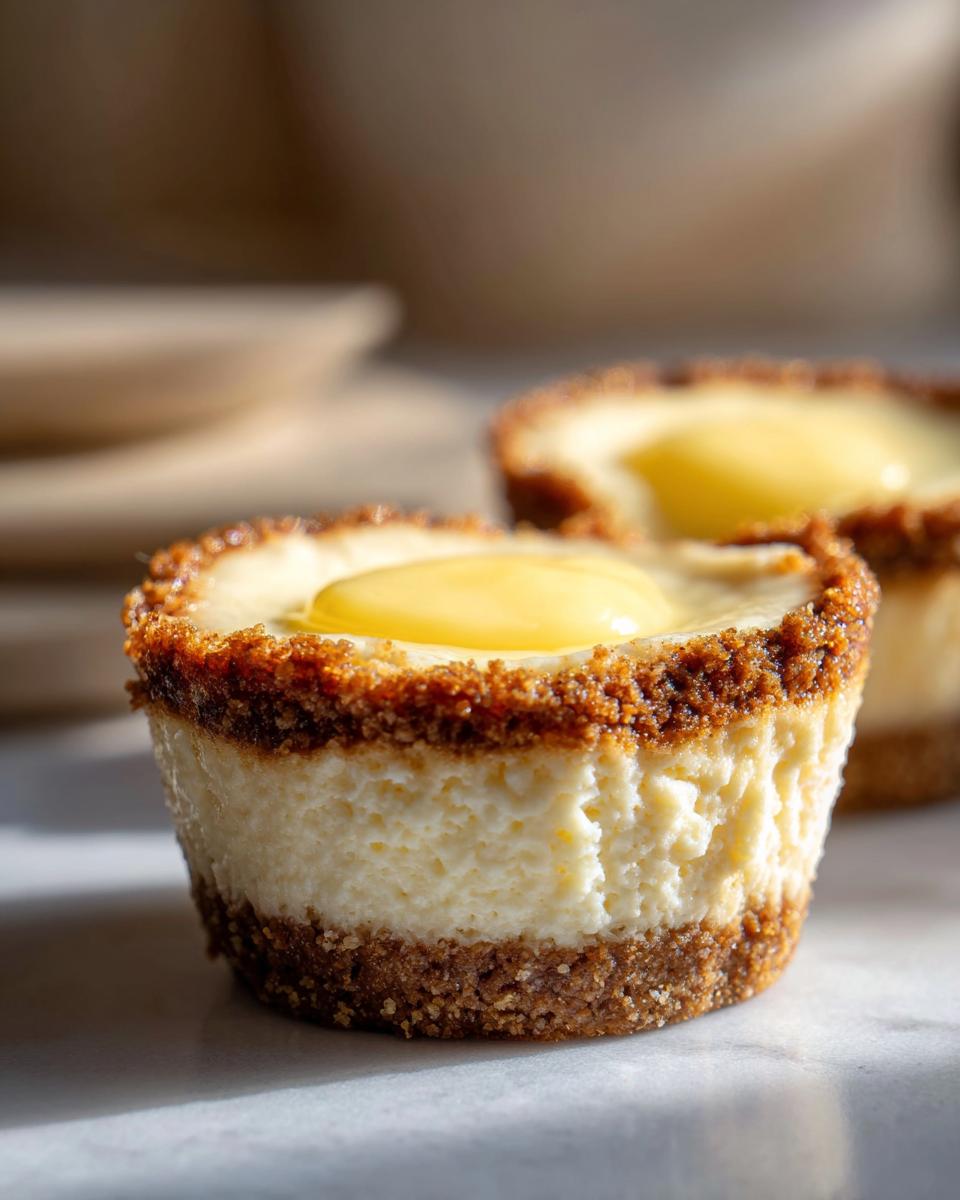
These little no-bake cheesecake cups are just begging to be dressed up! For maximum Fourth of July impact, I love topping them with a dollop of extra whipped cream and a few fresh berries – think strawberries and blueberries for those patriotic colors. A sprinkle of red, white, and blue sprinkles also works wonders! They’re best served chilled, so just pop them back in the fridge if you’re not serving them right away. If you happen to have any leftovers (which is rare in my house!), just cover the muffin tin tightly with plastic wrap and pop them in the refrigerator. They’ll stay deliciously fresh for about 2-3 days, though honestly, they’re best within the first day or two. You can totally make these a day ahead for your party, which is a total sanity saver!
Frequently Asked Questions About No-Bake Cheesecake Cups
Got questions? I’ve got answers! It’s totally normal to wonder about a few things before diving into a recipe, especially when you’re planning a party. So, let’s clear up some common curiosities about these amazing no-bake cheesecake cups!
Can I make these without a muffin tin?
Oh, absolutely! While the muffin tin is super handy for portion control and that cute cup shape, it’s not the only way. You can totally make these in individual small ramekins or even in a small pie pan and then slice them up later. Just make sure you press the crust in evenly and chill the whole thing. You might need to adjust the chilling time a bit if you use a larger pan, just to make sure the center sets up properly.
How long do they last in the fridge?
These little gems are best enjoyed within about 2 to 3 days of making them. I usually make mine the day before a party, and they’re perfect. Just keep them covered tightly with plastic wrap in the refrigerator. The crust can get a little softer the longer they sit, but the filling stays wonderfully creamy and delicious. They’re really not the best for eating straight from the freezer, as they can get a bit icy, but the fridge is their happy place!
Can I use a different type of cookie for the crust?
You bet! The graham cracker crust is classic for a reason, but feel free to experiment. Crushed chocolate sandwich cookies (like Oreos, filling and all!) make an amazing chocolate crust. Shortbread cookies offer a buttery, melt-in-your-mouth alternative. Vanilla wafers or even gingersnap cookies would give it a nice little spice. Just remember to use about the same amount of crumbs and adjust the butter if needed. If your cookies are finely ground, you might need a tiny bit less butter. So much fun to play around with!
Can I add anything to the filling?
Yes, you absolutely can! If you want to jazz up the filling, you can fold in some fresh fruit purees (like strawberry or raspberry) – just make sure they are well-drained so you don’t add too much liquid. A little citrus zest, like lemon or lime, is also fantastic and adds a bright note. For a truly decadent treat, you could even fold in some mini chocolate chips or chopped nuts. Just be careful not to overmix once you add things in!
Estimated Nutritional Information
Now, I’m no registered dietitian, but based on the ingredients in these yummy no-bake cheesecake cups, you’re looking at roughly 250-300 calories per serving. This can totally vary depending on the brands you use and if you add any extra toppings! We’re talking about maybe 15-20g of fat, 25-30g of carbs, and around 3-5g of protein per cup. Remember, these are just estimates, but they give you a good idea!
No-Bake Cheesecake Cups
Ingredients
Equipment
Method
- Line a 12-cup muffin tin with paper or foil liners.
- In a medium bowl, combine graham cracker crumbs and granulated sugar. Pour in the melted butter and stir until combined.
- Press about 1 tablespoon of the crumb mixture into the bottom of each liner.
- In a large bowl, beat the softened cream cheese with an electric mixer until smooth. Gradually beat in the powdered sugar until well combined.
- Beat in the vanilla extract.
- In a separate bowl, whip the cold heavy cream until stiff peaks form.
- Gently fold the whipped cream into the cream cheese mixture until just combined. Do not overmix.
- Spoon or pipe the cream cheese filling evenly over the crusts in the liners.
- Refrigerate for at least 30 minutes, or until firm.
- Serve chilled. Top with fruit or whipped cream if desired.