
Oh, the holidays! That cozy feeling, the crackling fire, and that unmistakable aroma wafting from the kitchen that just screams comfort and celebration. For me, that smell is almost always stuffing. It’s not just a side dish; it’s the heart of the meal, right? Forget those crumbly, dry versions you might have had. Today, we’re diving deep into How to Make Stuffing Recipes Like a Pro (2025), and I promise, you’ll get that perfect, moist, flavor-packed stuffing that’ll have everyone asking for your secrets. I remember my first Thanksgiving trying to make it from scratch – utter chaos! But over the years, I’ve learned a few tricks that make all the difference, turning it from a potential disaster into pure holiday magic.
Why This Classic Turkey Stuffing Recipe is a Game-Changer
Seriously, this isn’t just *any* stuffing recipe. It’s the one that turns those holiday tables into a warm hug! Here’s why it’s a total game-changer:
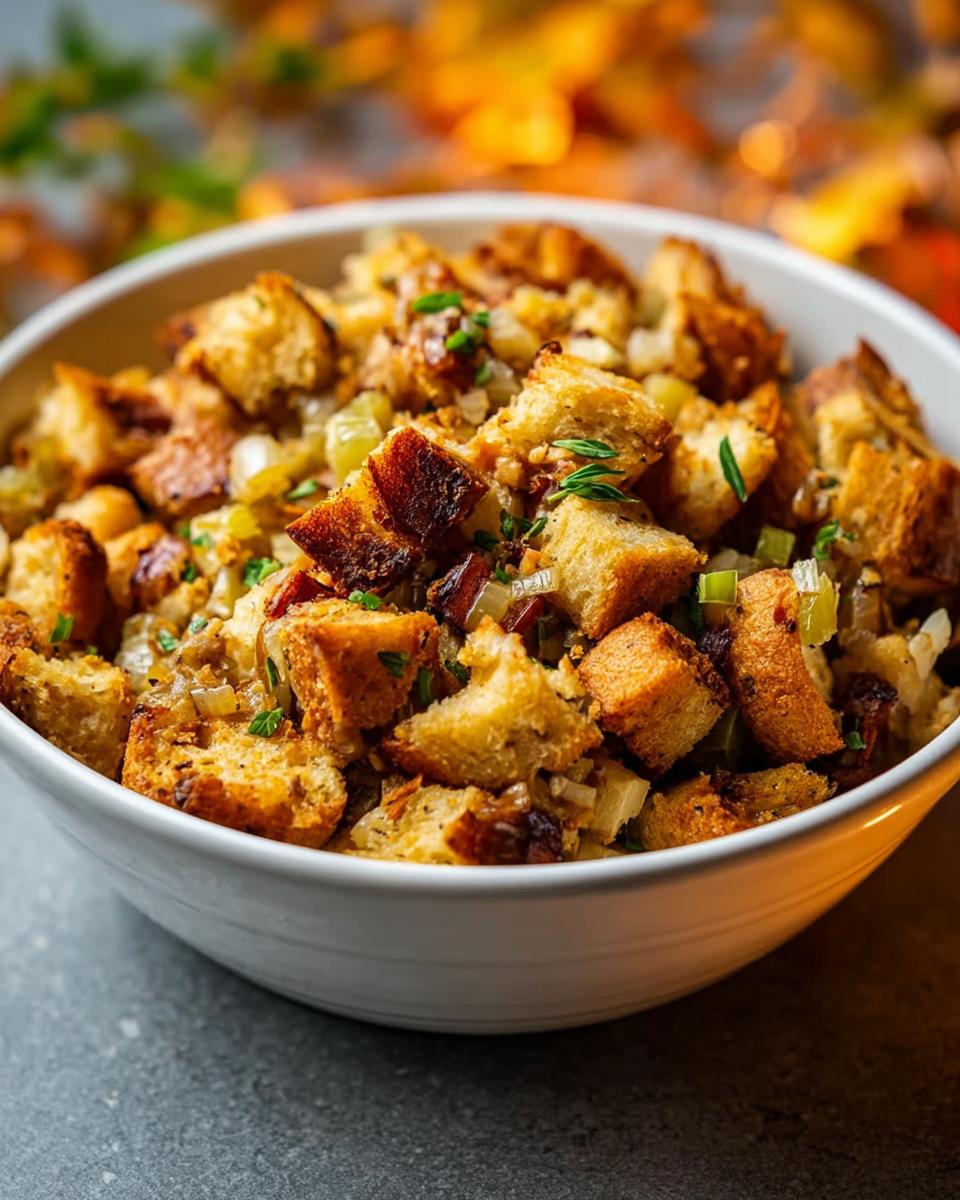
- Incredible Flavor: We’re talking savory bread, aromatic herbs, and perfectly softened veggies. It’s like a flavor explosion in your mouth!
- Perfect Texture: Forget that dry, crumbly stuff. This recipe nails that moist-yet-slightly-crispy-on-top texture that’s just *chef’s kiss*.
- So Easy, You Won’t Believe It: Even if you’re a stuffing newbie, this recipe is super straightforward. It makes holiday cooking feel way less stressful.
- Holiday Ready: It’s robust enough for a big holiday feast but also cozy enough for a weeknight dinner. It just *fits* any occasion.
Mastering the Art: How to Make Stuffing Recipes Like a Pro (2025)
So, you want to make stuffing that’s seriously next-level? It’s all about a few key tricks! First off, that bread. Trust me, you *have* to dry it out. Fresh bread is a soggy stuffing’s best friend, and not in a good way! Whether you leave it out for a day or two or give it a little oven time, that dryness is crucial for soaking up all the yummy flavors without turning into mush. Then there’s the moisture balance – you want it moist, not swimming. It’s a delicate dance! Getting the ratios right between your bread, broth, and veggies is what makes all the difference. It might sound simple, but these little details nail down that perfect stuffing texture every single time.
Essential Ingredients for Perfect Stuffing
Okay, let’s talk about what goes into our amazing stuffing!
For the Stuffing Base:
- Garlic croutons or stale bread cubes: 8 ounces. This is what we base our stuffing on, so make sure it’s nice and dry!
- Butter: 4 tablespoons (57g). For sautéing and adding that rich flavor.
- Onion: 1, chopped. The aromatic foundation!
- Celery stalk: 1, chopped. Adds a lovely subtle crunch and flavor.
- Chicken or vegetable broth: 1.75 cups (415ml). This is our main liquid component.
- Fresh parsley: 2 tablespoons, chopped. Brightness in every bite!
- Fresh sage: 1 teaspoon, chopped. The quintessential stuffing herb.
- Fresh thyme: 1 teaspoon, chopped. Earthy and delicious.
- Poultry seasoning: 1 teaspoon. A handy shortcut for classic stuffing flavors.
- Salt: 0.5 teaspoon. To taste, of course!
- Black pepper: 0.25 teaspoon. Just a little kick.
Optional Additions:
- Ground sausage: 1, cooked. Adds amazing savory depth!
- Cornbread: 1, crumbled. For a slightly different texture and flavor.
Step-by-Step Guide: How to Make Stuffing Recipes Like a Pro (2025)
Alright, let’s get down to business and make this stuffing happen! It’s not rocket science, but these steps are your roadmap to stuffing perfection. You’ll see just how easy it is to make stuffing recipes like a pro!
Preparing the Bread Base
First things first, let’s get that bread ready. You need to dry those cubes out! You can leave them out on a baking sheet overnight or, if you’re in a pinch, pop them in a low oven (around 250°F or 120°C) for about 45 minutes to an hour, stirring a few times. This step is SO important because it ensures your stuffing absorbs all the goodness without getting mushy. Nobody wants soggy stuffing!
Sautéing Aromatics for Flavor
Now for the flavor boosters! Melt your butter in a big skillet over medium heat. Toss in your chopped onions and celery and cook them until they’re nice and soft, maybe 5-7 minutes. You’re not browning them, just softening them up to really bring out their sweet, savory notes.
Combining and Moistening the Stuffing
Grab a big bowl and put those softened veggies in. Add your dried bread cubes, all those lovely fresh herbs (parsley, sage, thyme!), the poultry seasoning, salt, and pepper. Give it a gentle mix. Now, start adding your broth slowly. I usually start with about half a cup, then add a little more until it feels just right – moist, but not soaking wet. You want the bread to soften nicely, but not turn into paste. If you’re adding cooked sausage or cornbread, now’s the time to fold it all in!
Baking and Stuffing Turkey Options
You’ve got two main paths now! You can bake it in a greased baking dish at 350°F (175°C) for about 30-45 minutes until it’s beautifully golden brown on top. Or, if you’re making it for the turkey, loosely stuff the cavity *just before* roasting. Remember, for food safety, stuffing must reach an internal temperature of 165°F (74°C) to be safe to eat, whether it’s roasted in the bird or in its own dish.
Pro Tips for How to Make Stuffing Recipes Like a Pro (2025)
Okay, let’s really dive into how to make stuffing recipes like a pro in 2025, because we want *that* stuffing, right? The one that makes people swoon! My biggest tip? Don’t be afraid to really get in there with your herbs. Double up if you love sage, or throw in some fresh rosemary if you’re feeling fancy. And the broth! Use a good quality one, trust me. It makes a world of difference. For that perfect crispy top, bake it uncovered, and if it’s not browning enough, a quick blast under the broiler (watch it like a hawk!) will work wonders. It’s all about layering those flavors and textures. Thinking about ways to speed things up in the kitchen? Check out these quick meal prep hacks that might even help with stuffing prep!
Ingredient Substitutions and Variations
Sure, we’ve got our classic recipe, but stuffing is SO forgiving and fun to play with! Don’t have regular bread? No worries! Sourdough or even a sturdy baguette can totally work. Just make sure it’s dried out. For the broth, a rich turkey or even a mushroom broth can add another layer of deliciousness. Want to jazz it up? Add chopped pecans or walnuts for crunch, some dried cranberries or diced apples for a touch of sweetness, or even some crumbled cooked bacon for extra savory goodness! The possibilities are endless, and I love seeing what creative twists you all come up with. Maybe even check out some creative recipe ideas to get your imagination going!
Frequently Asked Questions About Stuffing
Can stuffing be made ahead of time?
Oh yes, absolutely! You can assemble the dry ingredients and the wet ingredients separately, then combine them just before baking. For a true make-ahead, you can assemble the whole thing (bread, veggies, broth, herbs) in your baking dish, cover it tightly, and pop it in the fridge for up to 24 hours. Just pull it out about 30 minutes before baking to let it come to room temperature, or add a few extra minutes to the baking time. You can even prep it totally and freeze for longer storage!
What’s the best bread for stuffing?
For the best texture, you really want a denser, slightly dry bread. Think day-old baguette, challah, or even a sturdy country loaf. Avoid soft, squishy sandwich bread though, because it’ll just turn to mush! The key is to make sure it’s dried out, whether overnight or in the oven, so it can soak up all that delicious broth and flavor without turning into a sad, soggy mess.
How to make stuffing moist but not soggy?
This is the million-dollar question, right? It all comes down to that dried bread base – that’s like your stuffing’s structural integrity! Don’t drown it in broth. Start with the amount suggested and add more *gradually* until it’s just right, moist but not soupy. You want each piece of bread to be hydrated, but not sopping wet. Also, baking it uncovered helps the top get a little crispy while the inside stays perfectly moist.
Estimated Nutritional Information
Just a friendly heads-up, the nutrition info here is an estimate! It can totally change depending on exactly what ingredients you use and whether you add any of those yummy optional bits like sausage. We’re looking at roughly X calories, Yg of fat, Zg of protein, and Wg of carbs per serving, but it’s always best to calculate it based on your own ingredients if you need super precise numbers.
Share Your Stuffing Creations!
Okay, now you know all my secrets for making stuffing that’ll knock your socks off! I’d absolutely LOVE to hear how yours turns out. Did you add anything fun and unexpected? Did it disappear in minutes at Thanksgiving dinner? Drop a comment below and tell me all about it! You can even share your own stuffing triumphs or ask any lingering questions – I’m always happy to chat and help you out!

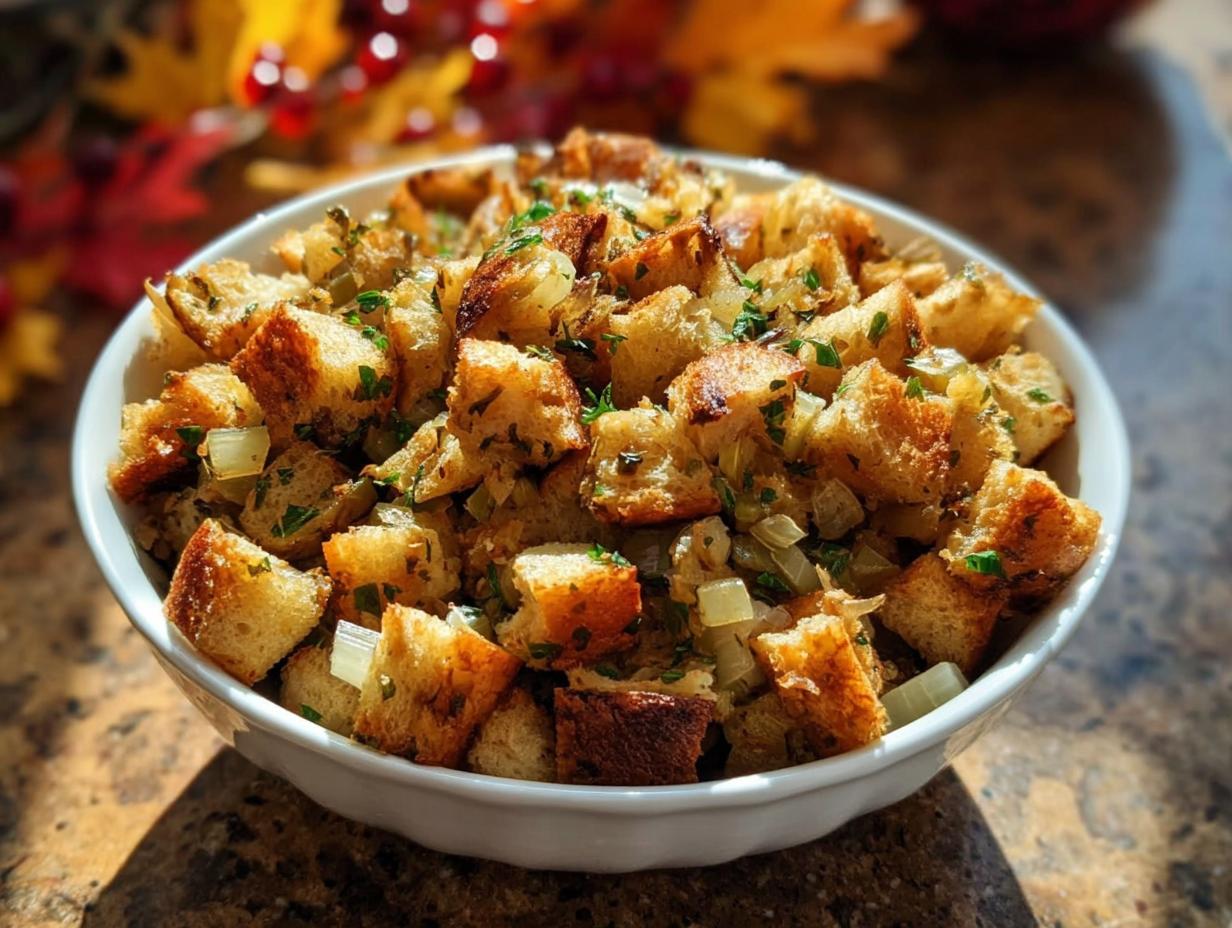
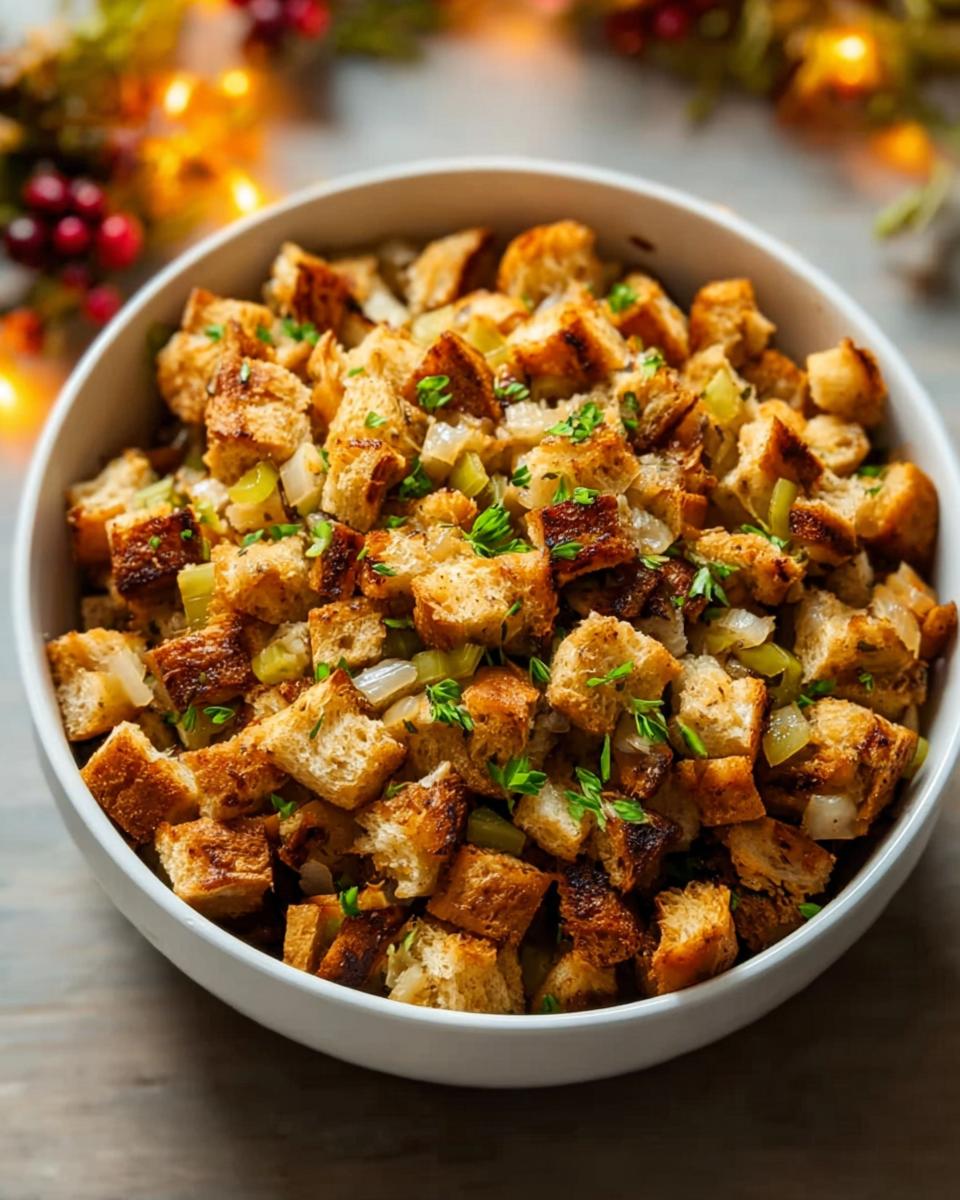
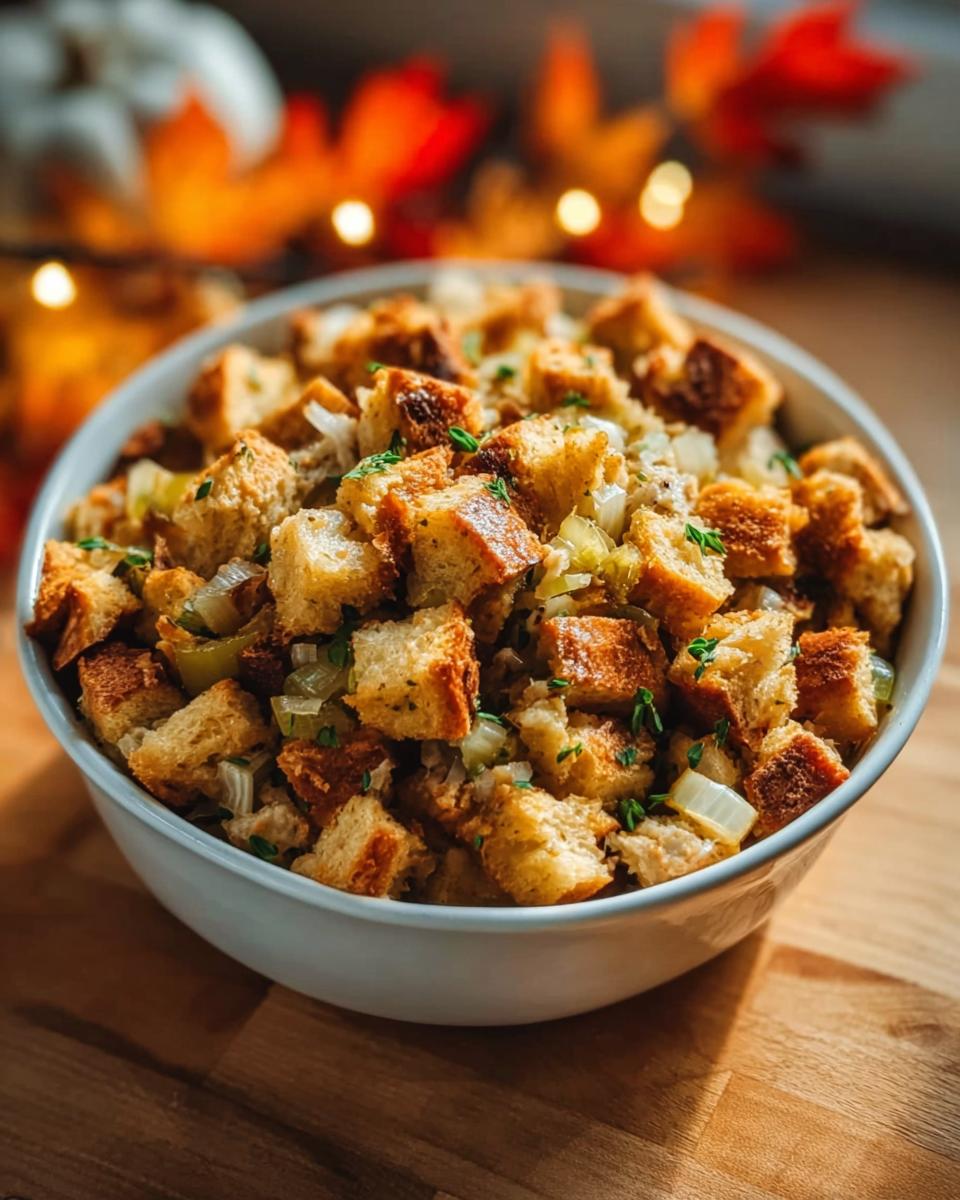
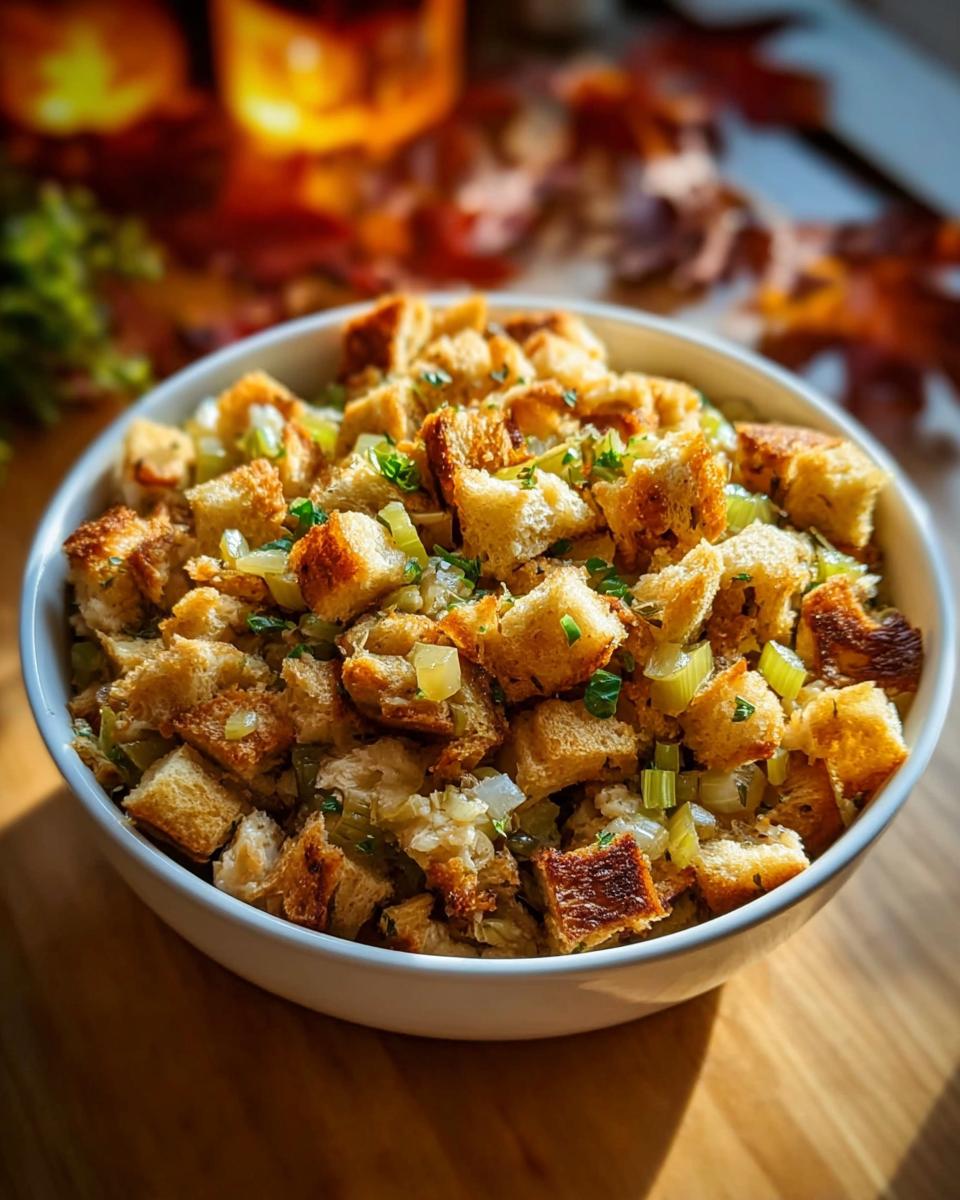
Classic Turkey Stuffing
Ingredients
Equipment
Method
- Dry your bread cubes. Leave them at room temperature for 1-2 days, or toast them in an oven at 250°F (120°C) for 45-60 minutes, stirring occasionally, until dry.
- Melt the butter in a large skillet over medium heat. Add the chopped onions and celery. Cook until softened, about 5-7 minutes.
- Transfer the cooked vegetables to a large bowl. Add the dry bread cubes, chopped fresh herbs (parsley, sage, thyme), poultry seasoning, salt, and pepper. Mix gently to combine.
- Gradually add the chicken or vegetable broth, starting with 1/2 cup, and mix until the stuffing is moist but not soggy. Add more broth if needed, up to 1 cup.
- If adding optional ingredients like cooked sausage or crumbled cornbread, mix them in now.
- For baked stuffing: Transfer the mixture to a greased baking dish. Bake at 350°F (175°C) for 30-45 minutes, or until the top is golden brown.
- For stuffing the turkey: Stuff the turkey cavity loosely just before roasting. Ensure the stuffing reaches an internal temperature of 165°F (74°C) when the turkey is done.
Notes
Tried this recipe?
Let us know how it was!
James Richardson – Certified Budget Nutrition Economist
My expertise in affordable low-carb eating was born from necessity during graduate school, when ramen noodles threatened to derail both my metabolism and my economics dissertation. Later, feeding a family of five on a teacher’s salary while my wife completed nursing school taught me that eating well doesn’t require a trust fund.
With my MBA in consumer behavior analytics, I treat grocery budgets like investment portfolios. My breakthrough “Dollar-Per-Day Keto” challenge proved sustainable low-carb eating could be achieved for under $30 weekly per person through strategic bulk purchasing and what I call “ingredient arbitrage” – buying versatile basics when they’re cheapest.
I’ve developed over 200 budget-optimized recipes with real-time pricing calculations that adjust based on regional grocery data. Unlike lifestyle bloggers who assume unlimited budgets, my meal plans work with food stamp restrictions, dollar store ingredients, and the reality that consistent access to “right” foods often determines dietary success.
My background as a budget coordinator for a regional food bank taught me how economic constraints intersect with nutritional needs. When I’m not playing competitive chess or collecting vintage calculators, I’m proving that nutrition becomes a luxury only when you approach it backwards – optimize for value instead of convenience, and eating well becomes the most economical choice.