Okay, let’s talk soup! If you’re anything like me, you’ve probably stirred countless pots, chasing that perfect bowl that just sings with flavor. Well, get ready, because we’re diving deep into how to make soup recipes like a pro, especially with what’s new for 2025! I remember the first time I nailed a really complex broth – it felt like unlocking a secret level in cooking. This journey is all about transforming simple ingredients into something truly magical, and trust me, it’s easier than you think.
Mastering the Art: How to Make Soup Recipes Like a Pro
Alright, so you want to up your soup game? Fantastic! Making soup like a pro isn’t some secret mystical art; it’s really about understanding a few core principles that make all the difference. It’s about transforming humble ingredients into bowls of pure comfort and amazing flavor. Forget those bland, watery versions you might have tried. We’re talking depth, richness, and that hug-in-a-bowl feeling! For all sorts of amazing dishes, you can check out more recipe inspiration, but when it comes to soup, there are some universal tricks. If you’re ever curious about what’s trending, a quick peek at these popular soup recipes can give you ideas too.
Building Flavor: The Foundation of Pro Soup Making
This is where the magic really starts, and it all comes down to layers! You’ve got to build that flavor base. Think of aromatics like onions, carrots, and celery – that classic mirepoix – as your flavor foundation. Sautéing them slowly until they’re softened and sweet releases their deliciousness before you even add your liquid. Don’t rush this part! And quality ingredients truly sing – using good broth or a flavorful ham bone makes a world of difference. Adding herbs at different stages also boosts complexity; some work best simmered in, while fresh herbs added at the end give a burst of freshness.
Essential Equipment for Professional Soup Recipes
You don’t need a fancy sous-vide machine, but having the right tools makes soup-making SO much easier. A sturdy, heavy-bottomed pot or a Dutch oven is your best friend. It distributes heat evenly, preventing scorching and helping everything simmer beautifully. You’ll definitely want a good cutting board and a sharp knife for prepping all those veggies uniformly. Tongs are super handy for fishing out bones or tasting. A good ladle makes serving a breeze, and honestly, a few simple spatulas and spoons will see you through most recipes. It’s about having reliable tools that make the process enjoyable!
Your Guide to How to Make Split Pea Soup Recipes Like a Pro
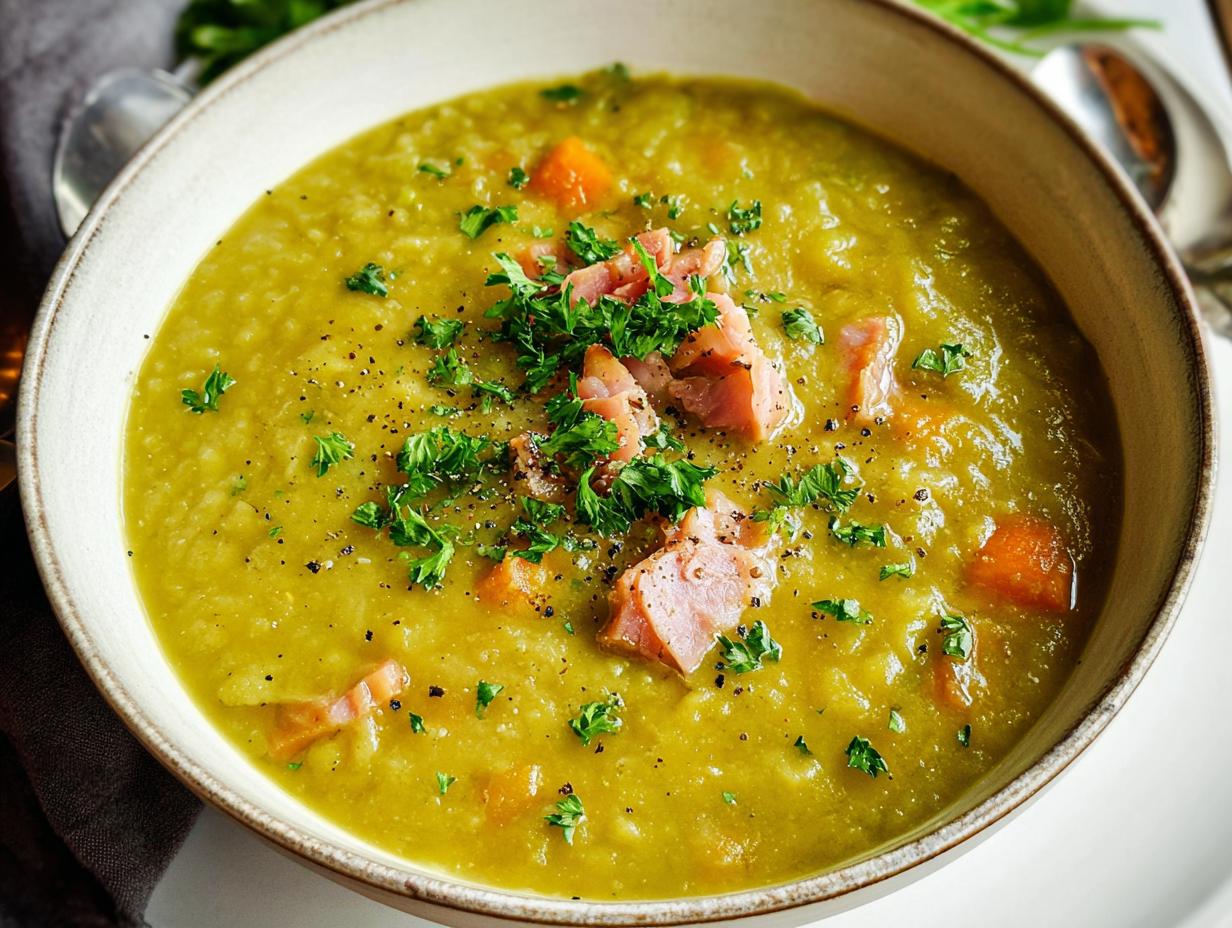
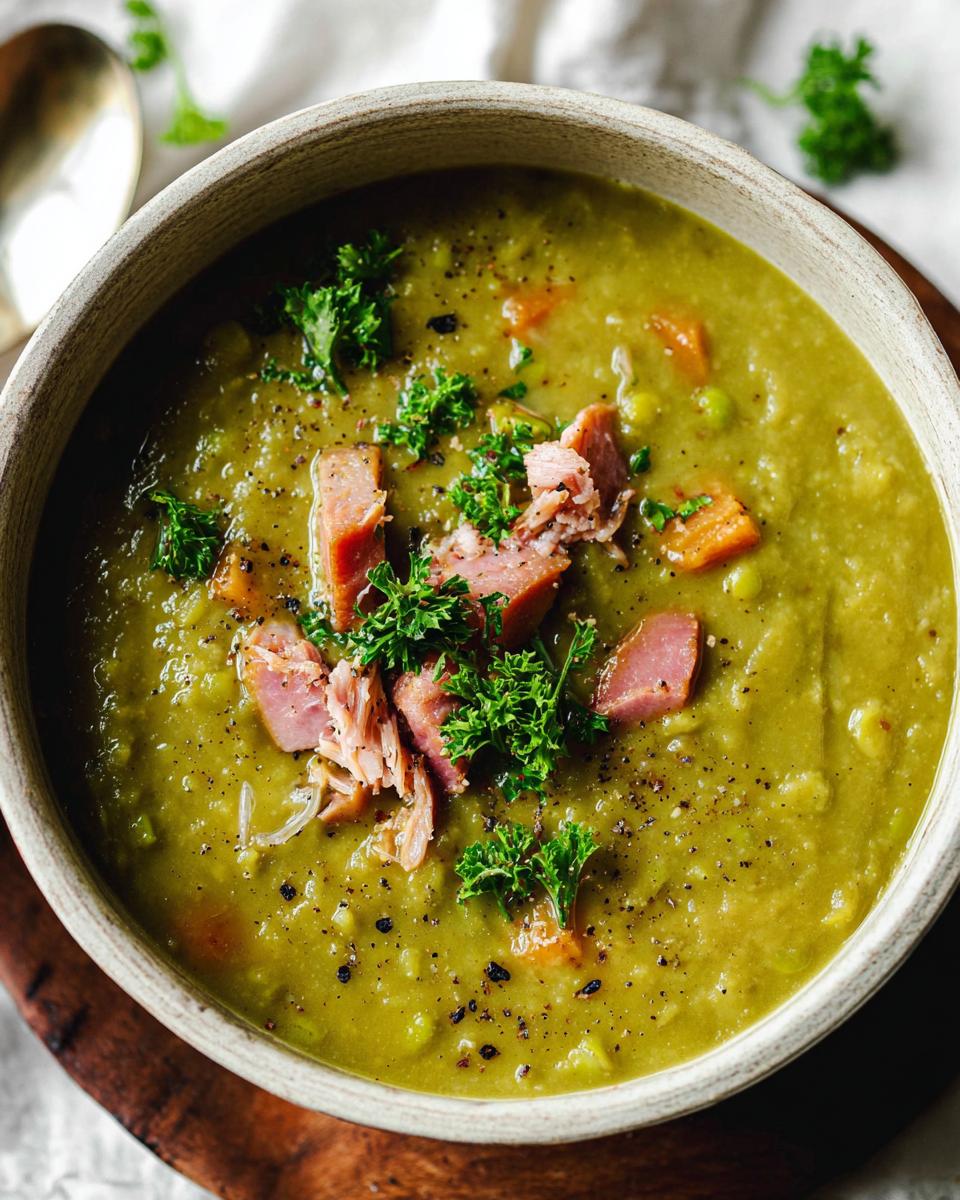
Now, let’s get down to one of my absolute favorite comfort foods: split pea soup! This hearty, soul-warming bowl is the perfect example of how simple ingredients, handled with a little care and knowledge, can create something truly spectacular. If you’re looking to master how to make split pea soup recipes like a pro, this is your golden ticket. I learned this one from my aunt, and it just *feels* like a hug on a chilly day – pure, unadulterated happiness in a bowl. It’s so satisfying to make a soup that’s both incredibly healthy and ridiculously flavorful!
Ingredients for Your Pro Split Pea Soup
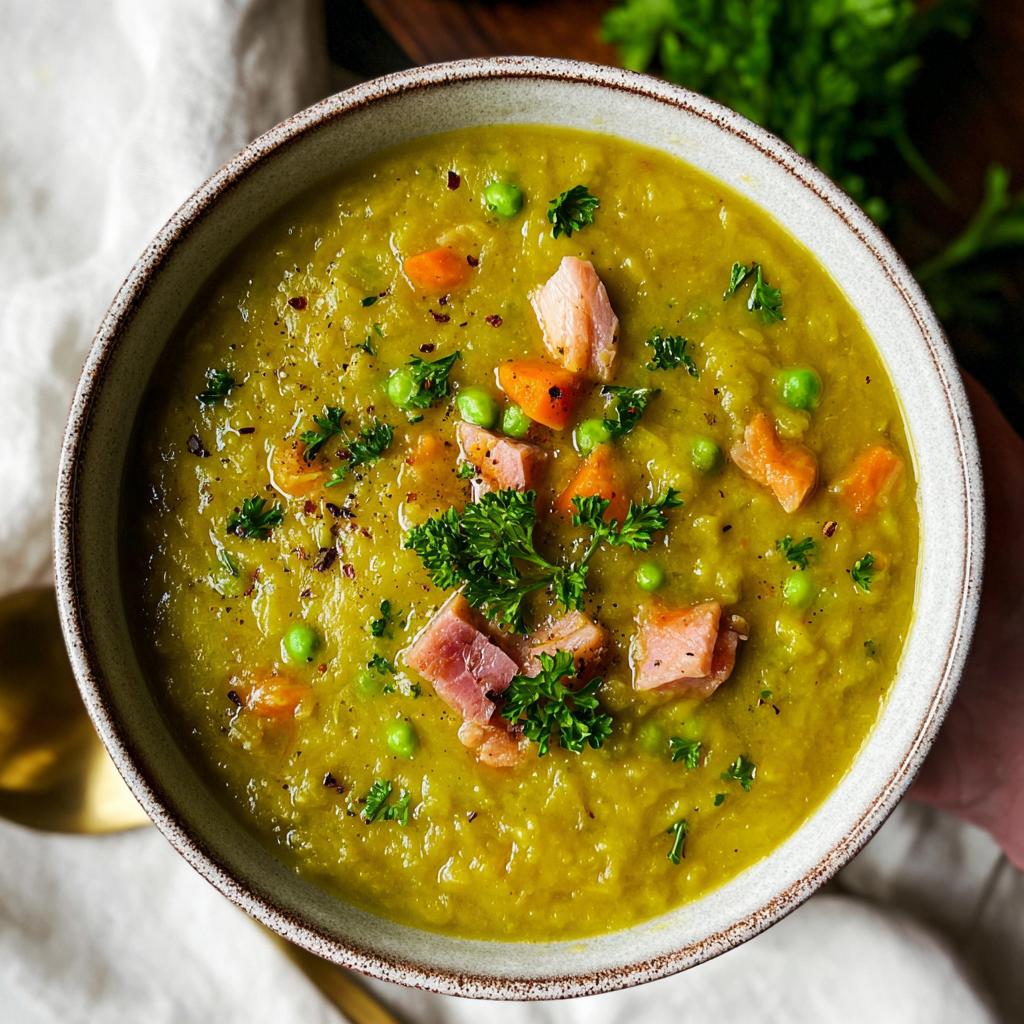
Okay, let’s talk about what goes into this amazing split pea soup! Getting the ingredients right is half the battle, and I swear by using the good stuff. You’ll need some olive oil to get things started, a medium onion, three nice carrots, and three celery ribs – all diced up nice and small. Don’t forget two cloves of garlic, minced super fine. The star, of course, is a pound of dried split peas, make sure you rinse them! We’ll also toss in a half teaspoon of dried thyme, a half teaspoon of kosher salt, and the same of fresh black pepper. And you can’t forget that bay leaf and, crucially, a meaty ham bone!
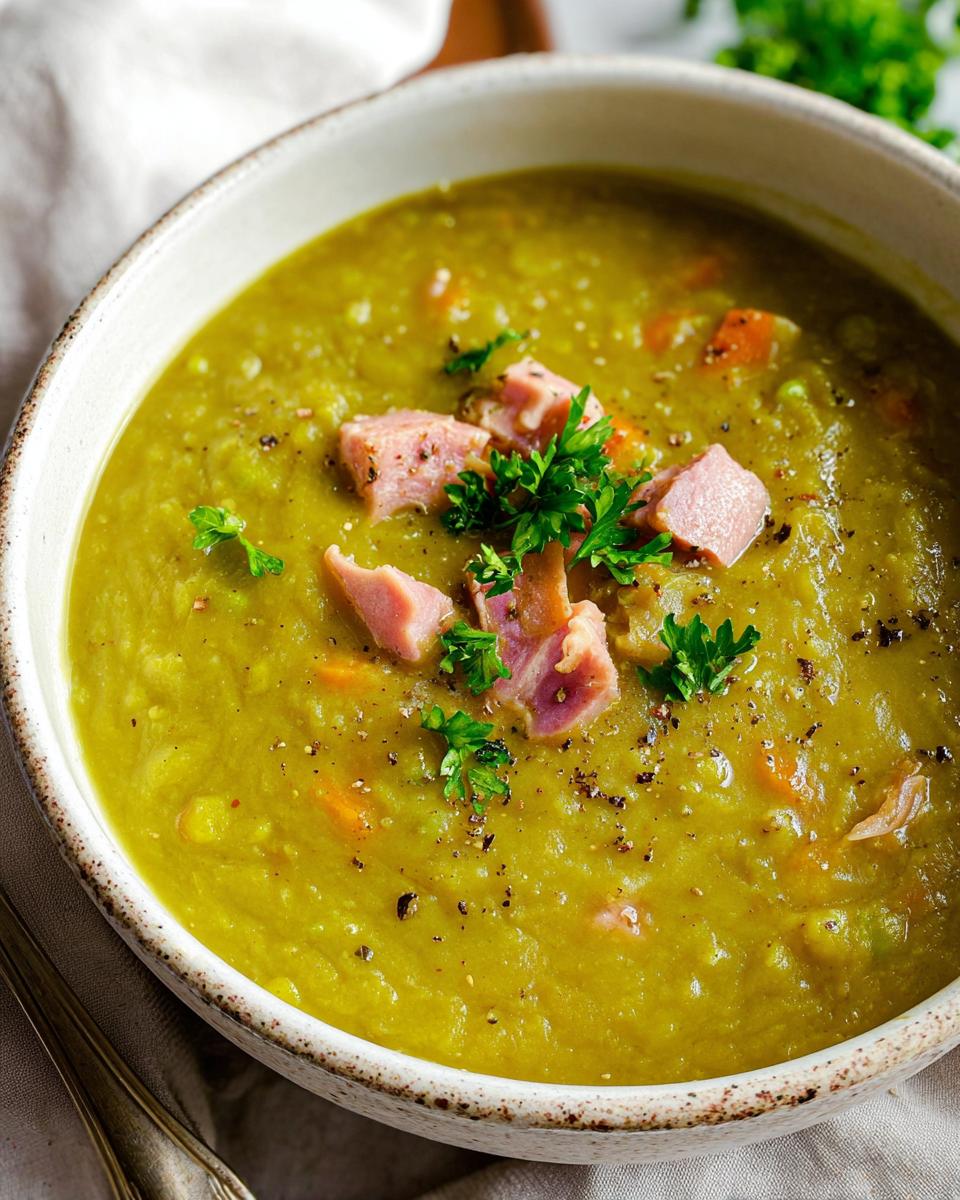
For the liquid magic, we’re using four cups of low-sodium chicken broth and about three to four cups of water, just to get it to the perfect soupiness. Finally, you’ll want about a cup of diced ham, which you can get from your ham bone if it’s got good meat on it, or add some extra cooked ham. And for a pretty finish, some fresh parsley for garnish!
Ingredient Notes and Substitutions
That meaty ham bone is really the secret to amazing flavor in split pea soup, plus it gives you extra ham! If you can’t find one, though, don’t fret. You can get a good amount of flavor by using about a cup of cubed ham (like from the grocery store deli section), and maybe a smoked ham hock. For the chicken broth, vegetable broth works great too if you want to keep it vegetarian, though you’ll miss that salty ham-bone depth. And if you’re not a fan of thyme, a little rosemary or sage can be a nice substitute in a pinch!
Step-by-Step Instructions: How to Make Split Pea Soup Like a Pro
Alright, let’s get cooking and make this split pea soup happen! Follow these steps and you’ll be turning out a pot of goodness that tastes like it simmered for days. First things first, grab your biggest pot or Dutch oven. Heat up that olive oil over medium-high heat. Toss in your diced onion, carrots, and celery. Give them a good sauté for about 3 to 4 minutes until they start to smell amazing and soften up a bit. Then, add your minced garlic and cook for just another minute until it’s fragrant – don’t let it burn!
Now, scoop in those rinsed split peas, add the dried thyme, salt, and pepper. Stir everything around so those peas get a little coated in the goodness. Next, in go the bay leaf, that awesome meaty ham bone, your chicken broth, and 3 cups of water. Crank it up to a boil, then immediately reduce the heat to a gentle simmer. Pop on the lid and let it do its thing for about 50 to 60 minutes. You’ll see the soup start to thicken and those peas will break down beautifully.
Okay, time for a little ham rescue! Carefully use your tongs to pull that ham bone out onto a cutting board. Let it cool just enough so you can handle it. Chop off all that yummy meat and dice it up. Add that diced ham right back into the pot. Now, stir it all together and let it simmer uncovered for another 5 to 15 minutes. This is how you get it to your favorite thickness. If it gets too thick for your liking, just stir in another cup of water. Trust me, this soup keeps thickening as it sits – it’s a living thing! For more tips on healthy eating and meal planning, you might find this guide helpful, especially if you want to make meals even healthier.
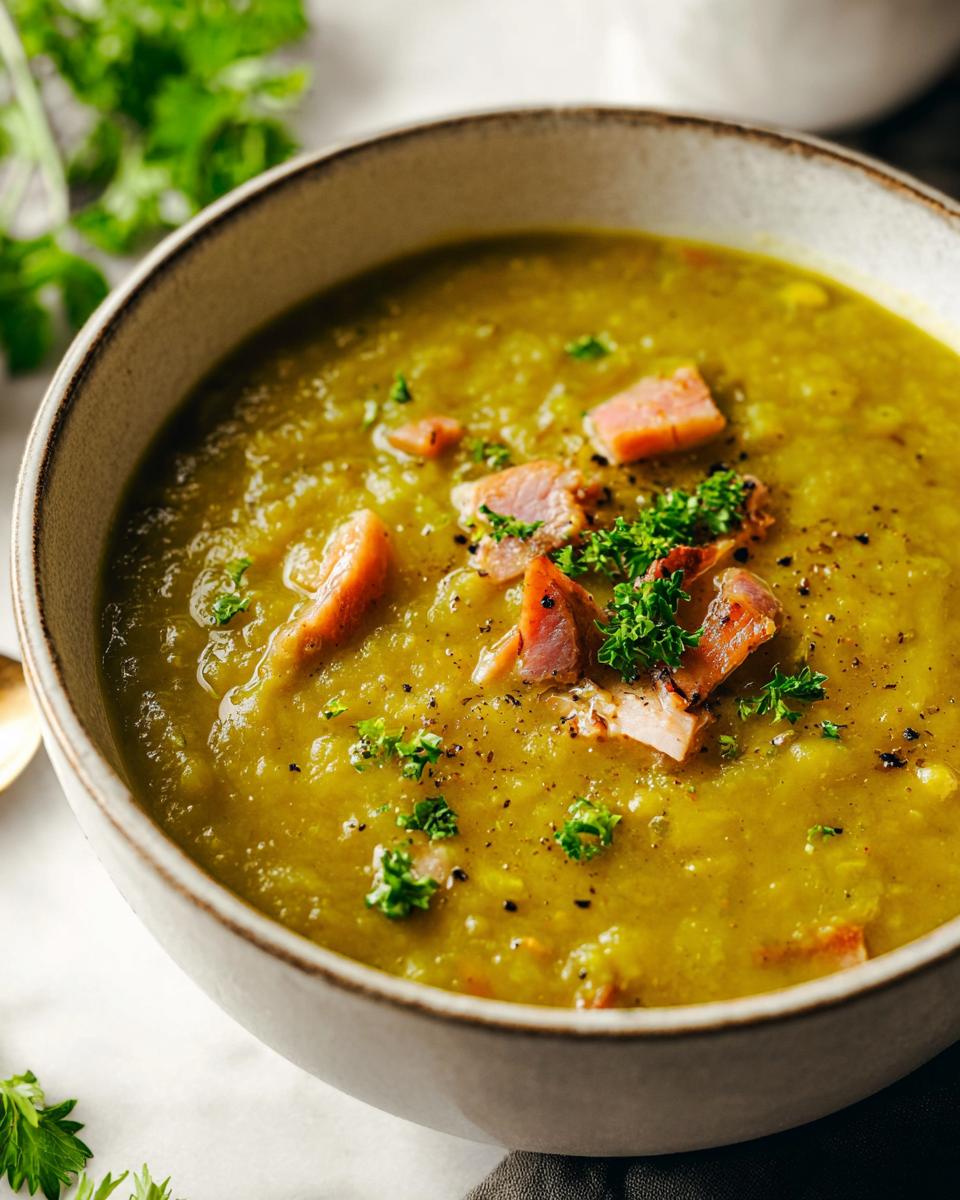
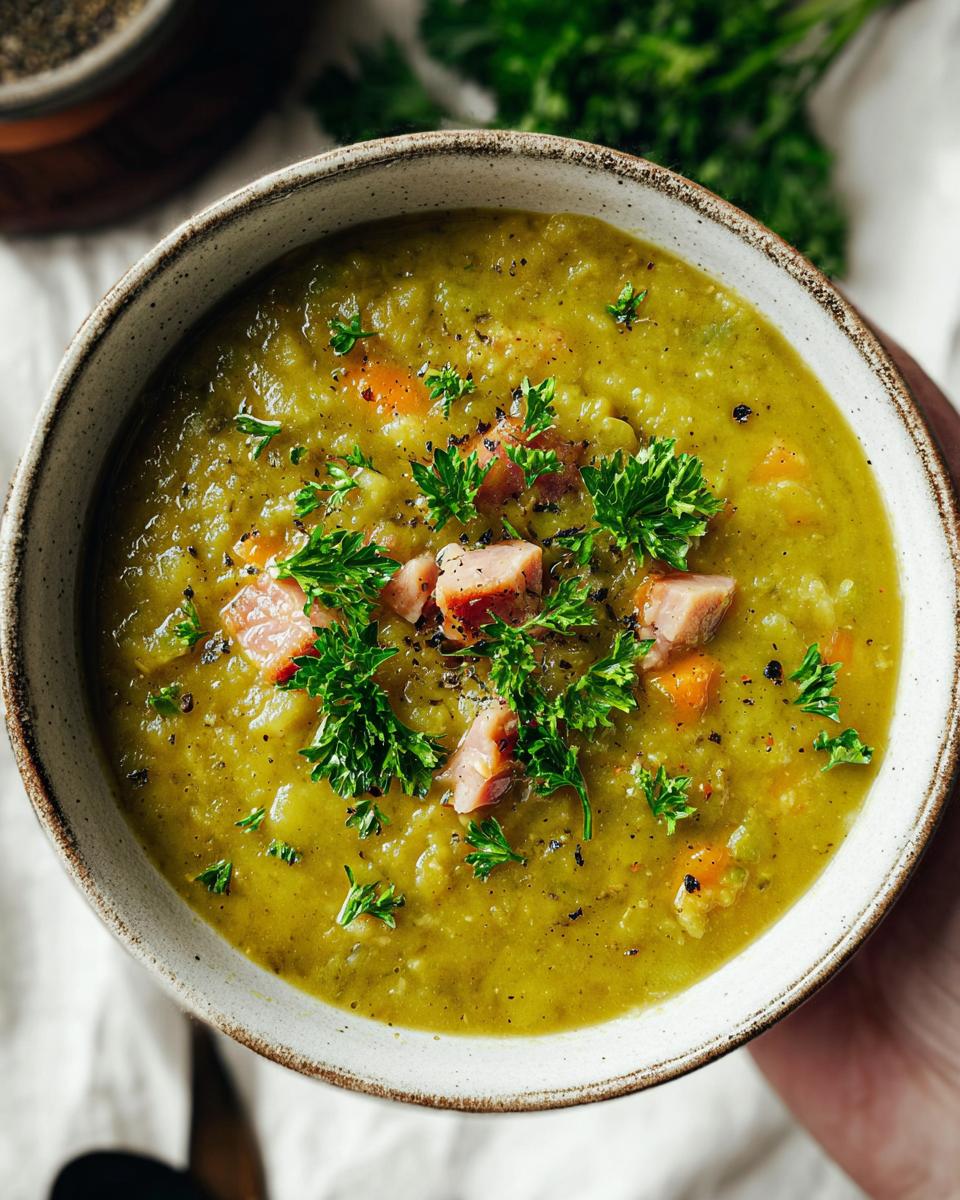
Finally, fish out that bay leaf, give it a taste check, and then ladle this gorgeous soup into bowls. A sprinkle of fresh parsley on top and a little extra black pepper makes it look and taste extra special. See? You just made split pea soup like a pro!
Pro Tips for Perfect Split Pea Soup
Want to take this split pea soup from “really good” to “absolutely unforgettable”? A couple of little tricks can make all the difference. First, don’t be afraid to let it rest! After you’ve added the ham back and achieved your desired thickness, letting the soup sit off the heat for about 10 minutes before serving allows the flavors to meld even more. Also, if you want an extra creamy texture without adding cream, try using an immersion blender to briefly pulse a small portion of the soup (about a cup or two) right in the pot before serving. Just be careful! And remember my note about it thickening when it cools – this isn’t a bad thing! It means it’s packed with flavor and goodness, perfect for reheating later.
Making Split Pea Soup a Healthy Dinner Option
You know, one of the best things about this split pea soup is how wonderfully healthy it is, especially for a dinner option! It’s packed with fiber from those peas, which is great for keeping you full and happy. Plus, it’s a fantastic source of protein, making it a really satisfying meal that won’t leave you feeling heavy. It’s naturally low in fat (unless you go crazy with the ham, which I sometimes do!) and full of good-for-you vitamins and minerals, thanks to all those veggies. It’s proof that you can make delicious comfort food that’s genuinely good for you. For more tips on making healthy meal choices, check out this guide on creating healthy meal plans – it might give you even more ideas for light and nutritious dinners!
Frequently Asked Questions About How to Make Soup Recipes
Got soup questions? I’ve got answers! Making soup, especially something as hearty as split pea, can bring up a few queries. Let’s tackle some of the most common ones to make sure your soup-making journey is smooth sailing.
Can I make split pea soup ahead of time?
Absolutely! In fact, split pea soup is often even better the next day. The flavors really get a chance to mingle and deepen. Just let it cool completely before popping it into an airtight container in the fridge. It should keep well for about 3-4 days. Remember it will thicken up a lot, so be ready to add a splash of water or broth when you reheat it!
What can I serve with split pea soup besides bread?
While crusty bread is amazing for dipping, split pea soup is a meal in itself! But if you’re looking for something extra, it pairs wonderfully with a simple green salad or even some lighter side dishes. Some people even like to serve it over a small bed of rice. It’s so filling, you don’t need much else for a complete dinner.
My split pea soup is too thick. What did I do wrong?
Oh, don’t worry, that’s an easy fix! It usually just means it needed a little more liquid. As it simmered, the peas broke down and absorbed a lot of the liquid. Simply stir in more chicken broth or water, a little at a time, until you reach your desired consistency. It’s perfectly normal for it to thicken as it cools, too!
Can I freeze split pea soup?
Yes, you can definitely freeze split pea soup! It freezes really well. Just make sure it’s completely cooled, then portion it into freezer-safe containers or bags. Leave a little headspace, as liquids expand when frozen. When you’re ready to enjoy it, thaw it in the fridge overnight and then reheat it gently on the stovetop, adding liquid as needed to get it back to soup consistency. It’s a lifesaver for quick future dinners!
Storage and Reheating Your Split Pea Soup
Okay, so you’ve made a glorious pot of split pea soup, and lucky you – there are leftovers! Storing and reheating this hearty goodness is super simple, but there are a couple of little things to keep in mind. First off, this soup is a bit of a thickener. As it cools down, those peas just keep doing their thing, turning your soup into a delightful, thick stew. This is totally normal and actually a sign of a well-made soup!
To store it, just let the soup cool down completely on the counter. Once it’s not piping hot, spoon it into an airtight container. It’ll keep nicely in the fridge for about 3 to 4 days. When you’re ready to reheat, expect it to be on the thicker side. No worries, though! Just scoop it into a pot over medium-low heat and stir in a little bit of water or chicken broth, a tablespoon at a time, until it’s back to your preferred soup consistency. You can also reheat it in the microwave, just stir every minute or so. Enjoy that leftover goodness!
Estimated Nutritional Information
Here’s an estimated breakdown for a 1-cup serving of this hearty split pea soup. Keep in mind these numbers can wiggle a bit depending on the exact ham bone and broth you use! Expect around 397 calories, 30g protein, 53g carbs, and 8g fat.
Share Your Pro Soup Creations!
I’d absolutely LOVE to hear about your split pea soup adventures! Did you make it? Did you tweak it? Drop a comment below and tell me all about it! If you’re feeling fancy, snap a pic and tag me on social media – seeing your kitchen triumphs makes my day. For any extra questions or to share more, you can always get in touch!
Split Pea Soup
Ingredients
Equipment
Method
- Heat the oil in a large pot or Dutch oven over medium-high heat. Add the onion, carrots, and celery, and saute for 3 to 4 minutes. Then add the garlic and saute for another minute.
- Add the split peas, thyme, salt, and pepper. Stir together.
- Add the bay leaf, ham bone, chicken broth, and 3 cups of water. Bring to a boil, reduce the heat to a simmer, cover, and cook for 50 to 60 minutes, stirring occasionally, until the soup has thickened and the peas have broken down.
- Using tongs, remove the ham bone to a cutting board and dice the remaining meat (about 1 cup of diced ham), then add it back to the soup. Stir and simmer uncovered for an additional 5 to 15 minutes, or until it’s thickened to your liking. If it’s too thick, you can add another cup of water. The soup will continue to thicken as it sits.
- Discard the bay leaf, ladle the soup into bowls, and garnish with finely chopped fresh parsley and black pepper.
Nutrition
Notes
Tried this recipe?
Let us know how it was!
Certified Therapeutic Nutrition Specialist
My journey into medical low-carb nutrition began when my four-year-old daughter was diagnosed with epilepsy. When neurologists recommended the Modified Atkins Diet as seizure management, I found myself in uncharted territory where recipe failures could literally trigger neurological episodes.
As a registered nurse with pediatric experience, I had the clinical knowledge but needed to learn how to translate medical protocols into family-friendly meals. I spent three years documenting every successful adaptation and breakthrough that made medical nutrition feel less like punishment and more like nourishment for our family’s unique needs.
I’ve developed over 190 medically-compliant recipes, each tagged with precise macro calculations and detailed notes about which health conditions benefit most. My collaboration with pediatric neurologists at Children’s Hospital of Philadelphia resulted in the first comprehensive cookbook for families managing childhood epilepsy through diet – work that’s now used by three major children’s hospitals.
When I’m not reading medical journals or practicing violin for stress relief, I’m advocating for insurance coverage of medical foods and helping school districts accommodate students on prescribed ketogenic protocols. Medical nutrition isn’t about perfection – it’s about precision applied with compassion.