
Okay, let’s talk pork chops. For the longest time, I was so intimidated by them! I swear, every time I tried to cook them, they’d turn out either tough as shoe leather or… well, let’s just say *not* juicy. It felt like a total gamble. But trust me, after years of kitchen experiments (and a few dry chops along the way!), I’ve cracked the code. This guide, The Ultimate Pork Chops Recipes Guide for Beginners, isn’t about fussy techniques or obscure ingredients. It’s my foolproof way to get perfectly juicy, flavorful pork chops every single time, right in your skillet. You can absolutely do this!
Why This The Ultimate Pork Chops Recipes Guide for Beginners
So, what makes this guide your new best friend for cooking pork chops? For starters, it’s ridiculously easy! We’re talking simple ingredients you probably already have and a method so straightforward, you’ll wonder why you ever stressed about pork chops before. The real magic here? We focus on keeping them incredibly juicy. Seriously, no more dry, sad pork chops. This is The Ultimate Pork Chops Recipes Guide for Beginners because it’s designed to give you confidence in the kitchen, leading to delicious results you’ll be proud to serve.
Beginner-Friendly Ingredients
You won’t need to go on a wild goose chase for special ingredients here. Everything we use is super common – spices you likely have in your pantry, a good cut of pork chop, a splash of stock. It’s all about making fantastic food accessible and not overwhelming, so you can focus on the fun part: cooking!
Foolproof Cooking Method
This recipe is practically foolproof. I’ve broken down every single step into bite-sized pieces, and we’re using simple tools like a skillet. We’re not doing anything fancy, just using solid cooking techniques that deliver amazing flavor and texture. You’ll be searing, simmering, and serving up perfect pork chops with a smile!
Essential Ingredients for Juicy Skillet Pork Chops
Alright, let’s get down to the nitty-gritty! Having the right ingredients is half the battle, and for these juicy skillet pork chops, we’re keeping it nice and simple. Trust me, you don’t need a gourmet pantry for this. We’ve got the chops themselves, a killer spice rub that adds tons of flavor without being complicated, and a quick, delicious pan sauce to finish it all off. For cooking, I love using avocado oil or even just a good vegetable oil because it has a high smoke point, meaning it can get nice and hot for that perfect sear without burning up. It really makes a difference!
Pork Chop Selection Tips
When you’re at the store, look for pork chops that are at least 1-inch thick. Thicker chops are way more forgiving and much harder to overcook, which is key for juiciness, especially when you’re starting out. Bone-in or boneless works, but bone-in can sometimes add a little extra flavor. Just check the marbling – those little white flecks of fat running through the meat? They’re your best friend for tender, flavorful results! Avoid anything that looks super pale or dry; you want a nice pink color. Honestly, picking out good chops is about 80% of the job!
Spice Rub Explained
This spice rub is where the flavor really pops! It’s a simple mix – chili powder, garlic powder, onion powder, smoked paprika, and pepper. That little bit of flour might seem odd, but it actually helps create a lovely, slightly crisp crust when it hits the hot pan. It’s not about making a heavy breading, just a nice, flavorful coating that helps lock in moisture. You just mix it all up in a little bowl and you’re ready to go!
Step-by-Step: Cooking The Ultimate Pork Chops Recipes Guide for Beginners
Okay, deep breaths! This is where the magic really happens. I promise, following these steps will turn those beautiful pork chops into pure deliciousness. Think of this as your personal culinary journey with The Ultimate Pork Chops Recipes Guide for Beginners. We’re going to sear them for that perfect golden crust, then let them cook gently to juicy perfection, and finish with a simple, incredible pan sauce. You’ve got this!
Preparing the Pork Chops
First things first, let’s get those chops ready. Take them out of the fridge about 30 minutes before you plan to cook them. This lets them come to room temperature, which helps them cook more evenly. Now, pat them *really* dry with paper towels. This step is super important for getting a good sear! Then, season both sides generously with salt. After that, take your mixed-up spice rub and pat it all over the chops, making sure they’re coated nicely on both sides. Don’t be shy with the rub! You can find more tips on getting a great sear on pork chops right here.
Searing for Flavor
Get a good skillet – one that can go from stovetop to oven if needed, but for this recipe, just a regular skillet with a lid is perfect. Heat about a tablespoon of avocado or vegetable oil over medium-high heat. You want that pan nice and hot! You’ll know it’s ready when the oil shimmers. Carefully lay your seasoned pork chops into the hot pan. Let them sizzle and get a beautiful golden-brown color on the first side, about 2 to 3 minutes. If your chops have a nice thick edge of fat, use your tongs to hold them up against the side of the pan for about 30 seconds so that fat renders and gets nice and crispy too. Score!
Cooking to Perfection
After that gorgeous sear, flip the chops over. Now, lower the heat to low. This is key so they don’t burn while they cook through. Pop a lid on your skillet. This traps the steam and helps cook the chops gently. We’re aiming for juicy, not dry, so keep an eye on it. The best way to know for sure? Use an instant-read thermometer! Stick it into the thickest part of the chop, avoiding the bone if there is one. You’re looking for an internal temperature of 145°F. Start checking around the 5-minute mark, and then every couple of minutes after that. It’s better to check often than to overcook!
Resting is Crucial
This is a step people often skip, but trust me, it’s NON-NEGOTIABLE for juicy meat! Once your chops hit that perfect 145°F, take them out of the skillet and put them on a clean plate. Loosely tent them with aluminum foil. Let them sit there for at least 5 minutes, or even up to 10 if you can wait. This allows the juices to redistribute throughout the meat. If you cut into them right away, all that lovely juiciness will just run out onto the plate. Patience, my friend!
Crafting the Pan Sauce
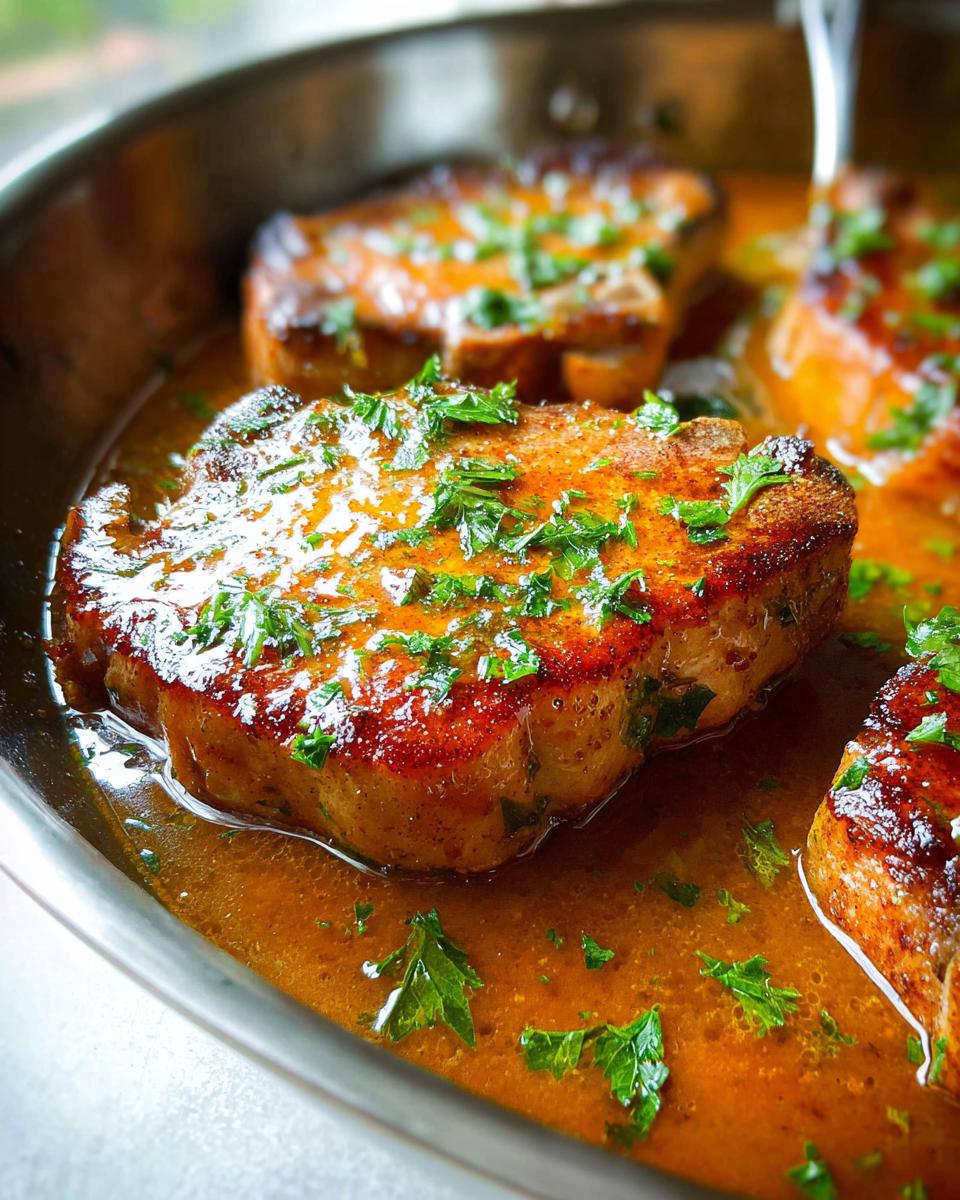
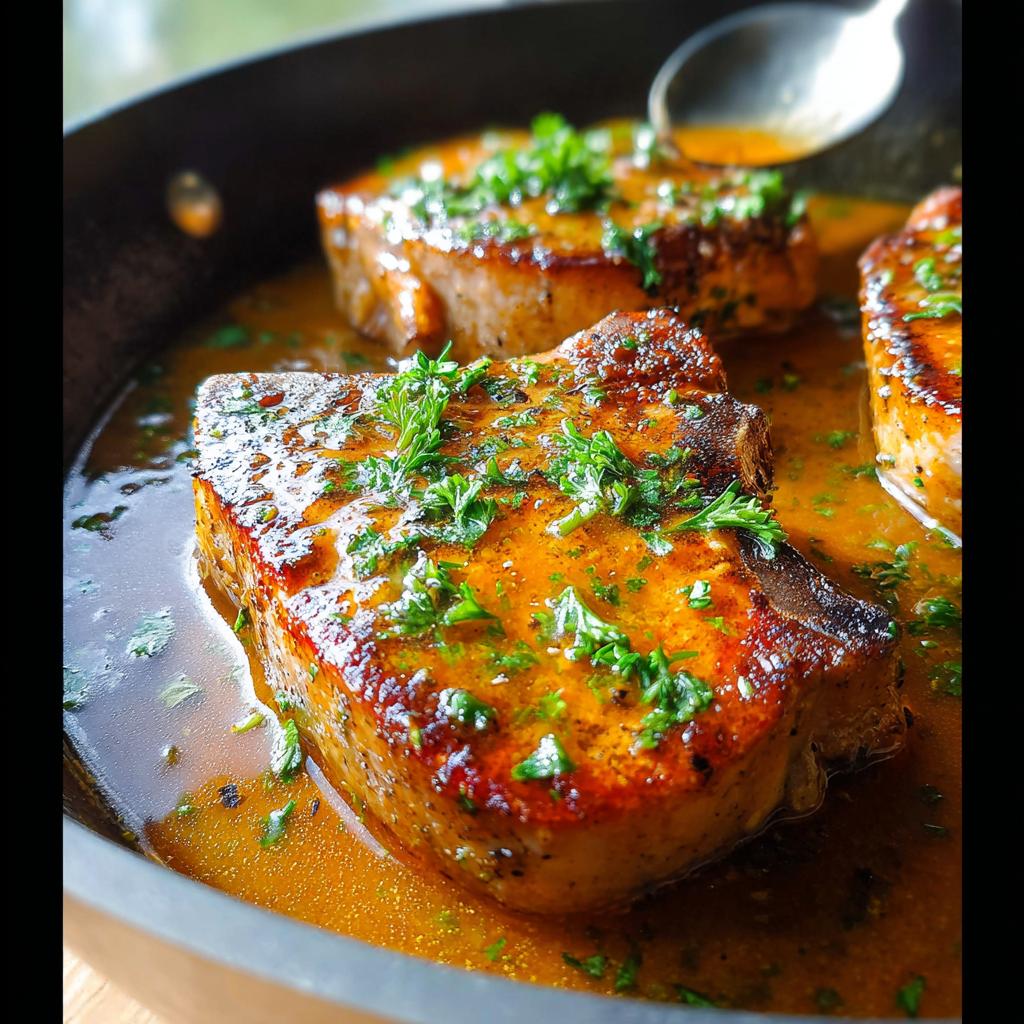
While your chops are resting, let’s make that amazing pan sauce. Pour out any excess oil from the skillet, but leave all those tasty browned bits! Put the skillet back on the stove over medium-high heat. Pour in your chicken stock, apple cider vinegar, and honey (or brown sugar). Scrape the bottom of the pan with your wooden spoon to loosen up all those flavorful bits stuck there – that’s called deglazing, and it’s where so much flavor comes from! Let the sauce bubble away and reduce by about half, thickening it up. Taste it! Does it need a tiny bit more salt? A touch more sweetness or tang? Adjust as needed. Then, take the pan *off* the heat for a moment. Once the bubbling calms down, swirl in that tablespoon of butter. This makes the sauce glossy and rich. Seriously, it’s liquid gold!
Tips for The Ultimate Pork Chops Recipes Guide for Beginners Success
Okay, friend, let’s talk about making sure your pork chops are absolutely, positively perfect every single time. I’ve learned a few tricks over the years, and sharing them in The Ultimate Pork Chops Recipes Guide for Beginners is my favorite part! It’s all about those little details that take a good dish to a truly *great* one. We want juicy, flavorful chops, right? It’s not complicated, but these tips really make all the difference in turning you into a pork chop pro. For more great beginner tips, hop over to this beginner-friendly guide!
Achieving a Perfect Sear
That beautiful golden-brown crust? That’s flavor, my friend! To get it, make sure your skillet is nice and hot *before* the pork chops go in. I’m talking shimmering oil, not smoking, but definitely hot. Using an oil with a high smoke point like avocado or vegetable oil is a game-changer here. Don’t crowd the pan, either! Cook them in batches if you have to. That sear locks in moisture and builds up all those yummy bits on the bottom of the pan for your sauce later.
Don’t Overcook Your Pork
This is probably the biggest mistake people make with pork chops – overcooking! Seriously, it’s the fastest way to dry them out. Forget timing alone; trust your instant-read thermometer. We’re aiming for 145°F (that’s medium). Once it hits that temp, pull it off the heat. Remember, it’ll continue cooking a bit while it rests. Checking early and often is the secret weapon against dry pork.
Mastering the Pan Sauce
That quick pan sauce is so good, you’ll want to lick the skillet clean! If your sauce seems a little thin, just let it simmer a bit longer to reduce. Tasting and adjusting is crucial here – a little more vinegar for tang, a touch more honey for sweetness? Easy fix. And that final swirl of butter off the heat? It gives the sauce a beautiful, rich gloss and luscious texture. Don’t skip it!
Frequently Asked Questions About Pork Chops
You’ve got questions? I’ve got answers! Cooking pork chops can seem tricky, but once you know a few things, it’s a total breeze. Here are some common things folks ask about, and my best advice to get that perfect, juicy result every time.
What is the best internal temperature for pork chops?
For juicy, safely cooked pork chops, aim for an internal temperature of 145°F (medium). Using an instant-read thermometer is your best friend here! Anything lower could be a safety risk, and anything higher starts to dry them out fast. Remember, the temperature will rise a few degrees while they rest, so pulling them off the heat right at 145°F is perfect.
Can I use thinner pork chops?
You sure can! Just know they’ll cook much faster. Keep a really close eye on them and start checking the temperature a few minutes after you put the lid on. You’ll likely shave off several minutes from the cooking time compared to thicker chops. The key is still not to overcook them, so the thermometer is even more important with thinner cuts!
How do I prevent my pork chops from drying out?
Oh, this is the big one! The absolute best advice is twofold: don’t overcook them, and let them rest. Seriously, invest in a meat thermometer and pull them off the heat at 145°F. Then, let them sit, covered loosely with foil, for at least 5 minutes before slicing. That rest time lets the juices redistribute, making them super moist. A good sear at the beginning also helps lock in moisture!
Serving Suggestions for Your Pork Chops
So, you’ve got these perfectly juicy skillet pork chops, what do you serve ’em with? My go-to is always some creamy mashed potatoes or a fluffy pile of rice to soak up that amazing pan sauce. Roasted veggies are fantastic too – think broccoli, green beans, or Brussels sprouts. If you’re looking for some quicker meal prep ideas, you can totally check out these low-carb meal prep ideas, which can often be adapted for sides. It’s all about making a delicious, well-rounded meal!
Storage and Reheating
Leftovers are the best, aren’t they? Store any leftover pork chops in an airtight container in the fridge for up to 3 days. I always find they taste even better the next day! When you’re ready to reheat, the goal is to warm them through without making them tough. My favorite trick is to do it gently in a skillet over low heat with a splash of broth or water, or even just a tiny bit of that leftover pan sauce if you have it! You can also reheat them in the oven at a low temp (around 300°F) for about 10-15 minutes, covered. Avoid the microwave if you can – it’s a one-way ticket to dry pork! For more quick kitchen tips, check out these keto hacks that can speed things up!
Estimated Nutritional Information
Just a heads-up, the nutritional info below is an estimate based on the ingredients we used. Think of it as a ballpark figure! Things like the exact size of your pork chops, or the specific brands of oil and stock you grab, can change these numbers a little. But, it gives you a good idea of what you’re working with – we’re talking protein-packed, satisfying, and not too heavy!
Share Your Perfect Pork Chops!
So, you did it! You made these amazing, juicy pork chops! I’d absolutely LOVE to hear how they turned out. Did you try the pan sauce? Got any fun side dishes you paired them with? Drop a comment below and let me know! And hey, if you snapped a pic, totally tag me on social media – I live for seeing your kitchen creations! Feel free to reach out via my contact page if you have any questions!
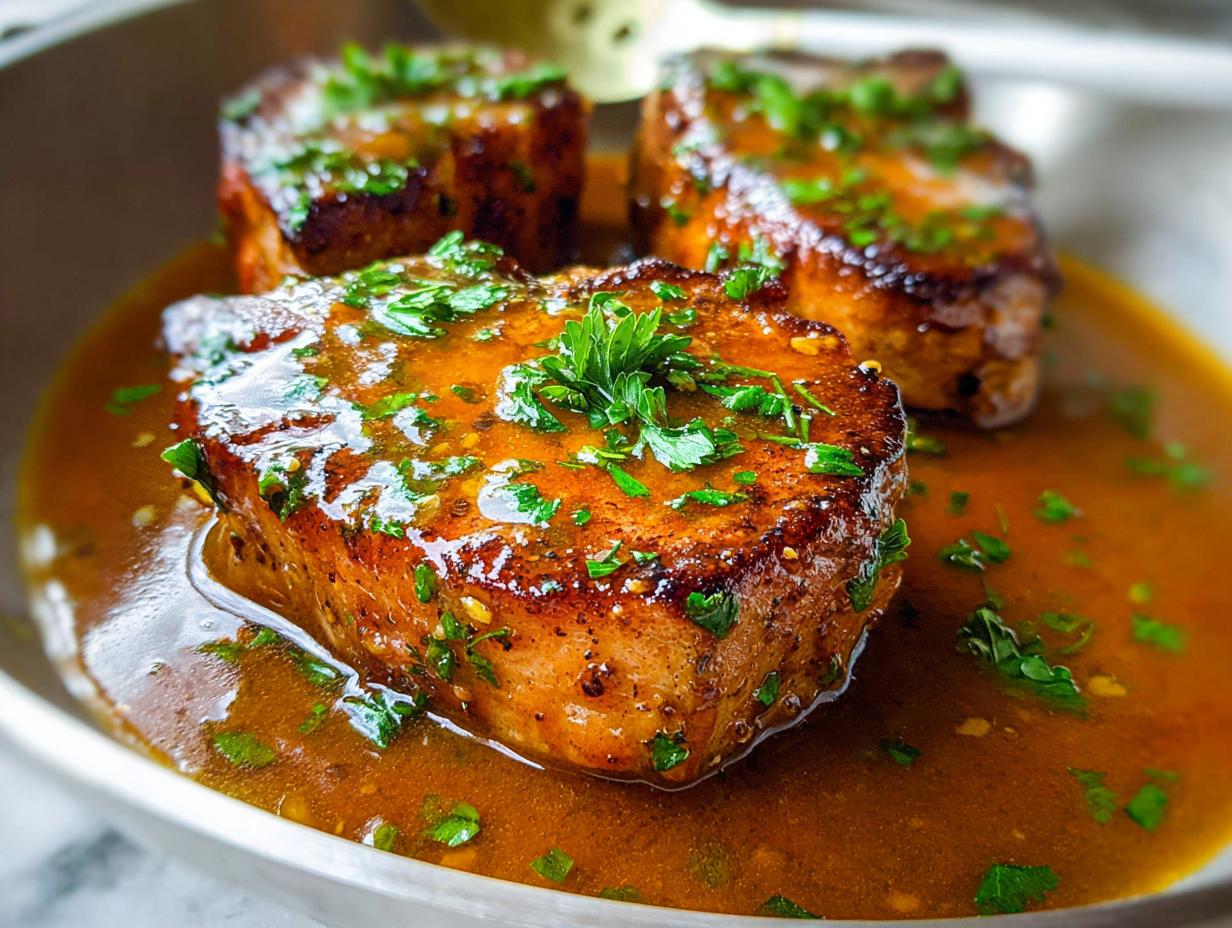
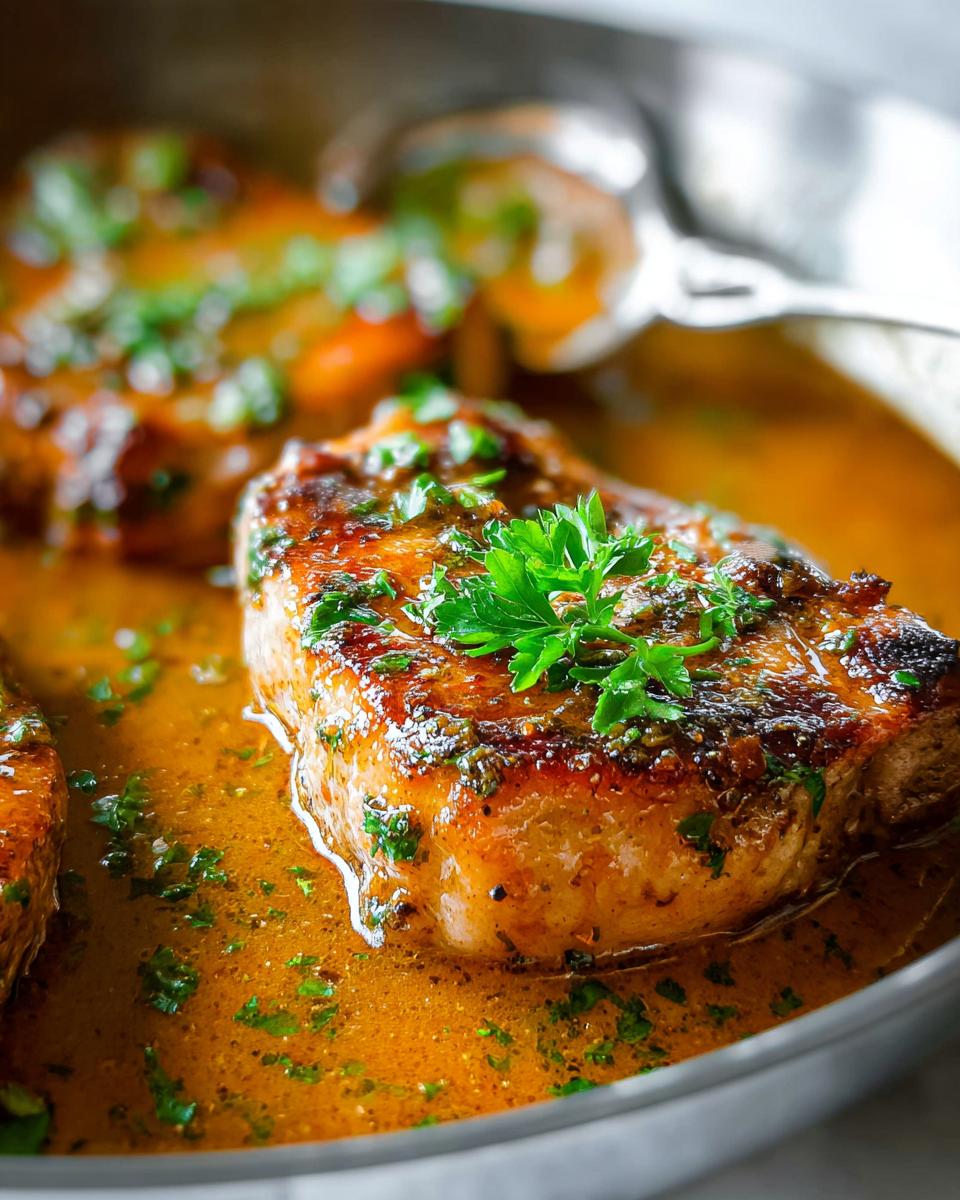
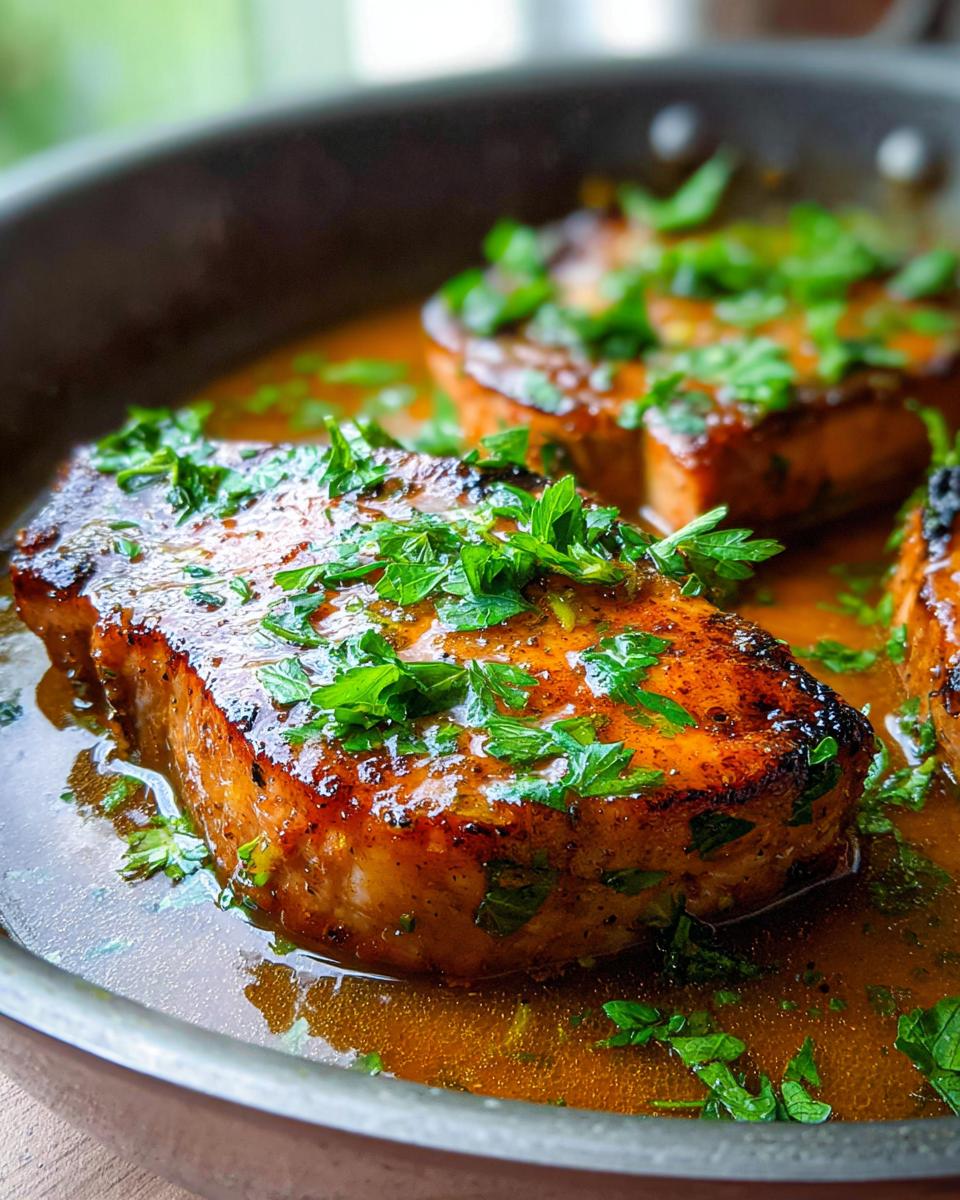
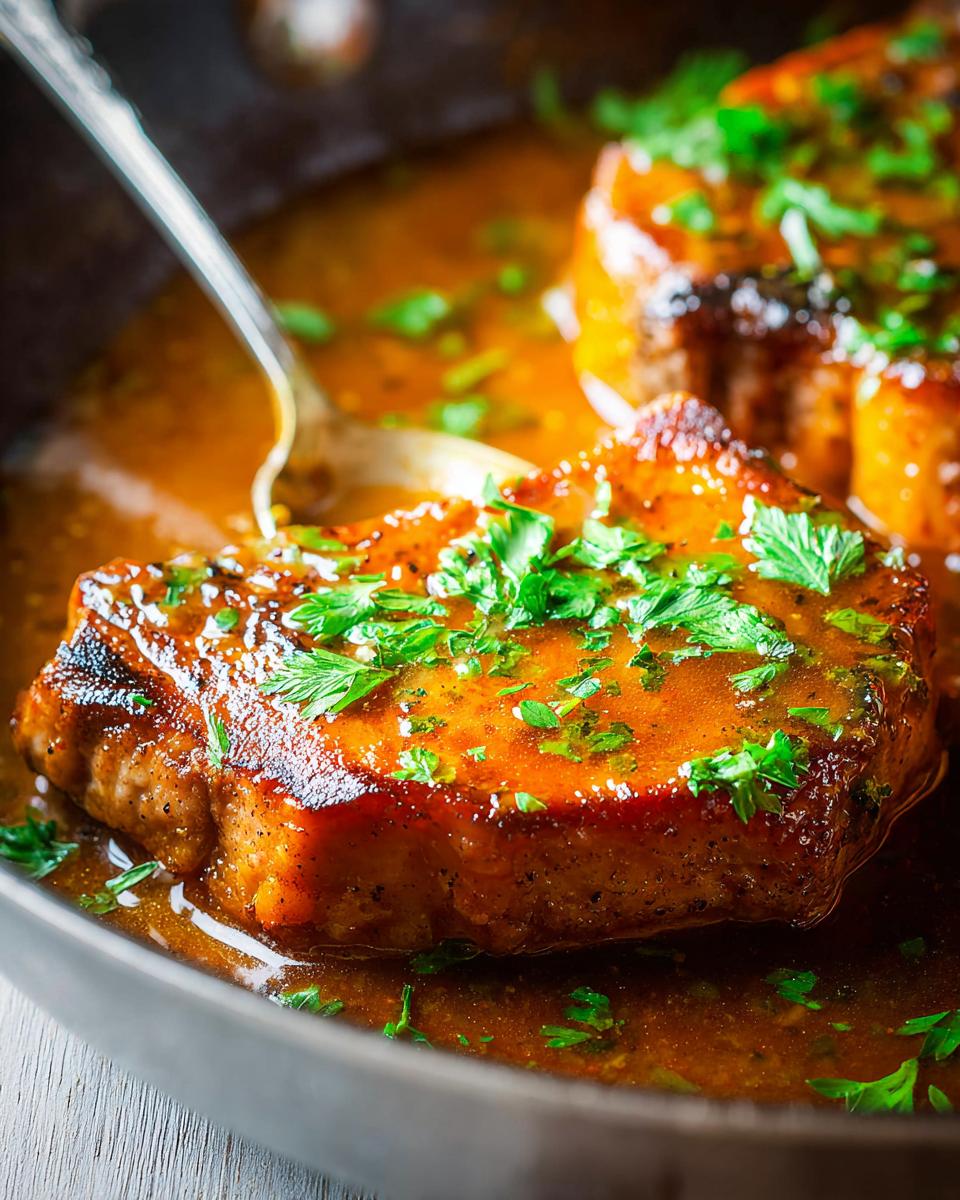
Juicy Skillet Pork Chops for Beginners
Ingredients
Equipment
Method
- Take the pork chops out of the refrigerator and season both sides with salt. Let them rest at room temperature for 30 minutes.
- In a small bowl, mix the flour, chili powder, garlic powder, onion powder, smoked paprika, and 1/2 teaspoon of black pepper.
- Pat the chops dry with paper towels, then rub the spice mixture all over.
- Heat the oil in a skillet with a lid over medium-high heat. When the oil is hot and shimmery, add the pork. Cook until golden, 2 to 3 minutes.
- Flip the pork. If the chops have a fat edge, use tongs to hold them upright until the fat sizzles and browns, about 30 seconds.
- Reduce the heat to low, then cover the skillet. Cook for 6 to 12 minutes, or until an instant-read thermometer inserted into the thickest part of the chop reads 145°F. Start checking for doneness at 5 minutes, then every 2 minutes after.
- Transfer the pork chops to a plate, then loosely cover them with aluminum foil. Let the pork rest for 5 minutes.
- Increase the heat to medium-high in the same skillet, then add the chicken stock, vinegar, and honey. Bring the sauce to a simmer and cook until reduced by half. Scrape the bottom of the pan to loosen any stuck bits. Taste, then adjust with additional salt, vinegar, or honey.
- Slide the skillet off the heat, wait until the sauce stops simmering, then swirl in the butter.
- Return the pork chops to the pan and spoon the sauce over them. Or slice the chops and toss the slices in the sauce. Sprinkle with fresh parsley and serve.
Nutrition
Notes
Tried this recipe?
Let us know how it was!
James Richardson – Certified Budget Nutrition Economist
My expertise in affordable low-carb eating was born from necessity during graduate school, when ramen noodles threatened to derail both my metabolism and my economics dissertation. Later, feeding a family of five on a teacher’s salary while my wife completed nursing school taught me that eating well doesn’t require a trust fund.
With my MBA in consumer behavior analytics, I treat grocery budgets like investment portfolios. My breakthrough “Dollar-Per-Day Keto” challenge proved sustainable low-carb eating could be achieved for under $30 weekly per person through strategic bulk purchasing and what I call “ingredient arbitrage” – buying versatile basics when they’re cheapest.
I’ve developed over 200 budget-optimized recipes with real-time pricing calculations that adjust based on regional grocery data. Unlike lifestyle bloggers who assume unlimited budgets, my meal plans work with food stamp restrictions, dollar store ingredients, and the reality that consistent access to “right” foods often determines dietary success.
My background as a budget coordinator for a regional food bank taught me how economic constraints intersect with nutritional needs. When I’m not playing competitive chess or collecting vintage calculators, I’m proving that nutrition becomes a luxury only when you approach it backwards – optimize for value instead of convenience, and eating well becomes the most economical choice.