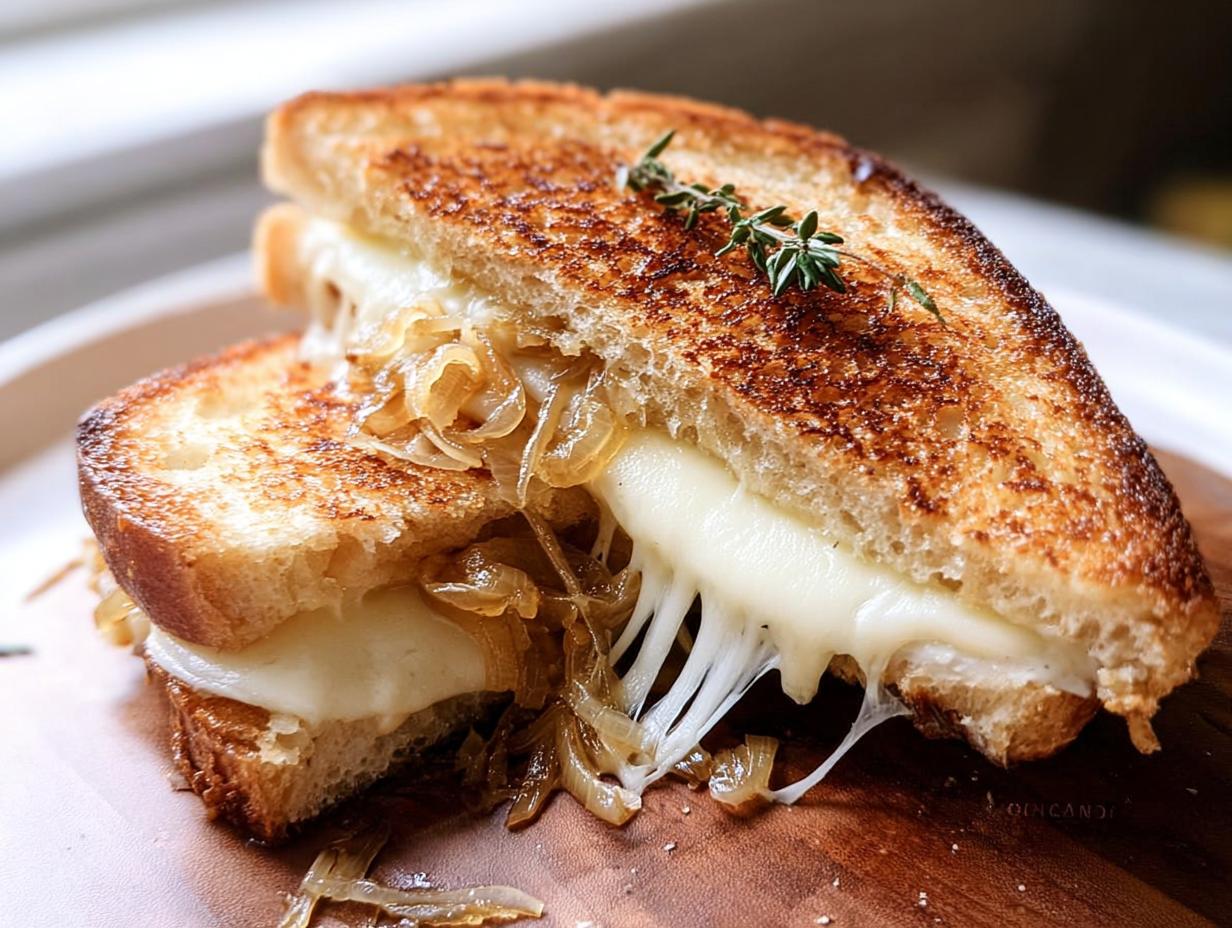
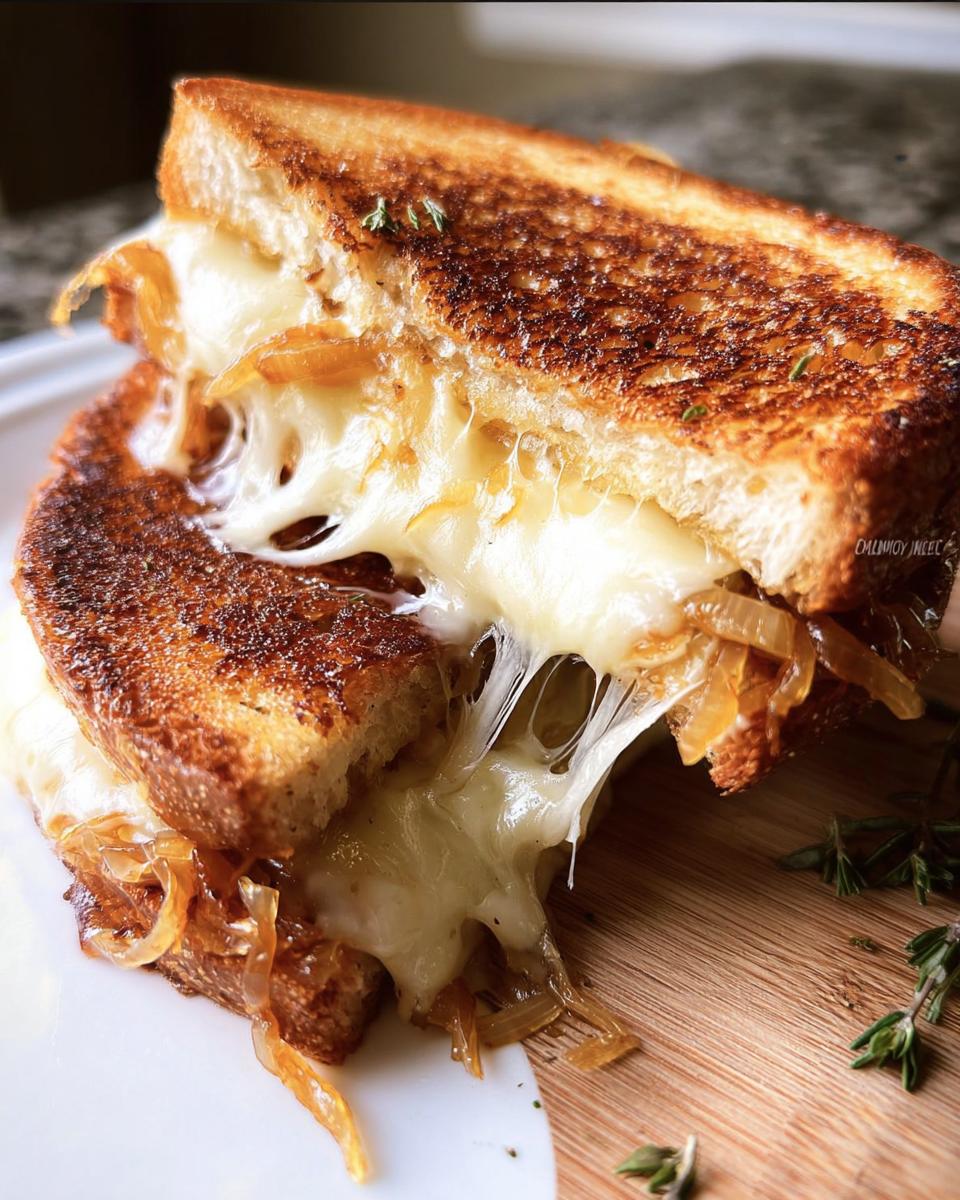
Oh, grilled cheese. Just the name brings back so many memories, right? I swear, there’s nothing quite like that golden, crispy bread hugging a molten, cheesy center. Especially when life gets crazy busy, and you *need* something delicious and satisfying, fast. That’s why I’m SO excited to share these Grilled Cheese Recipes Meal Prep That Actually Tastes Great. Seriously, who knew you could prep a grilled cheese that still tastes fantastic later? I’ve spent ages fussing over recipes to make sure they hold up, and this Caramelized Onion Grilled Cheese is my absolute winner. It’s proof that easy comfort food doesn’t have to be complicated!
Why This Caramelized Onion Grilled Cheese is a Meal Prep Star
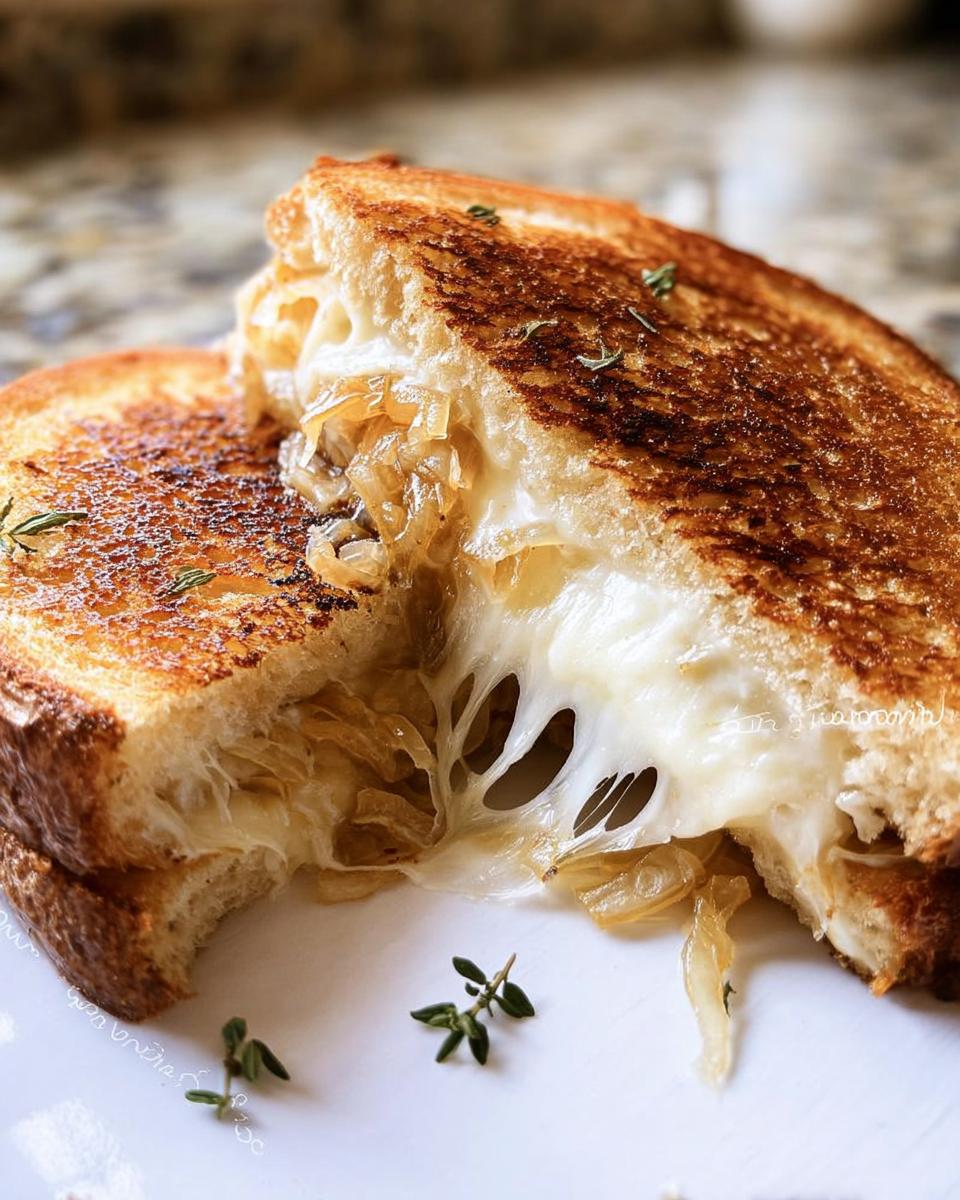
So, you’re wondering how a grilled cheese, which is usually best served piping hot right off the griddle, can actually be a meal prep star? Trust me, I get it! But this Caramelized Onion Grilled Cheese recipe is a game-changer. The secret is in those sweet, slow-cooked onions and the fantastic blend of cheeses. When you caramelize the onions the right way – low and slow – they develop this incredible depth of flavor that actually gets even better as it sits. Plus, the blend of Gruyere and white cheddar melts like a dream and holds its gooeyness really well, even when you’re ready to reheat it.
It’s perfect for those mornings you just can’t deal with making breakfast, or for packing a truly satisfying lunch that beats a sad desk salad any day. You can even prep the onions ahead of time, which cuts down the final assembly time to mere minutes. That’s why I think these kinds of smart meal prep ideas are just brilliant for keeping your sanity and your taste buds happy!
Essential Ingredients for Your Grilled Cheese Recipes Meal Prep
Alright, let’s talk about what makes this grilled cheese so darn good. It all comes down to picking the right players. For our caramelized onions, you’ll want two medium yellow onions – dice them up, nice and small. I love a bit of fresh thyme and rosemary, about a teaspoon each, minced up fine. And don’t forget a teaspoon of brown sugar to help with that deep, sweet caramelization, plus salt and pepper to really wake up those flavors. For the caramelizing magic, grab 1 1/2 tablespoons of butter and a tablespoon of olive oil.
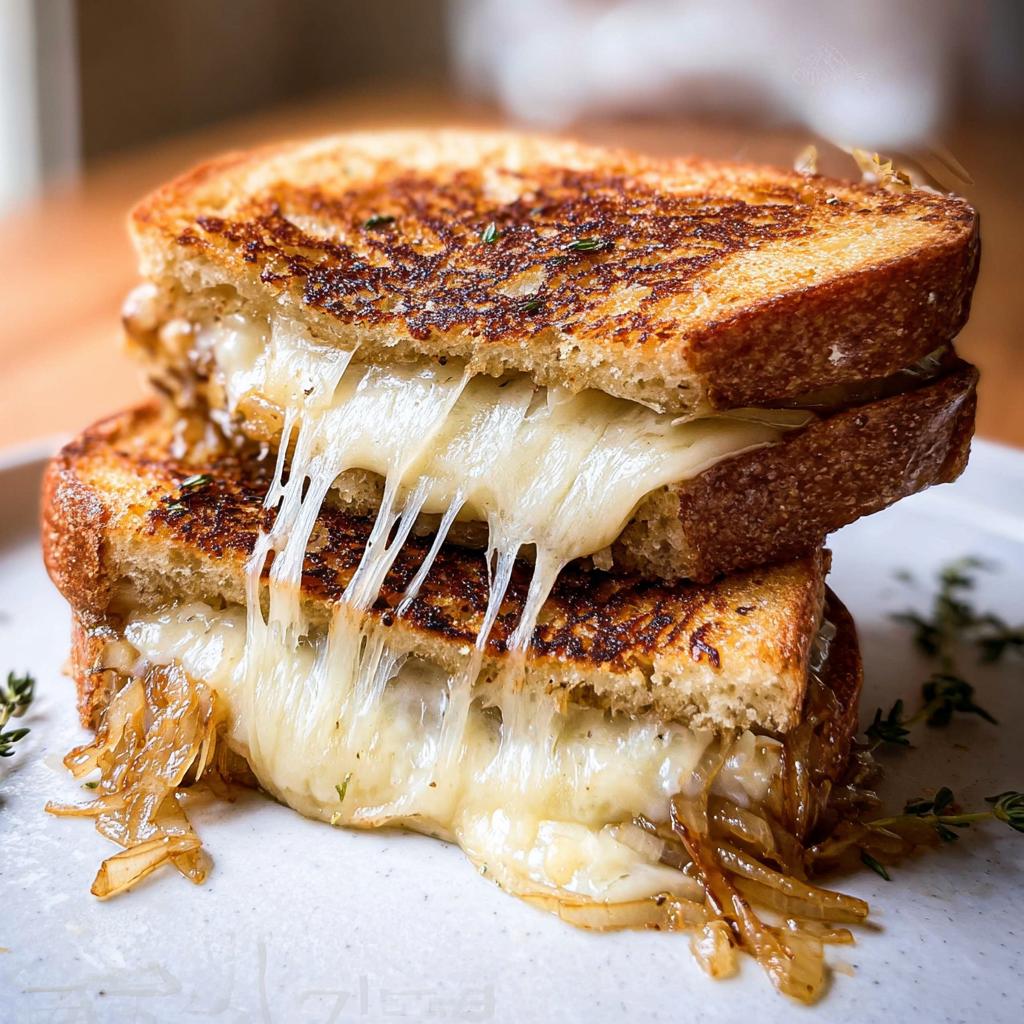
Now for the star of the show: the grilled cheese itself! You’ll need 8 slices of good quality bread. I’m a big fan of a thick-cut artisan bread here – it holds up so well. We’re going to use mayonnaise for spreading on the outside for that perfect golden crust (trust me on this!). For the cheese, get ready for a party: 12 ounces of Gruyere, thinly sliced or grated, 6 ounces of white cheddar, also sliced or grated, and 4 slices of Muenster cheese. Make sure all your cheeses are at room temperature – this is super important for melting evenly! You’ll also need another 1 1/2 tablespoons of butter, divided, and a teaspoon of fresh rosemary for that final fragrant kick.
Mastering the Caramelized Onions: A Key to Flavor
Okay, so for this grilled cheese to really sing, we need to nail those caramelized onions. Seriously, this step is where all the magic happens! It’s not hard, but it takes a little patience. You want to cook those onions low and slow. This process breaks down their strong flavor and brings out this unbelievable sweetness. I always find myself just standing there, stirring them occasionally, while the aroma fills my kitchen – it’s aromatherapy, really! It takes about 40 minutes total, but oh boy, is it worth it. I’ve learned that keeping the heat on medium-low is key. If it’s too high, they’ll burn before they caramelize, and nobody wants bitter onions in their glorious grilled cheese. That touch of brown sugar and herbs just elevates it even more, giving it this beautiful depth.
Tips for Perfect Caramelized Onions
My biggest tip? Don’t rush them! Use medium-low heat and stir often. If they start sticking too much, add just a teaspoon or two of water to loosen things up. Also, don’t be afraid to add a tiny pinch more brown sugar if your onions aren’t quite sweet enough for your liking. It really makes a world of difference in getting that perfect flavor!
Step-by-Step: Crafting Your Grilled Cheese Recipes Meal Prep
Alright, let’s get this grilled cheese party started! First things first, grab your skillet and heat up that 1 1/2 tablespoons of butter along with the tablespoon of olive oil over a medium-low heat. Once it’s shimmering, toss in those beautifully caramelized onions, your salt, pepper, and the fresh thyme and rosemary. Sauté them for about 10 minutes, stirring often, until they’re soft and starting to get a lovely golden-brown color. Then, stir in that teaspoon of brown sugar and cook for just one more minute – it really brings out their sweetness. Now, carefully spoon those gorgeous onions onto a plate to cool slightly. Next, take two slices of bread and spread a thin layer of mayonnaise on one side of each. This is our secret weapon for a super crispy crust!
Pop those mayo-smeared bread slices into the same skillet (no need to clean it!) over medium heat. Let them get golden brown and toasty, maybe 2-3 minutes. As soon as you put the bread down, pile on your cheese blend – that glorious mix of Gruyere, white cheddar, and Muenster. Sprinkle a generous couple of tablespoons of those yummy caramelized onions over one of the cheesy bread slices. Once the bottom bread is perfectly browned, carefully top it with the other cheesy slice, onion-side down. Cook for a few minutes until the cheese is gooey and melted, then *carefully* flip the whole sandwich to toast the other side. Repeat with the remaining bread and cheese, slice ’em up, and behold your masterpiece!
Achieving the Perfect Melty Cheese
The trick to that ultimate melty cheese is all about heat control. You want to keep your skillet on medium heat, not too high, so the bread doesn’t burn before the cheese has a chance to fully melt. Covering the skillet for a minute or two can also help trap heat and encourage the cheese to get perfectly gooey. Don’t be afraid to lower the heat if things are moving too fast!
The Secret to Crispy Bread
Forget buttering the bread directly! Using mayonnaise on the outside is a game-changer for that perfect golden-brown crust. It has a higher smoke point than butter, meaning it browns beautifully without burning. Plus, it gives it this amazing subtle tang. Make sure you spread it thinly and evenly all the way to the edges for maximum crispiness. The medium-low heat helps here too, allowing the mayo to toast the bread to a wonderful crisp without scorching.
Tips for Making Grilled Cheese Recipes Meal Prep That Actually Tastes Great
Okay, so you’ve got the recipe and you’re ready to prep, but how do you *really* make sure your grilled cheese tastes amazing even when it’s not fresh off the pan? It’s all about a few little tricks I’ve picked up! First off, the bread choice is HUGE. You want something sturdy, like a good artisan sourdough or a thick-cut country white. It holds up better to being prepped and reheated. And seriously, use mayonnaise on the outside instead of butter – it gives the most incredible, even golden-brown crispiness when you toast it up later. For the cheese, don’t be afraid to mix and match! I love Gruyere for its nutty depth, white cheddar for that classic tang, and Muenster for ultimate meltiness. Just make sure all those cheeses are at room temperature before you build your sandwich for the best goo factor. And remember this little gem: smart meal planning like this means you’re always ready for a delicious bite, no matter how hectic your week gets!
Frequently Asked Questions About Grilled Cheese Recipes Meal Prep
Got questions about making these amazing grilled cheese sandwiches for meal prep? I totally get it! It’s a little different from making them fresh, but totally doable. Here are some of the things people often ask, and if you don’t see your question here, feel free to reach out to me!
How to Store and Reheat Your Meal-Prepped Grilled Cheese
When you’re prepping these ahead, the best way to store them is to let them cool *completely* first. Then, wrap each sandwich tightly in parchment paper or foil to prevent them from getting soggy. You can stack them in an airtight container in the fridge for up to 2 days. To reheat, I like to pop them into a skillet over medium-low heat for a few minutes per side, just until the cheese is melty and the bread is crisp again. An air fryer or even a toaster oven works great too!
Can I Use Different Cheeses for This Grilled Cheese?
Absolutely! While I personally adore the Gruyere, white cheddar, and Muenster combo for that perfect melty, flavorful bite, feel free to experiment! A sharp cheddar, provolone, or even a pepper jack can be fantastic. Just make sure you pick cheeses that melt well. If you’re going for lighter cheeses, you might want to combine them with something like a Muenster or Monterey Jack to ensure you still get that glorious gooeyness. The key is a good blend that tastes great and melts beautifully!
Can I Prep the Caramelized Onions Ahead of Time?
Oh, 100%! That’s one of the best parts about making these for meal prep. You can totally caramelize the onions a day or two in advance. Just let them cool completely, then store them in an airtight container in the fridge. When you’re ready to assemble your sandwiches, just pull them out and add them right in. It makes the whole process even quicker, and honestly, I think they taste even better after a day!
Ingredient Notes and Substitutions for Your Grilled Cheese
You know, part of what makes this grilled cheese so awesome is how flexible it is. While I’m totally in love with the Gruyere and white cheddar mix for that perfect balance of nutty and sharp flavor, feel free to play around! If you’re not a fan of Gruyere, a good sharp provolone or even a smoked gouda would be absolutely divine. For the white cheddar, any good quality sharp cheddar will do the trick. And if Muenster isn’t your jam, Monterey Jack gives you that same lovely meltiness.
As for the herbs, while I adore fresh thyme and rosemary here, you could try a pinch of dried versions if that’s all you have on hand. Just use about a third of the amount since they’re more potent. And don’t even get me started on bread – a good sourdough is my go-to, but a hearty whole wheat or even a nice challah would be amazing. The key is a bread that can stand up to all that glorious melty goodness and crisp up beautifully. You can find more ideas for meal planning flexibility here!
Estimated Nutritional Information
Alright, let’s talk numbers! For one loaded Caramelized Onion Grilled Cheese sandwich, you’re looking at roughly 600-700 calories, about 35-45 grams of fat, 25-30 grams of protein, and around 40-50 grams of carbohydrates. These are just estimates, of course, and can really change depending on the exact bread, cheese, and butter you use. But hey, it’s a hearty and delicious meal, and that’s what matters!
Share Your Delicious Grilled Cheese Creations!
So, what do you think? Have you tried making these amazing grilled cheese sandwiches? I’d absolutely LOVE to hear all about it! Drop a comment below with your thoughts, or if you’ve got your own super-secret spin on this recipe, share it with us! And hey, if you love it, give it a star rating – it really helps other folks find these recipes. You can also peek at more of my kitchen adventures!
Caramelized Onion Grilled Cheese
Ingredients
Equipment
Method
- In a skillet, heat 1 1/2 Tbsp butter and olive oil over medium-low heat. Add diced onions, salt, pepper, fresh thyme, and 1 tsp of fresh rosemary. Sauté, stirring often, until onions are soft and starting to brown, about 10 minutes.
- Stir brown sugar into the onions and cook for another minute.
- Transfer the caramelized onions to a plate.
- Spread a thin layer of mayonnaise on one side of two pieces of bread.
- To the same skillet, add the remaining butter and rosemary. Heat over medium heat, swirling to coat the bottom of the skillet with the melted butter.
- Place both pieces of bread, mayonnaise side down, into the skillet. Cook until the bread is golden brown and crunchy, about 2-3 minutes.
- As soon as you add the bread to the skillet, add a portion of the cheese blend to the top of each piece of bread. Once the cheese begins to melt, sprinkle a couple tablespoons of the caramelized onions over the top of one of the pieces of bread.
- When the bread is golden brown, sandwich the two pieces of bread together. Cook on low heat until the cheese is fully melted.
- Transfer the sandwich to a plate. Repeat the process with the remaining slices of bread and ingredients.
- Slice and enjoy your grilled cheese sandwiches.
Notes
Tried this recipe?
Let us know how it was!
James Richardson – Certified Budget Nutrition Economist
My expertise in affordable low-carb eating was born from necessity during graduate school, when ramen noodles threatened to derail both my metabolism and my economics dissertation. Later, feeding a family of five on a teacher’s salary while my wife completed nursing school taught me that eating well doesn’t require a trust fund.
With my MBA in consumer behavior analytics, I treat grocery budgets like investment portfolios. My breakthrough “Dollar-Per-Day Keto” challenge proved sustainable low-carb eating could be achieved for under $30 weekly per person through strategic bulk purchasing and what I call “ingredient arbitrage” – buying versatile basics when they’re cheapest.
I’ve developed over 200 budget-optimized recipes with real-time pricing calculations that adjust based on regional grocery data. Unlike lifestyle bloggers who assume unlimited budgets, my meal plans work with food stamp restrictions, dollar store ingredients, and the reality that consistent access to “right” foods often determines dietary success.
My background as a budget coordinator for a regional food bank taught me how economic constraints intersect with nutritional needs. When I’m not playing competitive chess or collecting vintage calculators, I’m proving that nutrition becomes a luxury only when you approach it backwards – optimize for value instead of convenience, and eating well becomes the most economical choice.