
You know those holidays when the table is just overflowing with all the good stuff? Turkey, mashed potatoes, gravy… and then there’s the stuffing. Sometimes, it’s just… fine. But what if I told you that you can totally nail that amazing, craveable, restaurant-quality stuffing right in your own kitchen? I remember trying for years to get that perfect balance of soft inside and crispy top, and let me tell you, it felt like a secret club I just couldn’t join. But after a lot of trial and error, I figured out how to make restaurant-style stuffing at home that just wows everyone. Trust me, this recipe is a game-changer for your Thanksgiving feast!
Why You’ll Love These Restaurant-Style Stuffing Recipes at Home
Seriously, who doesn’t want stuffing that tastes like it came from their favorite fancy restaurant? This recipe makes it totally doable, even for us home cooks!
- So easy to whip up: Even if you’re a total beginner, you can totally nail this.
- Seriously delicious flavor: It’s packed with all those classic, comforting tastes we love.
- That perfect texture: Crispy on top, wonderfully moist inside – just like it should be!
- Impress your guests: Get ready for all the compliments!
Gathering Your Ingredients for Restaurant-Style Stuffing
Okay, let’s get down to business! To make truly amazing restaurant-style stuffing at home, you gotta have the right players. Don’t worry, it’s not complicated, but paying attention to these details is key. Here’s what you’ll need for our go-to Thanksgiving masterpiece:
- 30 slices of white bread: This is our base! Make sure it’s lightly toasted and then *dried* until it’s good and hard, like a crouton. We’re talking about 24 hours at room temp, or you can speed it up in a low oven. This is non-negotiable, trust me!
- 2 tablespoons of butter: Just enough to get our aromatics softened up and add a little richness.
- 1 large onion: Finely chopped. This brings that sweet, savory base flavor.
- 2 stalks of celery: Also finely chopped. It adds a subtle freshness that balances everything out.
- 2 cups of chicken broth: This is our main liquid. Use a good quality one if you can!
- 2 large eggs: Lightly beaten. These are the binders that hold everything together, making it nice and fluffy.
- 2 tablespoons of water: This is optional, but sometimes you just need a little extra to get the perfect consistency.
- 2 teaspoons of rubbed sage: Sage is the star herb here! Rubbed sage is great because it releases its flavor really well.
- 1 teaspoon of garlic powder: For that savory kick.
- Salt and ground black pepper: To taste, obviously!
Having all these ready to go makes assembling your restaurant-style stuffing a breeze!
Essential Equipment for Making Restaurant-Style Stuffing
Alright, getting ready to make some killer stuffing? You don’t need a whole professional kitchen, but having a few key players on your team makes all the difference. These are the tools that will help you get that amazing texture and flavor we’re going for. For more kitchen tips and tricks, check out this helpful guide!
- Baking sheets: You’ll need a couple of these to spread out your bread slices so they can dry out properly. It’s all about creating that perfect crunchy base!
- Rolling pin: This is your secret weapon for crushing those dried bread slices into the perfect stuffing crumbs. No fancy food processor needed either!
- Large bowl: A good-sized bowl is essential for mixing everything together so you can really get it all combined evenly without making a huge mess.
- Medium saucepan: Perfect for gently sautéing your onions and celery to bring out their delicious sweetness before they go into the stuffing.
- 9×13-inch baking dish: This is where all the magic happens! It gives your stuffing just the right amount of space to bake up beautifully.
Step-by-Step Guide to Restaurant-Style Stuffing Recipes at Home
Alright, buckle up, because this is where the magic really happens! Making this restaurant-style stuffing at home is totally achievable, and following these steps will get you there. It’s all about a little preparation and a lot of deliciousness. For more classic ideas, you can peek at this recipe, but stick with me for the restaurant quality!
Preparing the Bread for Your Restaurant-Style Stuffing
This first step is super important for getting that perfect texture, so don’t skip it! Spread your bread slices out on baking sheets. We want them to get really dry and hard, almost like croutons. Leave them out at room temperature for about 24 hours. I know, it sounds like a long time, but it’s key!
Sautéing Aromatics for Deeper Flavor
Now, let’s build some flavor! Melt your butter in a medium saucepan over medium heat. Toss in your chopped onion and celery. Cook and stir them until they get nice and soft – usually about 5 to 7 minutes. You want them tender, not browned. Then, just take them off the heat and drain off any extra liquid.
Combining Ingredients for the Perfect Stuffing Mixture
Grab that big bowl with your dried bread crumbs. Pour in the chicken broth and the lightly beaten eggs. Mix it all up until the crumbs are moistened, but try not to make it soggy. If it seems a bit too dry, don’t be afraid to add a splash more water, just a tablespoon at a time. Now, stir in those softened onions and celery, plus the sage and garlic powder. Give it a good season with salt and pepper to your liking. Mix it gently until everything is just combined.
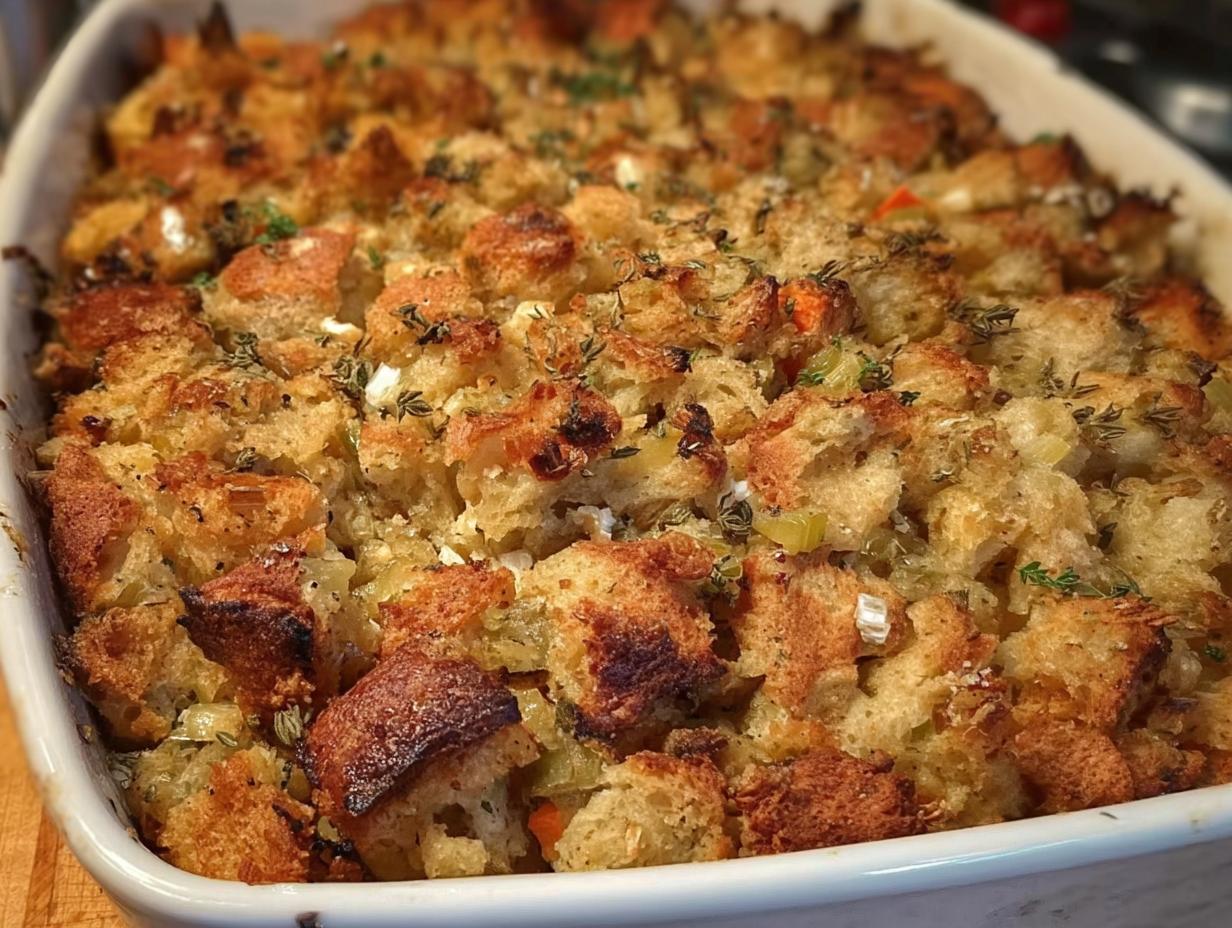
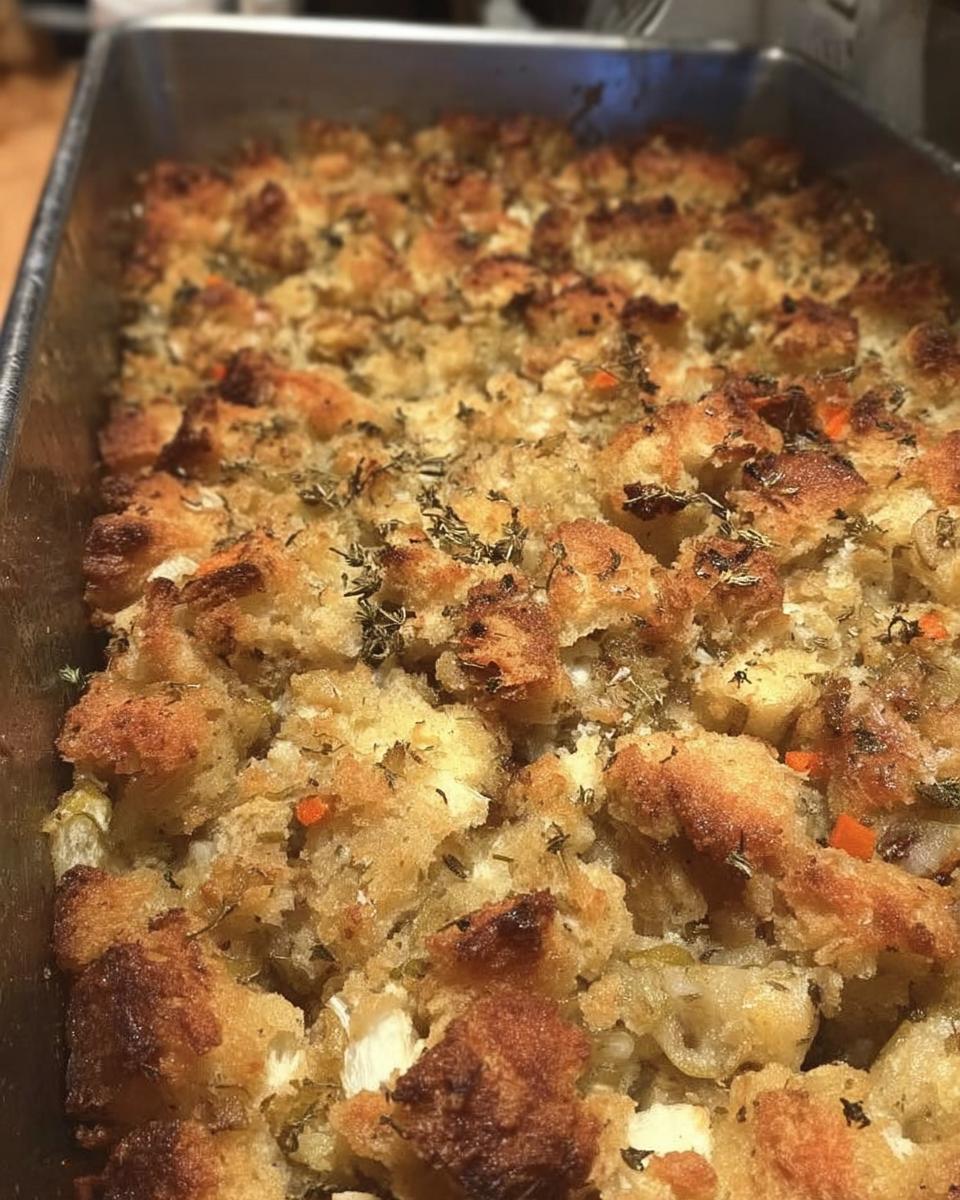
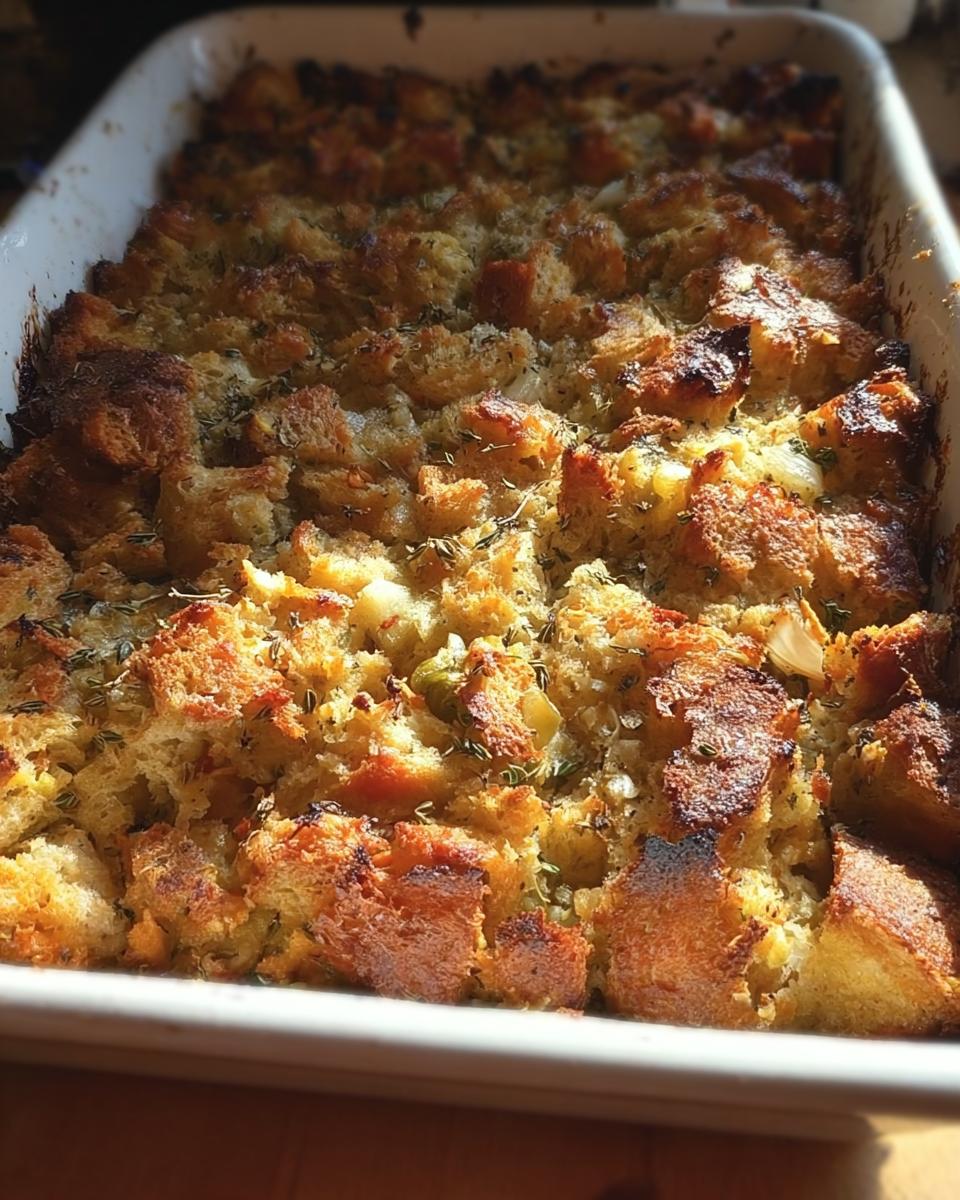
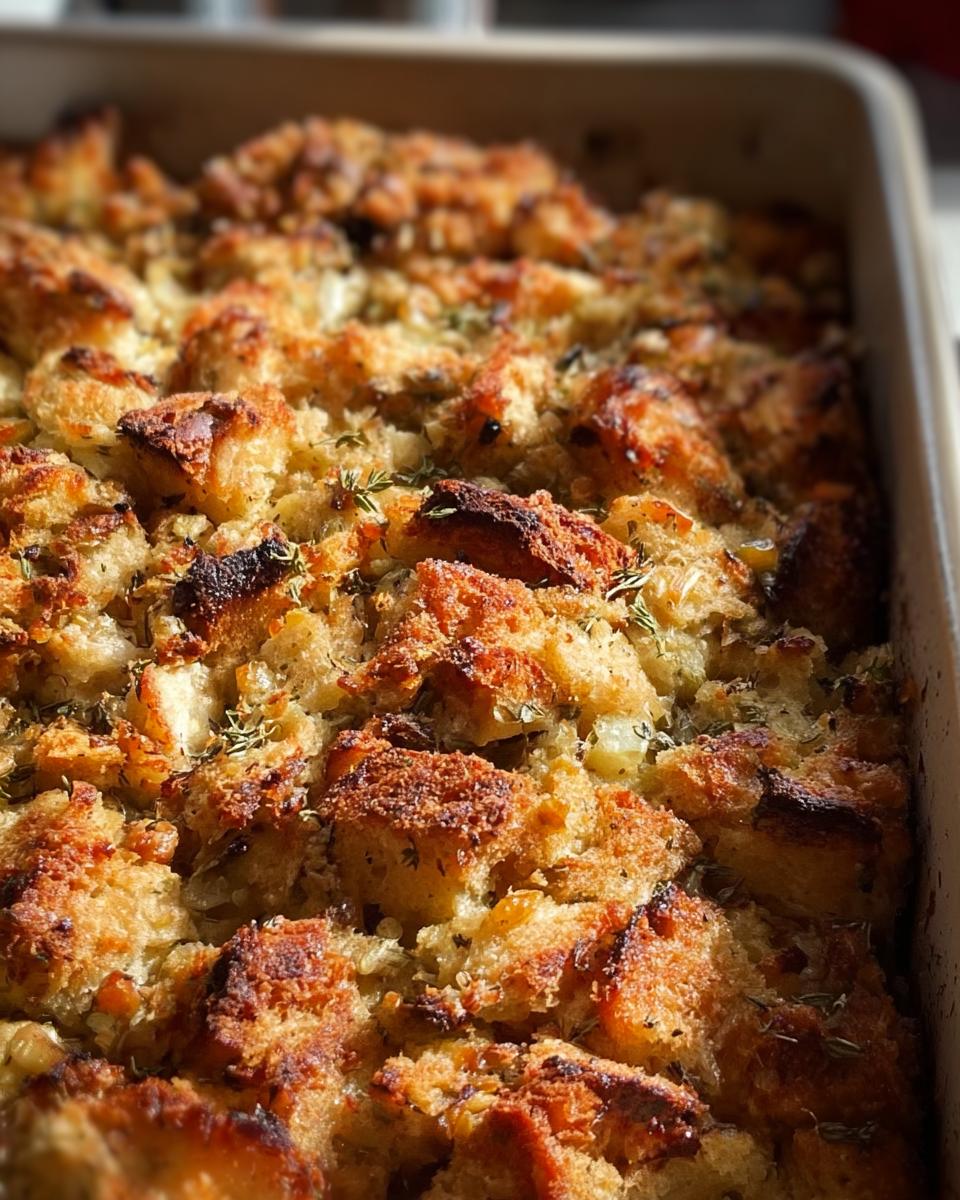
Baking Your Restaurant-Style Stuffing to Golden Perfection
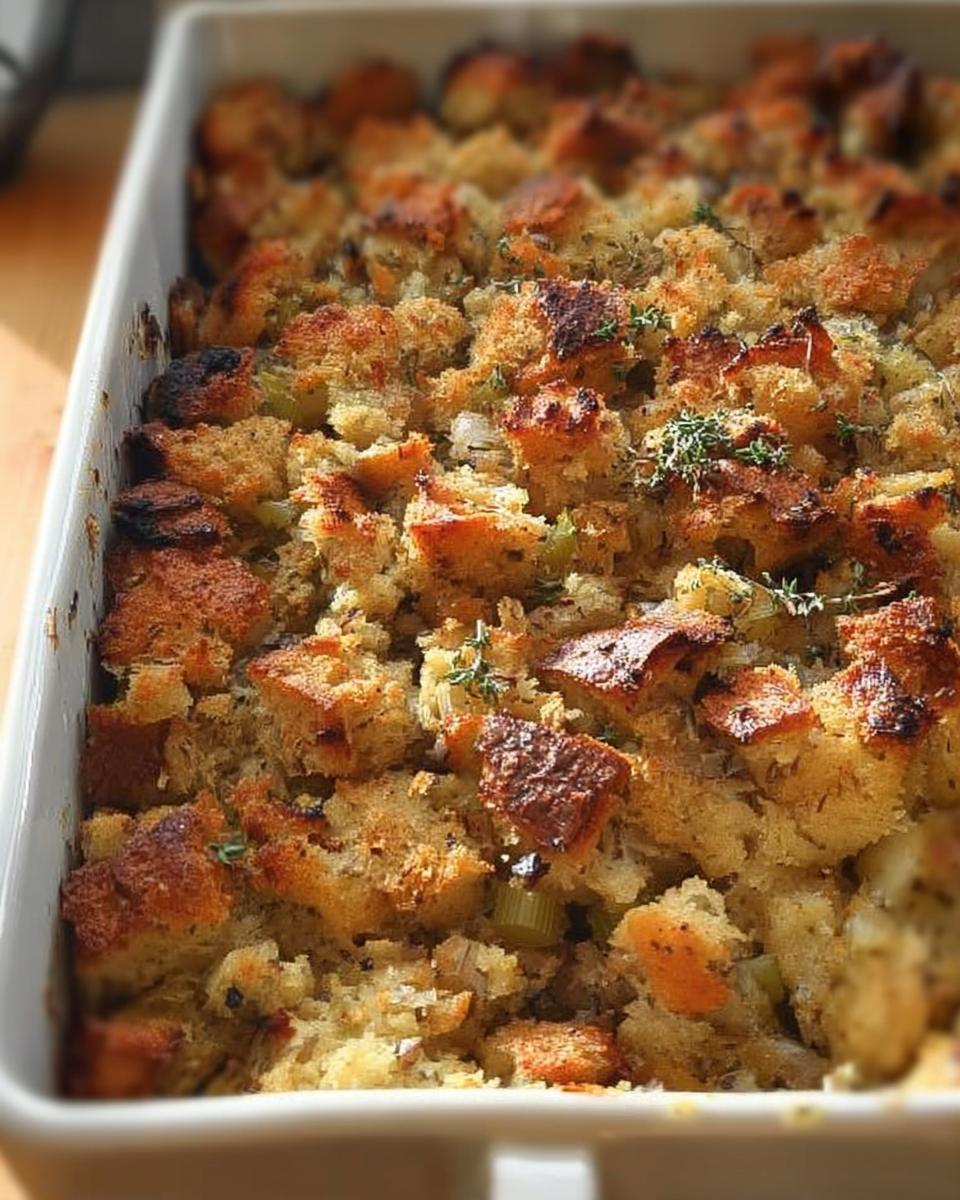
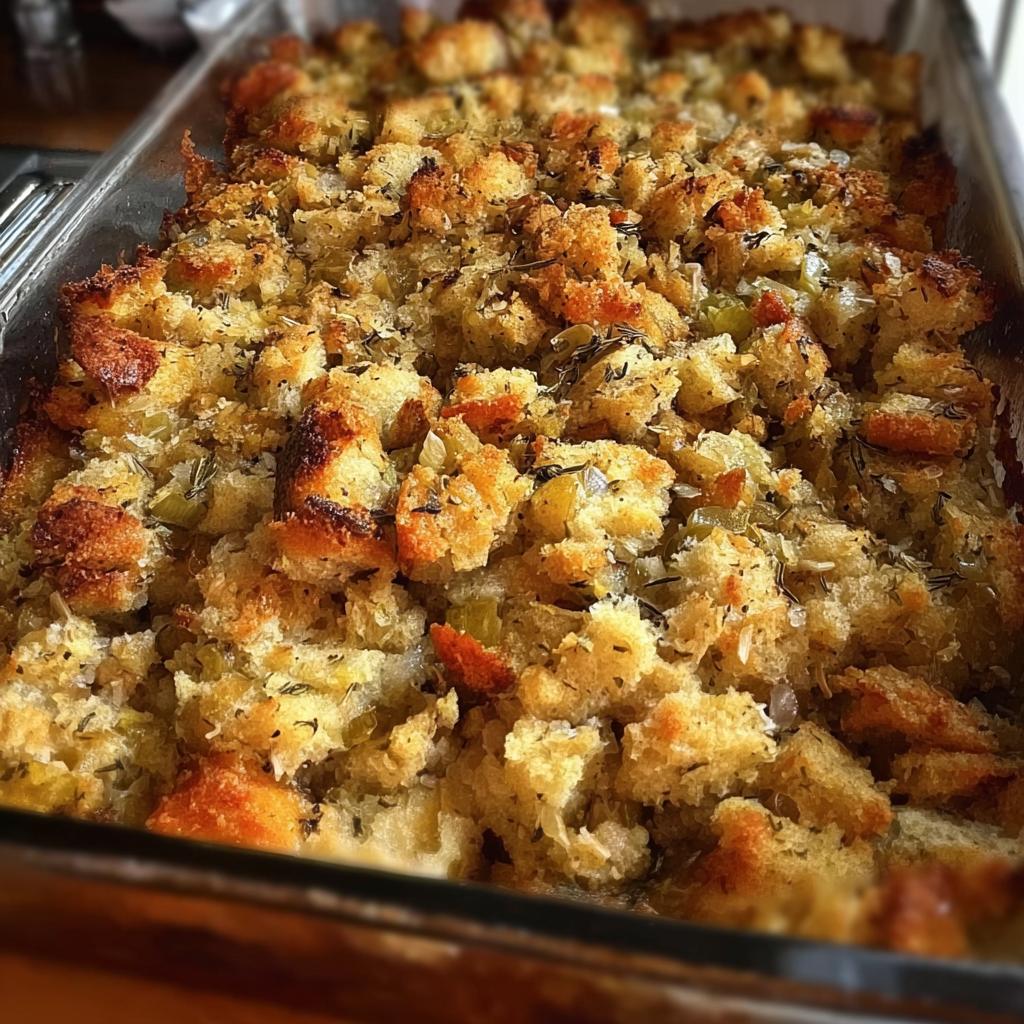
Get your 9×13-inch baking dish ready – just give it a light grease. Spoon that stuffing mixture into the dish and press it down gently. Now, pop it into your preheated oven (remember, 325°F/165°C?). You’re going to bake it for about an hour. What you’re looking for is that beautiful golden-brown, crisp top. That’s the sign your restaurant-style stuffing is ready to impress!
Tips for Success with Restaurant-Style Stuffing Recipes
Okay, so you’ve got the basics down, but let’s talk about how to really elevate your stuffing game. A few little tricks can take your homemade dish from good to absolutely unforgettable. For more tips on planning amazing meals, check out this guide – it’s super helpful!
Want that super crispy top? Toward the end of baking, if it’s not quite there, you can carefully pop it under the broiler for just a minute or two. Watch it like a hawk, though – it goes from golden to burnt in no time! And don’t be afraid to really play with the herbs. Thyme is fantastic alongside sage, and a little chopped fresh parsley stirred in at the end adds a lovely freshness.
Ingredient Notes and Substitutions for Your Stuffing
Sometimes, you might not have exactly what the recipe calls for, or you just want to tweak things a bit! That’s totally okay with stuffing. Think of this as your playground. For starters, that white bread? If you can’t find plain white, a good sourdough or even a challah can work, but make sure they dry out really well. Just avoid anything too dense like pumpernickel. If you’re not a huge fan of sage, try using a mix of fresh thyme and parsley – about a tablespoon of each chopped fresh will give you a lovely herby flavor without being overpowering!
And hey, if you’re looking for more recipe ideas, definitely peek at this page for inspiration!
Frequently Asked Questions About Restaurant-Style Stuffing
Got questions about whipping up that amazing restaurant-style stuffing at home? I’ve got you covered! Here are some common things people ask, to make sure your stuffing turns out perfect every time. If you have more questions, feel free to reach out via my contact page!
Can I make this stuffing recipe ahead of time?
Absolutely! You can totally prepare the stuffing mixture up to a day in advance. Just keep it covered in the fridge. When you’re ready to bake, let it sit out for about 30 minutes before putting it into the oven, and you might need to add a few extra minutes to the baking time.
What kind of bread is best for stuffing?
For the best restaurant-style stuffing texture, a day-old, lightly toasted white bread is ideal. Think French bread, challah, or even a nice country white. The key is that it’s dried out enough to soak up liquid without turning into complete mush. Avoid really dense or heavy breads!
How do I make my stuffing moist but not soggy?
The trick is in the bread prep! Making sure your bread is truly dried out is step one. Then, when you’re mixing, add just enough chicken broth and egg to moisten the crumbs evenly. You want it cohesive but not swimming in liquid. Baking it uncovered until the top is crisp also helps prevent it from getting soggy.
Estimated Nutritional Information for Restaurant-Style Stuffing
Just a little heads-up, the nutritional info for homemade dishes can totally change depending on what you use. These numbers are just an estimate per serving for our delicious restaurant-style stuffing. We’re looking at around 101 calories, 17g of carbs, 3g of protein, and 2g of fat. Pretty reasonable for something so yummy, right?
Share Your Restaurant-Style Stuffing Creations!
Okay, now that you’ve made your incredibly delicious restaurant-style stuffing, I *have* to know how it turned out! Did you get that perfect crispy top? Did everyone rave about it? I just love hearing about your kitchen triumphs! Feel free to leave a comment below, pop over to the About page to share your thoughts, or tag me on social media with your amazing creations. Happy cooking!
Restaurant-Style Stuffing
Ingredients
Equipment
Method
- Spread toasted bread slices on baking sheets and let sit out at room temperature until hard, about 24 hours.
- Once bread slices are ready, gather all ingredients. Preheat the oven to 325 degrees F (165 degrees C). Lightly grease a 9×13-inch baking dish.
- Crush bread slices into crumbs with a rolling pin. Transfer crumbs to a large bowl.
- Melt butter in a medium saucepan over medium heat. Stir in onion and celery; cook and stir until soft, 5 to 7 minutes. Remove from heat and drain.
- Stir chicken broth and eggs into bread crumbs; mix until evenly moistened, but not soggy. Add water, if needed. Mix in cooked onion and celery, sage, garlic powder; season with salt and pepper.
- Press dressing mixture into the prepared baking dish.
- Bake in the preheated oven until the top is brown and crisp, about 1 hour.
- Serve hot and enjoy!
Nutrition
Notes
Tried this recipe?
Let us know how it was!
Master of Meal Planning Systems
My approach to meal planning comes from eight years as an Army quartermaster, coordinating food distribution for military bases housing thousands. I learned that feeding people successfully requires systematic thinking, resource optimization, and contingency planning that most home cooks never consider.
When my paramedic husband’s shift work collided with my demanding construction project management schedule, traditional dinner routines became impossible. Instead of surrendering to takeout chaos, I deployed the same strategic frameworks I’d used to feed entire battalions, scaling them down for busy families.
My signature “Battalion Batch System” transforms Sunday afternoons into precision operations. I’ve documented over 160 meal plans that account for variables most planners ignore: spoilage rates by seasonal humidity, backup ingredient lists for supply disruptions, and rotation schedules that prevent family palate fatigue.
My expertise extends to corporate wellness programs and school district consulting, designing scalable low-carb systems for large operations. When I’m not doing competitive target shooting or planning my garden’s crop rotation for maximum food security, I’m proving that meal planning isn’t about inspiration – it’s about infrastructure. Build reliable systems, and good nutrition becomes automatic rather than accidental.