Oh, there’s just something *magical* about a plate of perfectly made pasta, isn’t there? It’s like a warm hug from grandma herself, but with that incredible, restaurant-quality texture you usually only find when someone else does the cooking. If you’ve ever dreamed of whipping up your own fettuccine or ravioli for your family, this is your moment! I remember my first few attempts, and let’s just say they weren’t exactly Michelin-star material, but with a little practice and the right know-how, you can totally learn How to Make Pasta Recipes Like a Pro (2025). Trust me, it’s way more achievable than you think! Check out this detailed guide for extra inspiration.
Why You’ll Love How to Make Pasta Recipes Like a Pro (2025)
Seriously, learning how to make fresh pasta is a total game-changer. It’s not as hard as it looks! Here’s why you’ll be hooked:
- Incredible Flavor & Texture: Nothing beats the fresh, slightly chewy texture and subtle flavor of homemade pasta. It makes any sauce sing!
- Super Satisfying: There’s a real sense of accomplishment when you create something delicious from scratch. You’ll feel like a total kitchen rockstar!
- Easier Than You Think: Once you get the dough down, shaping is fun and meditative. You’ll be amazed at how fast you can whip up a batch.
- Impress Your Friends: Imagine serving up your own beautiful ravioli or perfect spaghetti. They’ll think you’ve been to culinary school!
Mastering these techniques for How to Make Pasta Recipes Like a Pro (2025) is so rewarding!
Essential Equipment for Professional Pasta Making
Okay, let’s talk tools! Having the right equipment can honestly make the whole process so much smoother and, dare I say, more fun. You don’t need a whole Italian kitchen, but a few key things make a huge difference in getting that pro-level result. Good gear helps ensure your pasta sheets are even and your shapes are consistent, which means better cooking and tastier bites every time. It’s all about making your life easier!
Pasta Machine Options
This is where things can get exciting! You’ve got your classic hand-crank machines, which are fantastic and give you great control. They’re usually pretty sturdy and can make all sorts of shapes. Then there are the electric pasta machines or attachments for stand mixers. These are speed demons, perfect if you’re making big batches or just want to save some elbow grease. Each has its own charm, but they all get the job done beautifully.
Manual Tools for Pasta
Don’t underestimate the power of good old-fashioned tools! A solid rolling pin is essential, especially if you’re going the rustic route. You’ll also want a good, sharp knife for cutting your noodles evenly, and a clean, sturdy cutting board to work on. These simple items are your best friends for creating beautiful, hand-cut pasta shapes.
Mastering Your Pasta Dough: The Foundation of How to Make Pasta Recipes Like a Pro (2025)
Okay, folks, let’s get real. The absolute *heart* of amazing pasta, the thing that separates the good from the REALLY good, is your dough. If the dough is happy, your pasta is happy! When you’re learning How to Make Pasta Recipes Like a Pro (2025), mastering this initial step is super important. It gives you that perfect chewy texture and ensures your pasta holds its shape beautifully when it hits that simmering water. It’s not complicated, but it does need a little love and attention!
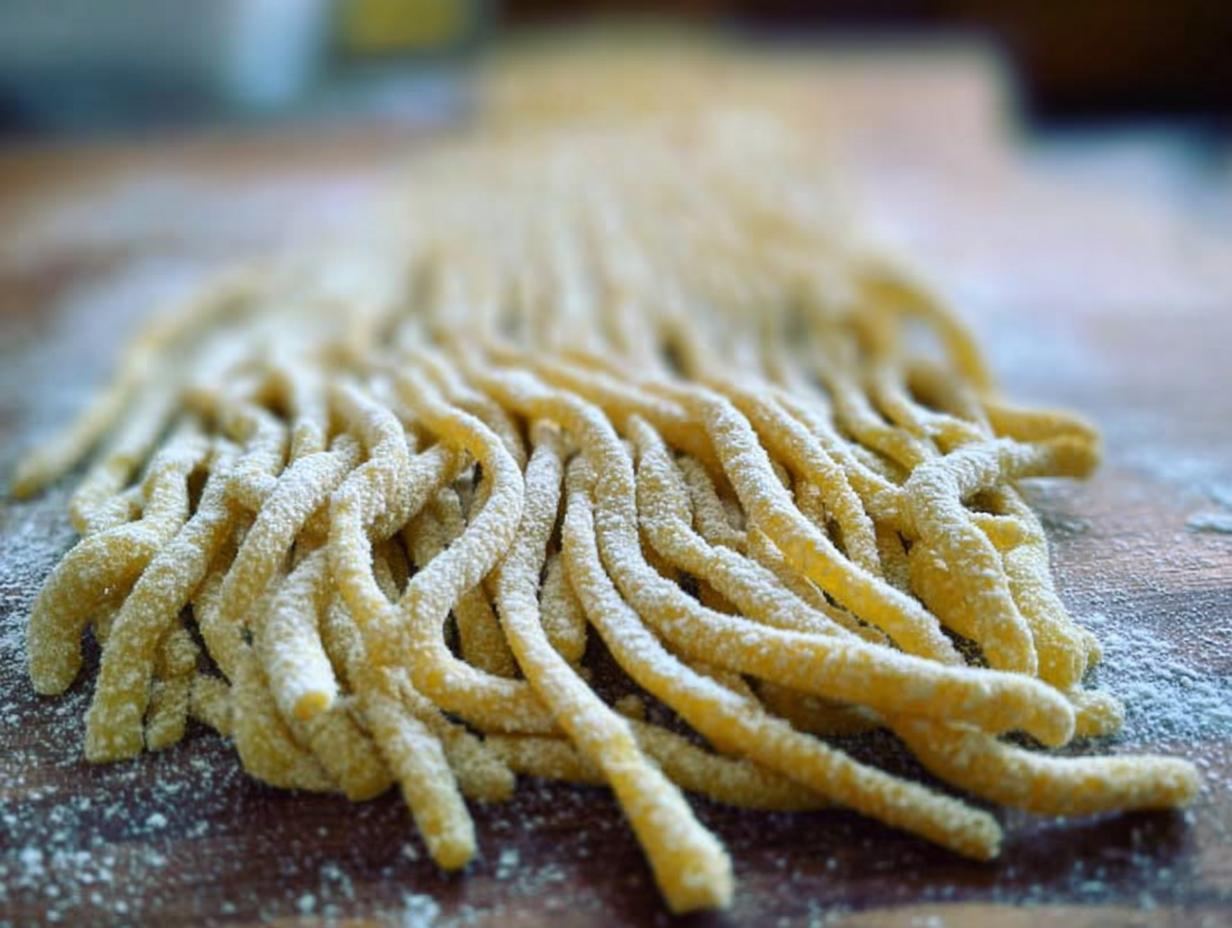
Ingredients for Perfect Pasta Dough
For a classic egg dough, which I just adore, you really only need a few things. Grab about 2 cups of all-purpose flour, or even better, some ’00’ flour if you can find it – it’s super fine and makes for a dreamier texture. Then you’ll need 3 large eggs. That’s it! Some people add a pinch of salt, which is totally fine, but honestly, the eggs and flour do all the heavy lifting here. I’ve found this ratio gives me the best starting point every single time.
Kneading Techniques for Smooth Dough
So, you’ve got your flour pushed into a little mound and you’ve made a well in the center for your eggs. Now, whisk those eggs gently in the well, then start bringing in the flour bit by bit from the sides. Once it gets too thick to whisk, it’s time to get your hands in there! Knead it like you mean it, folding and pushing, for about 8-10 minutes. You’ll know it’s ready when it’s super smooth, elastic, and springs back when you poke it. If it’s too sticky, add a tiny bit more flour; if it’s too dry, a few drops of water will help.
The Crucial Resting Period
This is the step people sometimes skip, but trust me, don’t! Once your dough is all kneaded and gorgeous, wrap it up tight in plastic wrap or a damp cloth. Let it chill out in the fridge for at least 30 minutes, or even an hour. This resting time lets the gluten relax, making the dough WAY easier to roll out later without fighting you. It’s like letting a stressed-out person take a deep breath – it just makes everything better!
Shaping Your Pasta: Techniques for How to Make Pasta Recipes Like a Pro (2025)
Alright, the dough is rested, it’s smooth and ready to go – now for the really fun part: shaping! This is where How to Make Pasta Recipes Like a Pro (2025) really shines. Whether you’re using a pasta machine or going totally old-school with a rolling pin and knife, there are so many ways to turn that simple dough into beautiful strands or intricate shapes. It’s like being an artist, but your medium is delicious flour and eggs!
Rolling the Dough to Perfection
When you’re ready to roll, I like to divide my dough into smaller, manageable portions. If you’re using a machine, start on the widest setting and pass the dough through, folding and repeating a few times. Then, gradually decrease the setting, passing the dough through each one until you reach your desired thickness. For spaghetti or fettuccine, I go pretty thin, maybe a setting of 6 or 7. For ravioli or farfalle, a little thicker is often better. If you’re rolling by hand, just use your trusty rolling pin, rotate the dough often, and try to get it nice and even. It takes a little muscle, but it’s well worth it!
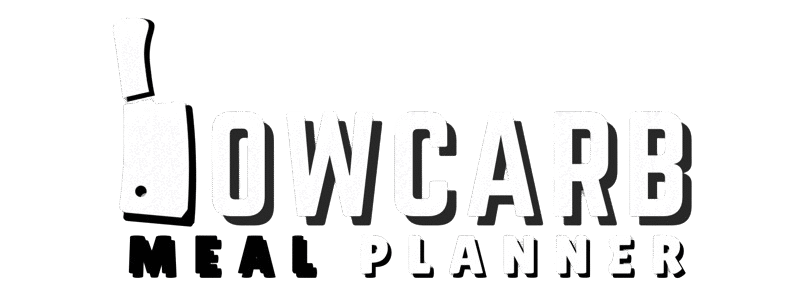
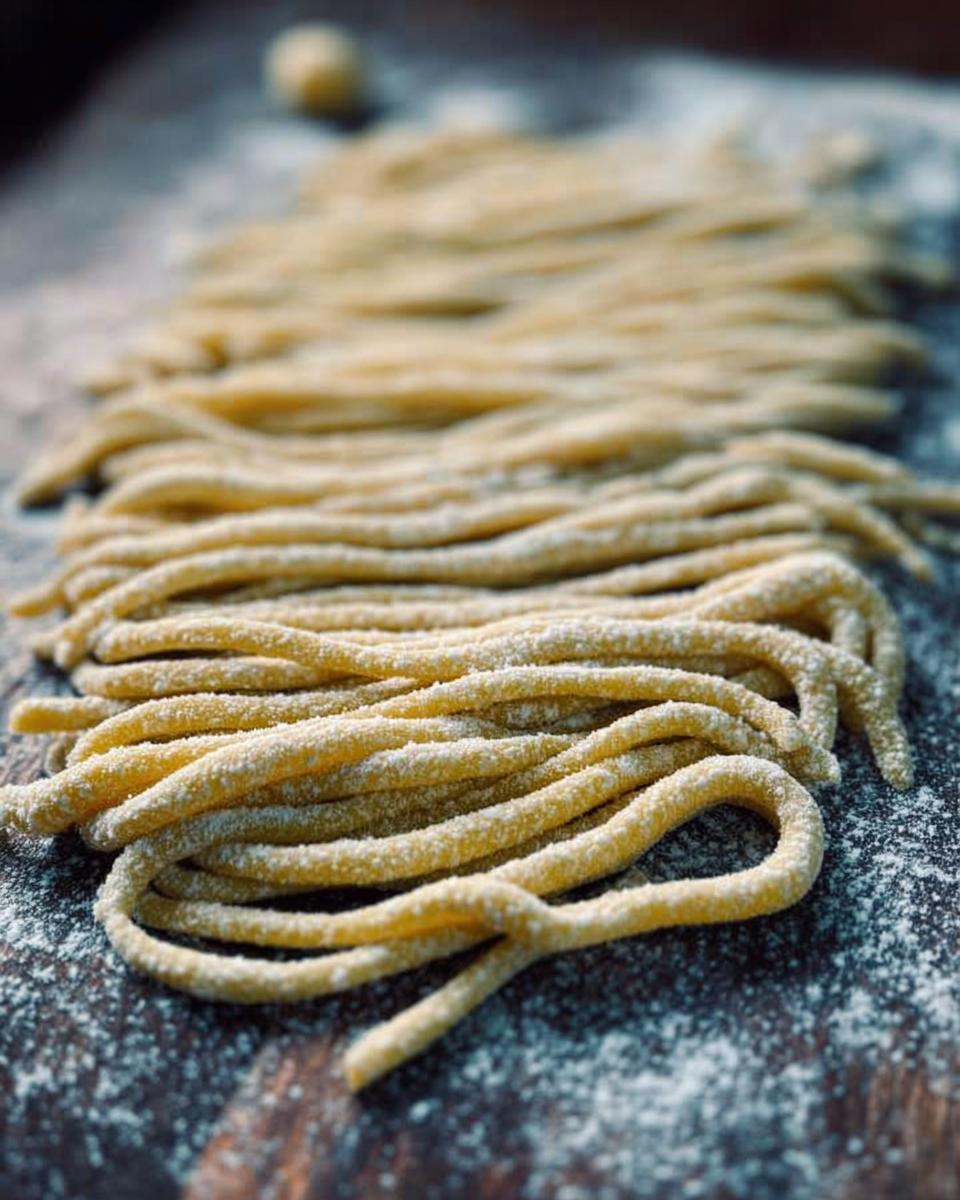
Cutting and Forming Pasta Shapes
Once you have your perfect sheets of dough, it’s time to get creative! For simple noodles like fettuccine or spaghetti, just fold the sheet a few times and slice it into strips with a sharp knife. If you have a machine with cutters, even better! Or maybe you want to make ravioli? Lay out a sheet, dollop on your filling, top with another sheet, press around the filling to seal, and cut into squares. Farfalle (bow-ties) are made by pinching a little rectangle of pasta in the middle. Don’t be afraid to experiment! The key is to keep things consistent so they cook evenly.
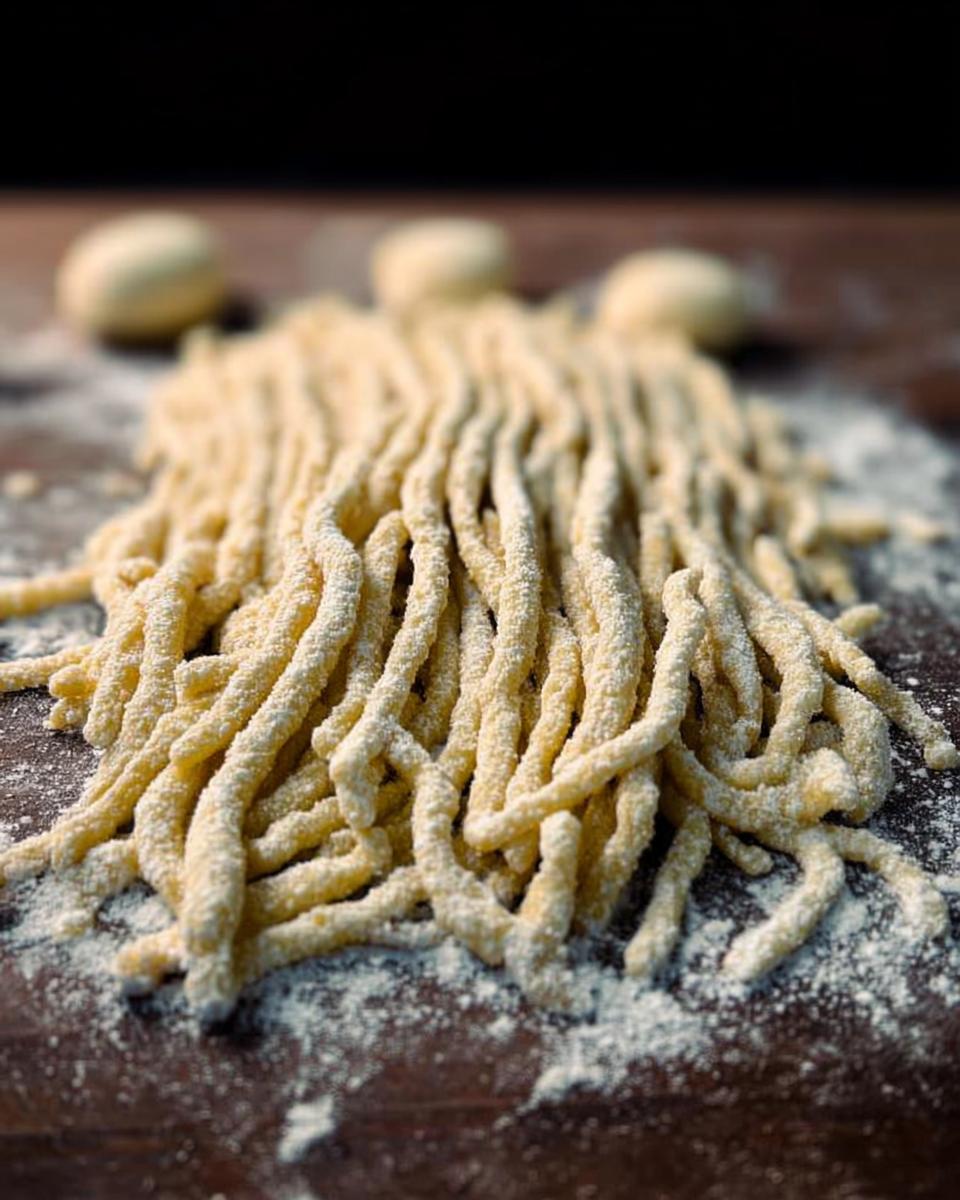
Drying and Storing Your Homemade Pasta
Okay, you’ve made beautiful pasta, but what next? Don’t just toss it in a pile – that’s a recipe for a sticky, gummy mess! Proper drying is key to keeping your pasta strands separated and giving them that perfect texture when they hit the boiling water. It’s a crucial step, even if you plan to cook it right away. I’ve learned that good drying makes all the difference in the final bite!
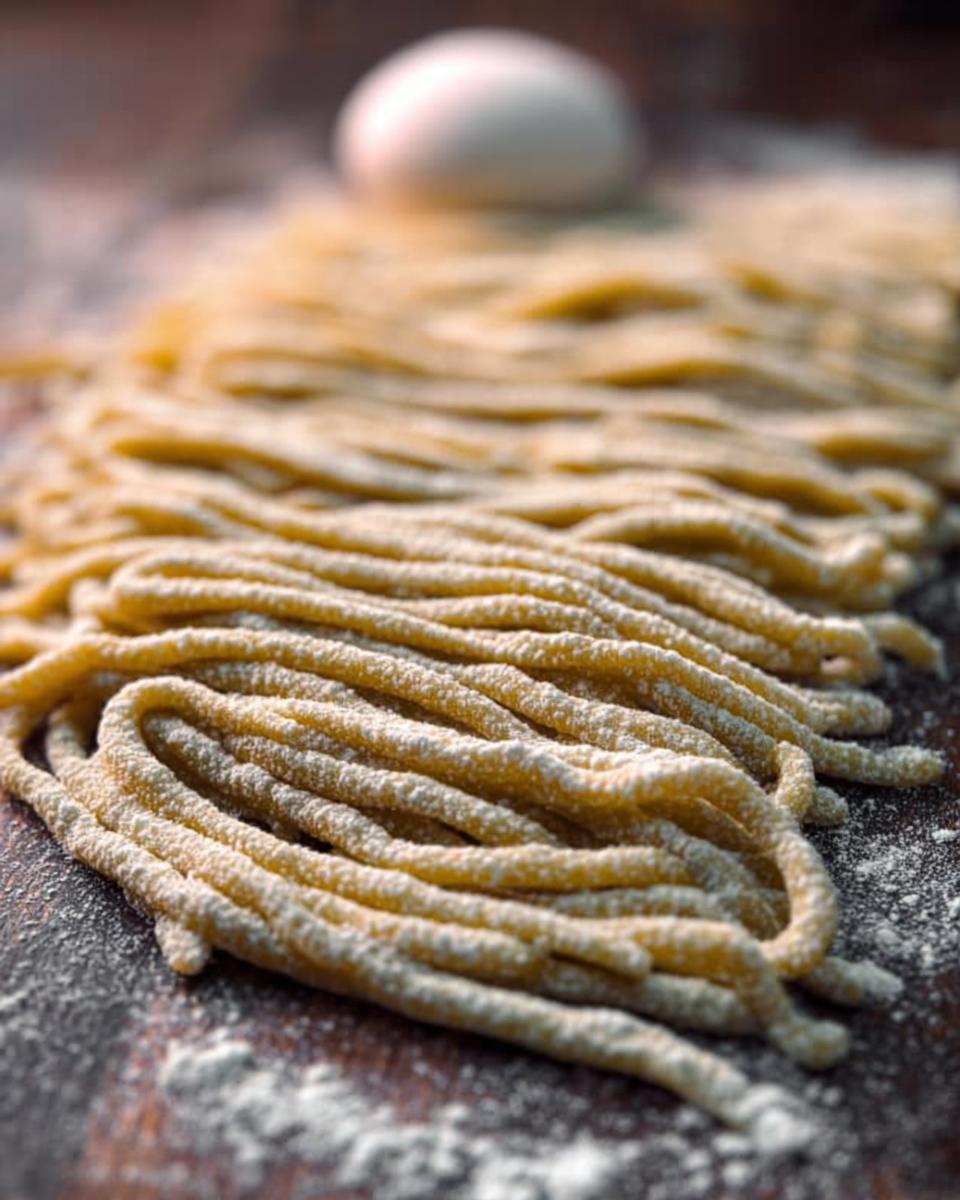
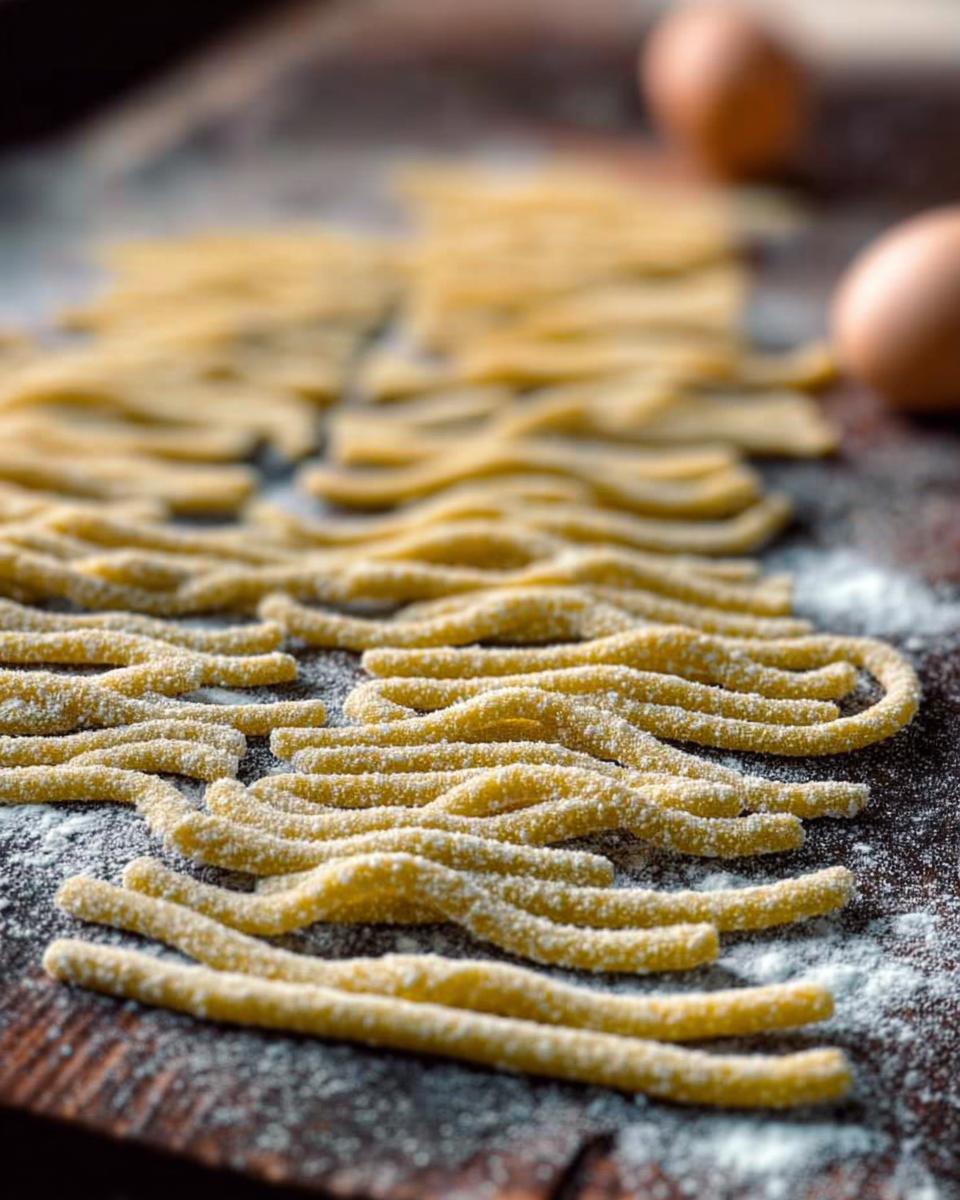
Dusting with Semolina
Before you even think about drying, give your cut pasta a really good shower of semolina flour. Seriously, don’t be shy! Just toss it around gently. This little bit of coarse flour acts like tiny little shields, preventing the pasta pieces from sticking to each other. It’s like giving them their own personal space so they don’t gang up and become one giant blob.
Drying Methods and Time
Now for the drying itself. The easiest way is with a pasta drying rack – they look fancy but are so worth it if you make pasta often. If you don’t have one, no worries! You can drape strands over the backs of clean chairs, the handles of kitchen drawers, or even lay them flat on a lightly floured baking sheet. For pasta you plan to cook right away, about 30 minutes to an hour is usually enough to let it firm up. If you want to store it longer, you’ll need to dry it for several hours until it feels brittle to the touch.
Storing Fresh Pasta
If you’ve dried your pasta for immediate cooking, you can usually store it in the fridge for a day or two in an airtight container. For longer storage, make sure it’s completely brittle (this takes hours, not minutes!). Once bone-dry, it can be stored in an airtight container at room temperature for a few weeks. You can also freeze fresh pasta, either before or after drying; just wrap it super well to avoid freezer burn. I love using these meal prep containers for freezing portions!
Tips for Success When You How to Make Pasta Recipes Like a Pro (2025)
Alright, so you’re ready to dive in and learn How to Make Pasta Recipes Like a Pro (2025)! It’s so much fun, but like any good skill, a few nudges can make all the difference. Don’t stress if your first batch isn’t totally perfect – that’s part of the journey! My biggest tip? Don’t overwork your dough; let it rest to make rolling a breeze. And when you’re cutting, make sure those noodles are well-dusted with semolina so they don’t stick together. Oh, and always taste as you go – especially your sauce! Check out these meal prep hacks for faster cooking!
Frequently Asked Questions About Pasta Making
Got questions about making your own pasta? I totally get it! It’s a bit of a learning curve, but with these quick answers, you’ll be feeling like a pasta pro in no time.
Can I use different types of flour for pasta dough?
Absolutely! While ’00’ flour makes a super silky dough, all-purpose works great too. Semolina flour is often used for dusting to keep pasta from sticking and gives it a slightly firmer texture if you mix some in. Experiment and see what you like best!
How do I know when my pasta is cooked?
Fresh pasta cooks *fast*! Like, usually just 1-3 minutes depending on thickness. It’s ready when it floats to the top and has a nice ‘al dente’ bite – meaning it’s tender but still has a tiny bit of chew to it. Don’t walk away, or it’ll turn mushy in a flash!
What’s the difference between fresh and dried pasta?
Fresh pasta is tender, delicate, and cooks super quickly, perfect for lighter sauces. Dried pasta is firmer, chewier, and holds up much better to heartier, robust sauces. Both are delicious, just in slightly different ways!
Nutritional Information
Keep in mind these are just estimates, as the actual nutrition can change based on the specific flour, eggs, and any sauces you use! A typical serving of plain homemade pasta (about 2 ounces dry weight equivalent) is roughly 200-250 calories, with about 5-7g of fat, 7-9g of protein, and 30-40g of carbohydrates. It’s simple, wholesome goodness!
Share Your Pasta Creations!
Alright, my fellow pasta lovers, I absolutely can’t wait to hear how your pasta-making adventures turn out! Did you try a new shape? Discover your new favorite dough consistency? Please, leave a comment below and tell me all about it, or rate this guide! And if you snap a pic of your gorgeous homemade pasta, tag me on social media – seeing your creations makes my day! You can also reach out via my contact page to share your thoughts too!
How to Make Pasta Like a Pro
Ingredients
Equipment
Method
- Prepare your chosen pasta dough recipe. This typically involves mixing flour and eggs, then kneading until smooth.
- Allow the dough to rest for at least 30 minutes. This makes it easier to work with.
- Decide on your pasta shaping method. You can use a rolling pin and knife for hand-cut shapes, a hand-crank pasta machine, or an electric pasta attachment.
- Roll out the dough to your desired thickness. If using a machine, follow its instructions for creating sheets or shapes.
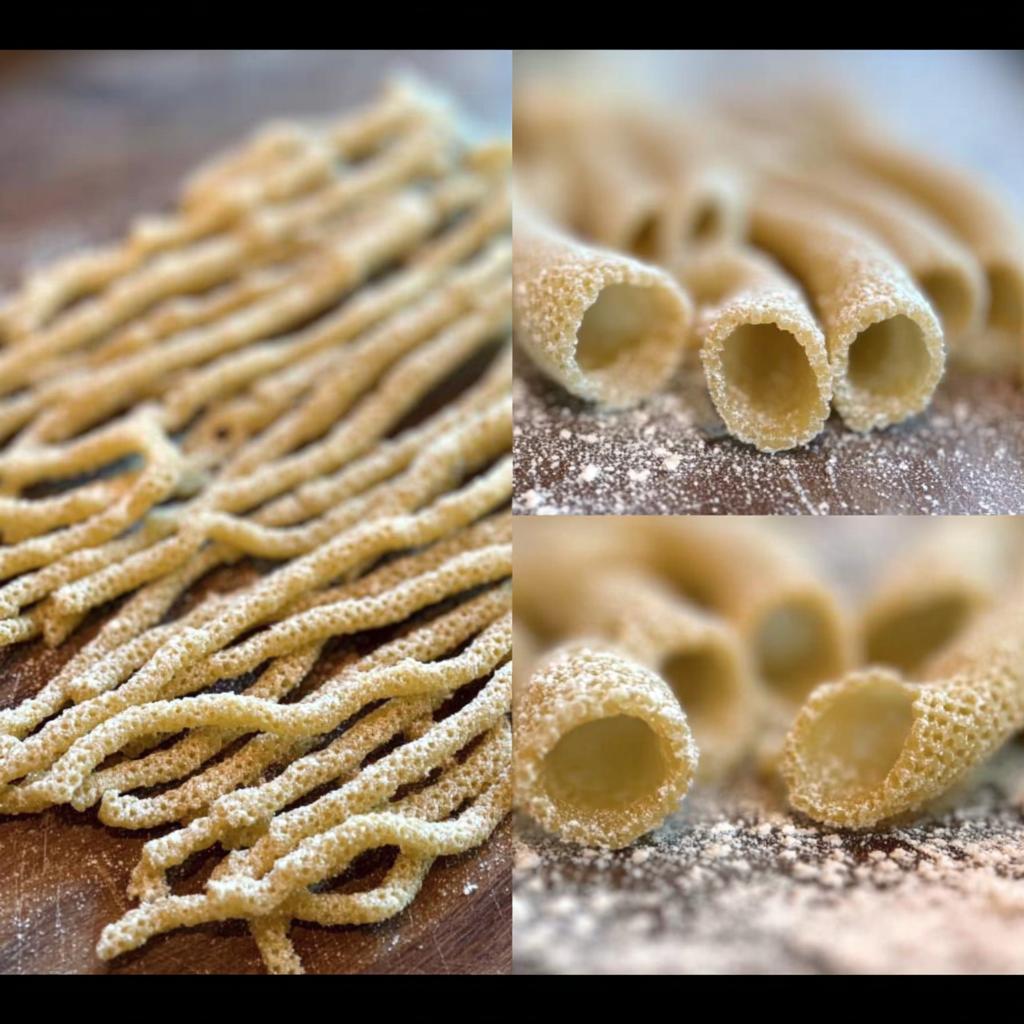
- Cut or press the dough into your desired pasta shapes (e.g., fettuccine, spaghetti, rigatoni, bucatini).
- Dust the cut pasta generously with semolina flour to prevent sticking.
- Dry the pasta for at least 30 minutes. You can use a drying rack, the backs of chairs, or a clean table surface. For longer storage or to reduce evening cooking stress, you can dry it for several hours under towels.
Notes
Tried this recipe?
Let us know how it was!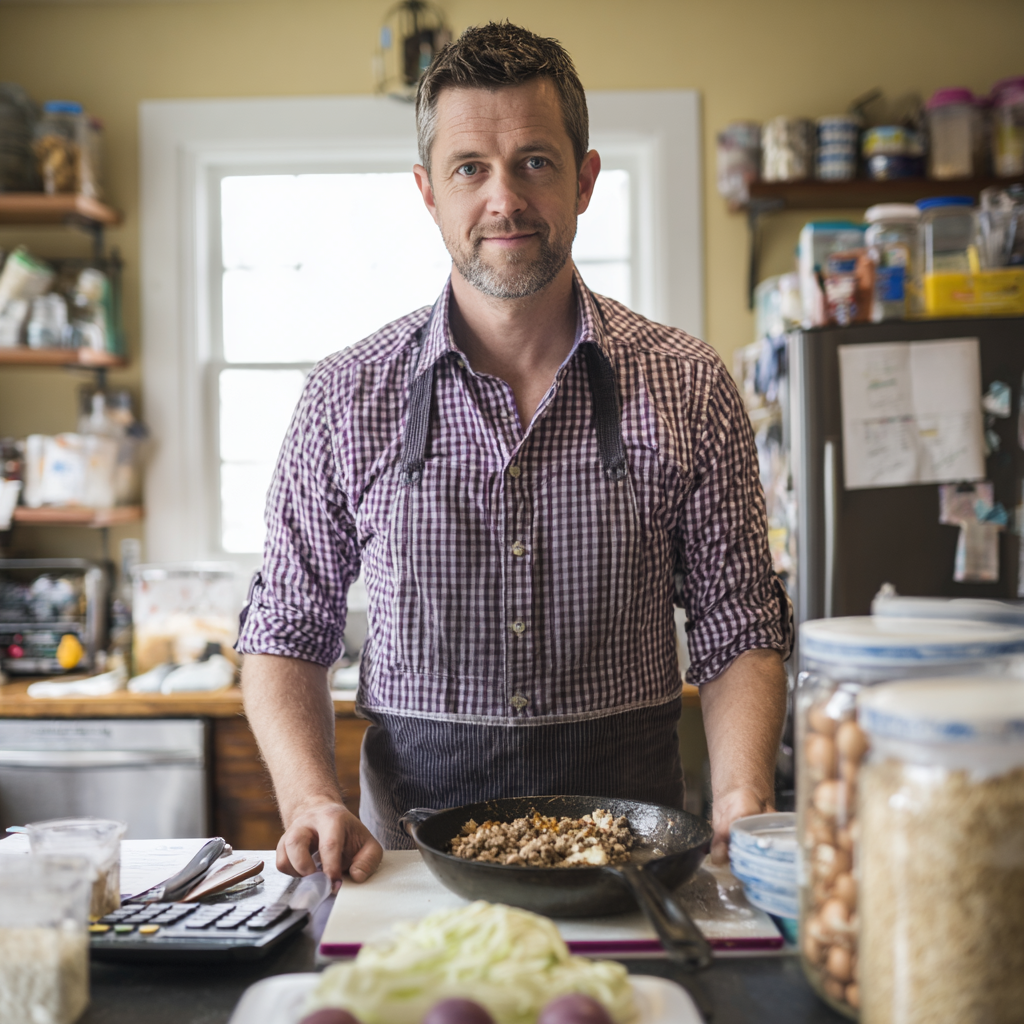
James Richardson – Certified Budget Nutrition Economist
My expertise in affordable low-carb eating was born from necessity during graduate school, when ramen noodles threatened to derail both my metabolism and my economics dissertation. Later, feeding a family of five on a teacher’s salary while my wife completed nursing school taught me that eating well doesn’t require a trust fund.
With my MBA in consumer behavior analytics, I treat grocery budgets like investment portfolios. My breakthrough “Dollar-Per-Day Keto” challenge proved sustainable low-carb eating could be achieved for under $30 weekly per person through strategic bulk purchasing and what I call “ingredient arbitrage” – buying versatile basics when they’re cheapest.
I’ve developed over 200 budget-optimized recipes with real-time pricing calculations that adjust based on regional grocery data. Unlike lifestyle bloggers who assume unlimited budgets, my meal plans work with food stamp restrictions, dollar store ingredients, and the reality that consistent access to “right” foods often determines dietary success.
My background as a budget coordinator for a regional food bank taught me how economic constraints intersect with nutritional needs. When I’m not playing competitive chess or collecting vintage calculators, I’m proving that nutrition becomes a luxury only when you approach it backwards – optimize for value instead of convenience, and eating well becomes the most economical choice.